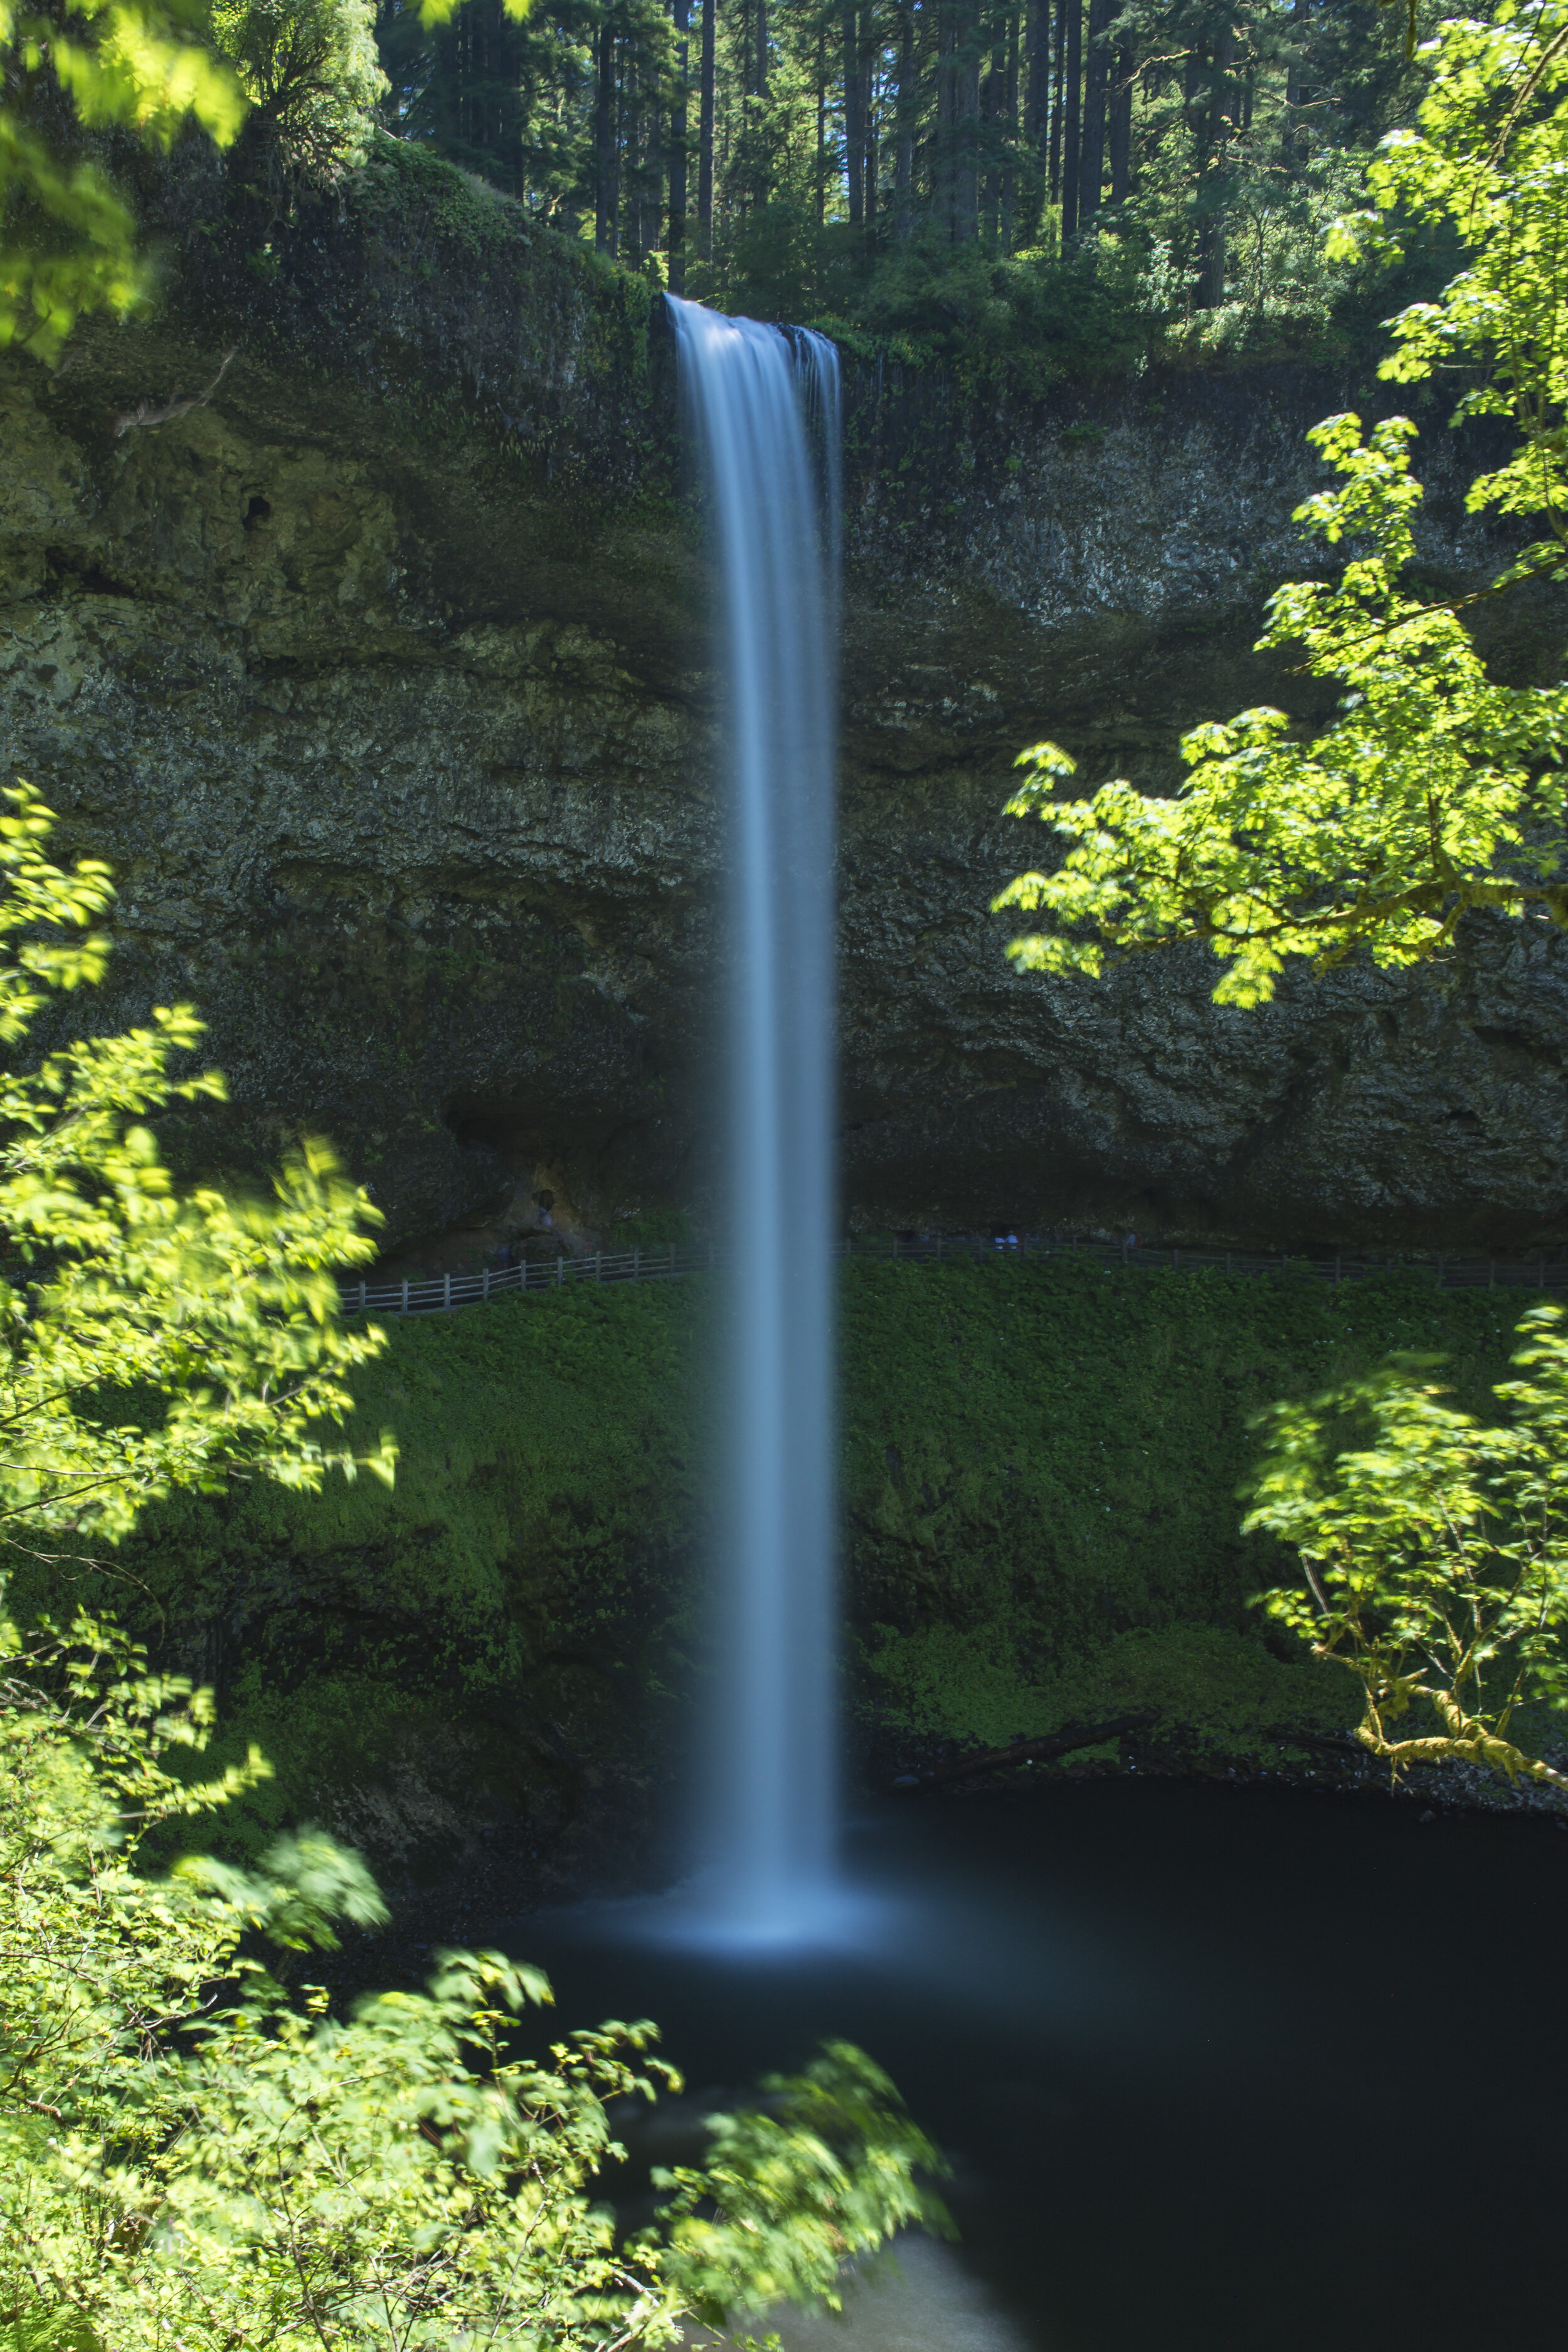
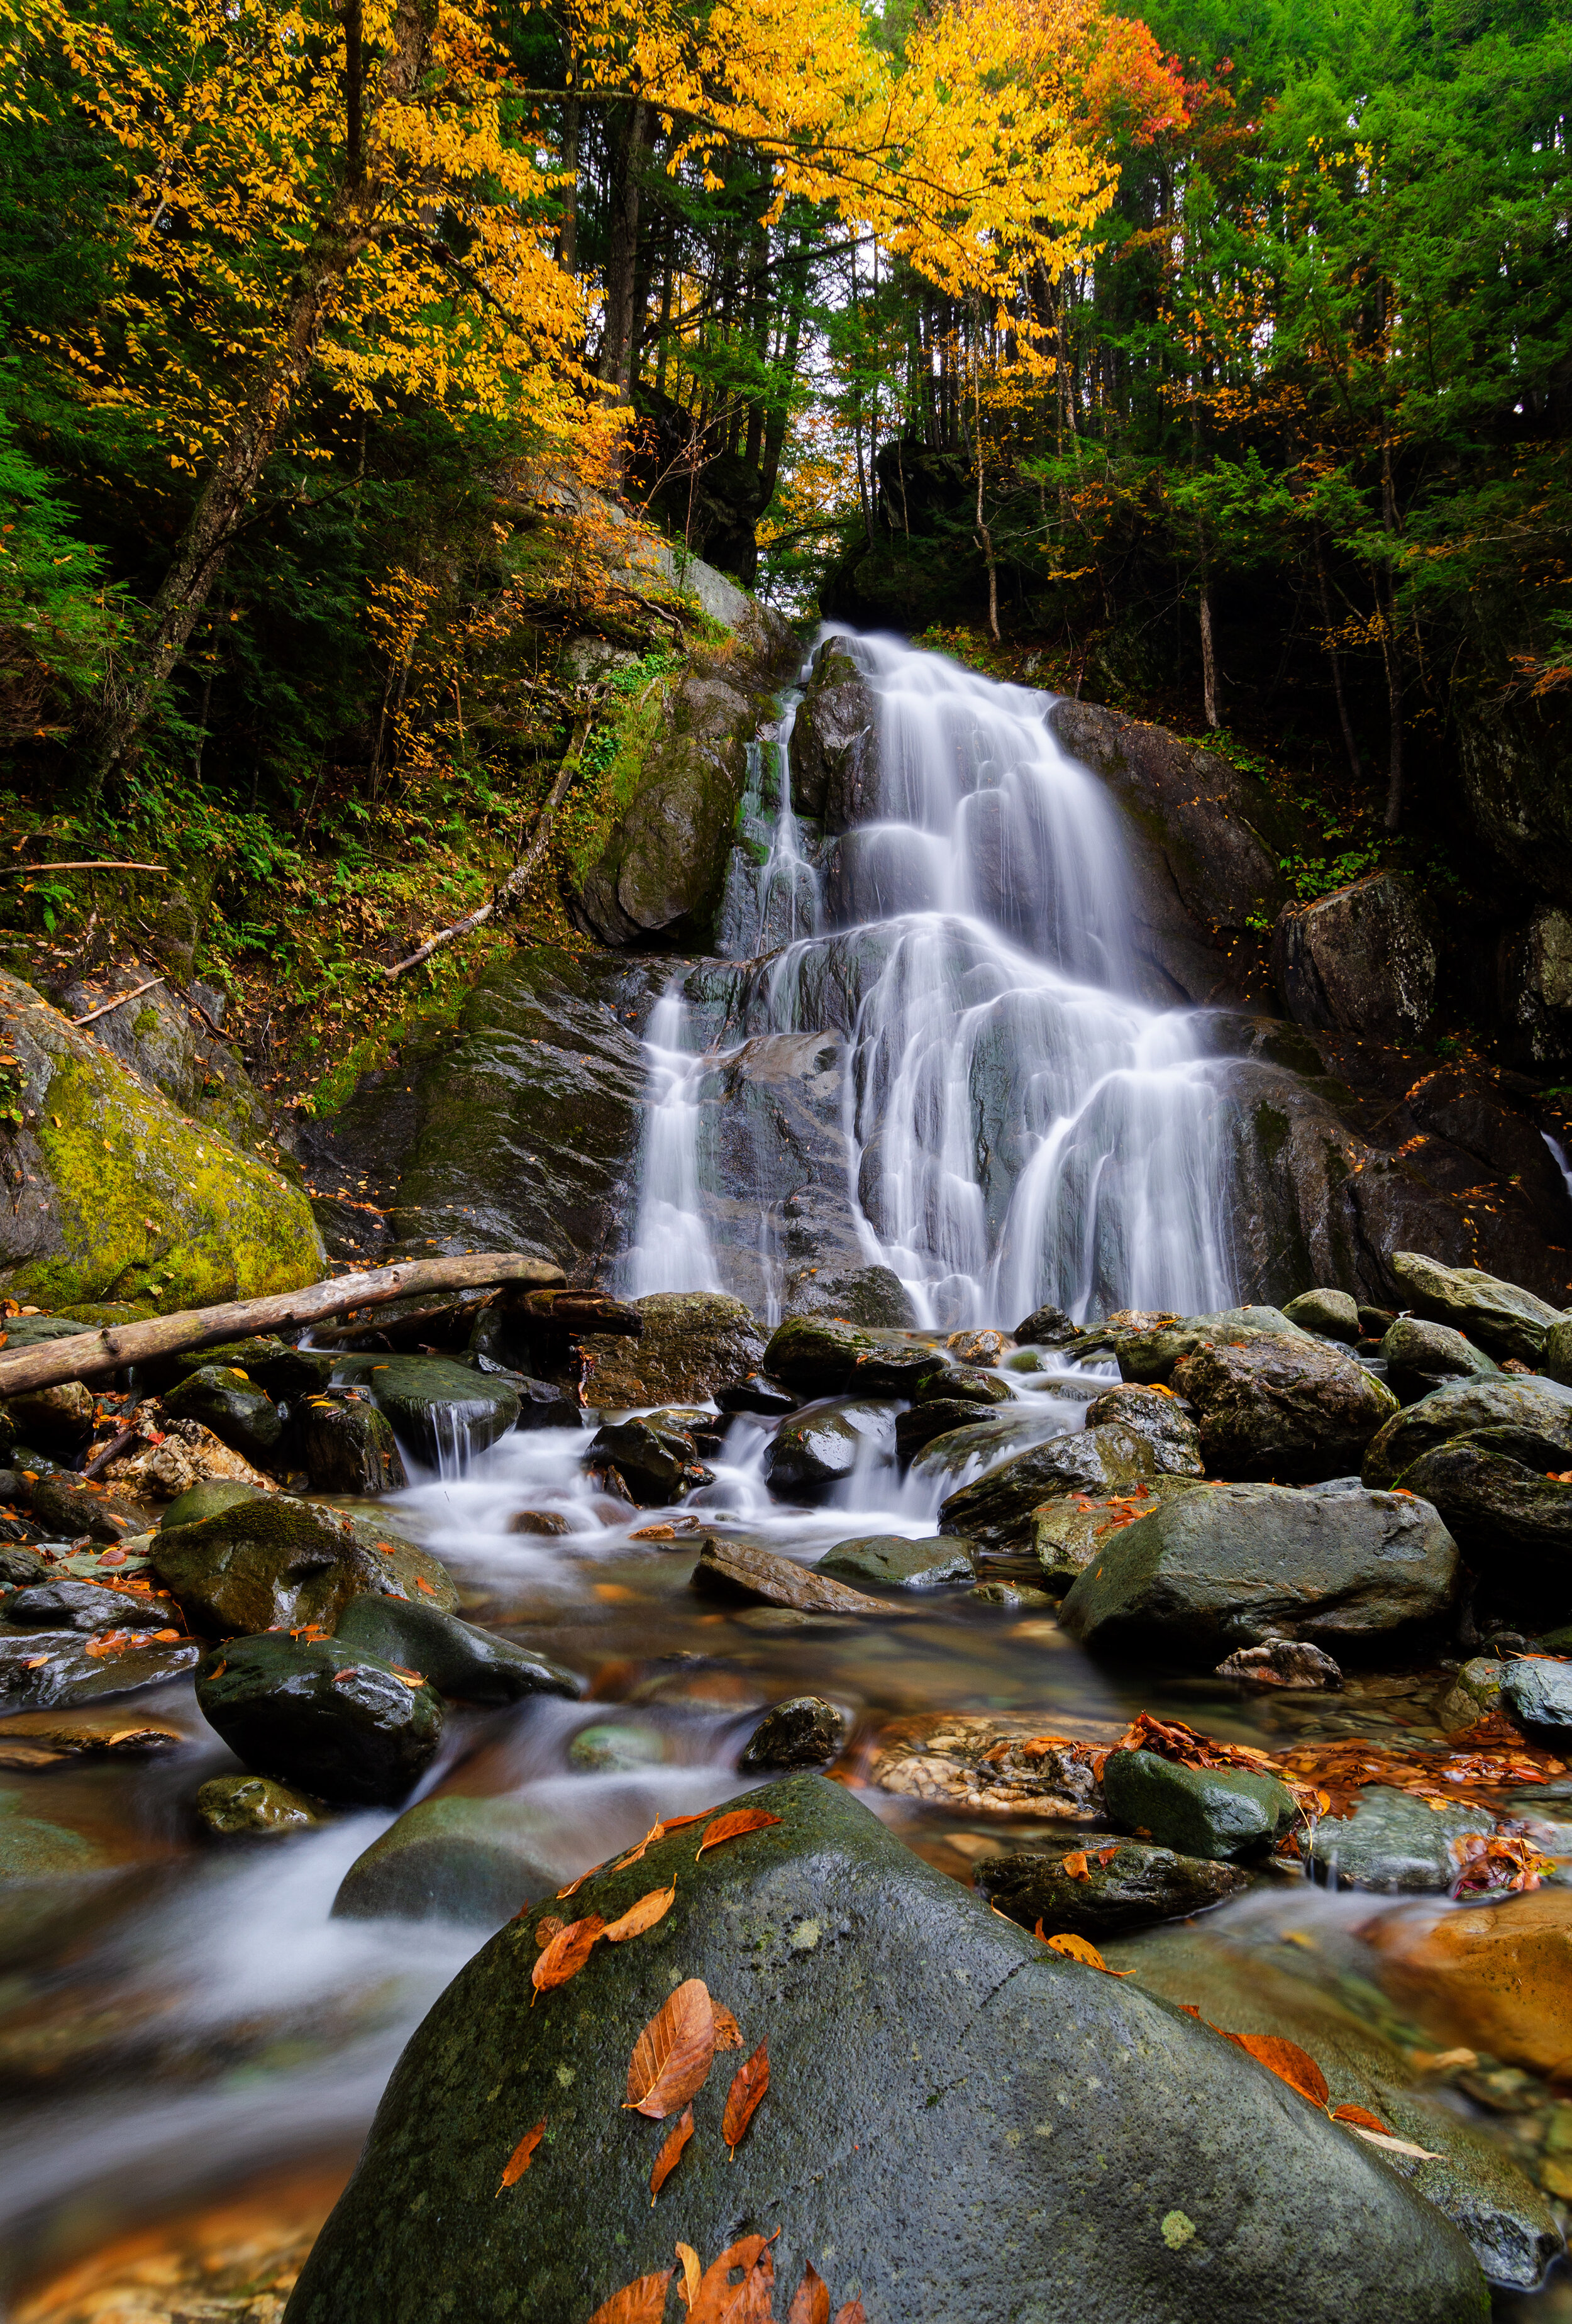
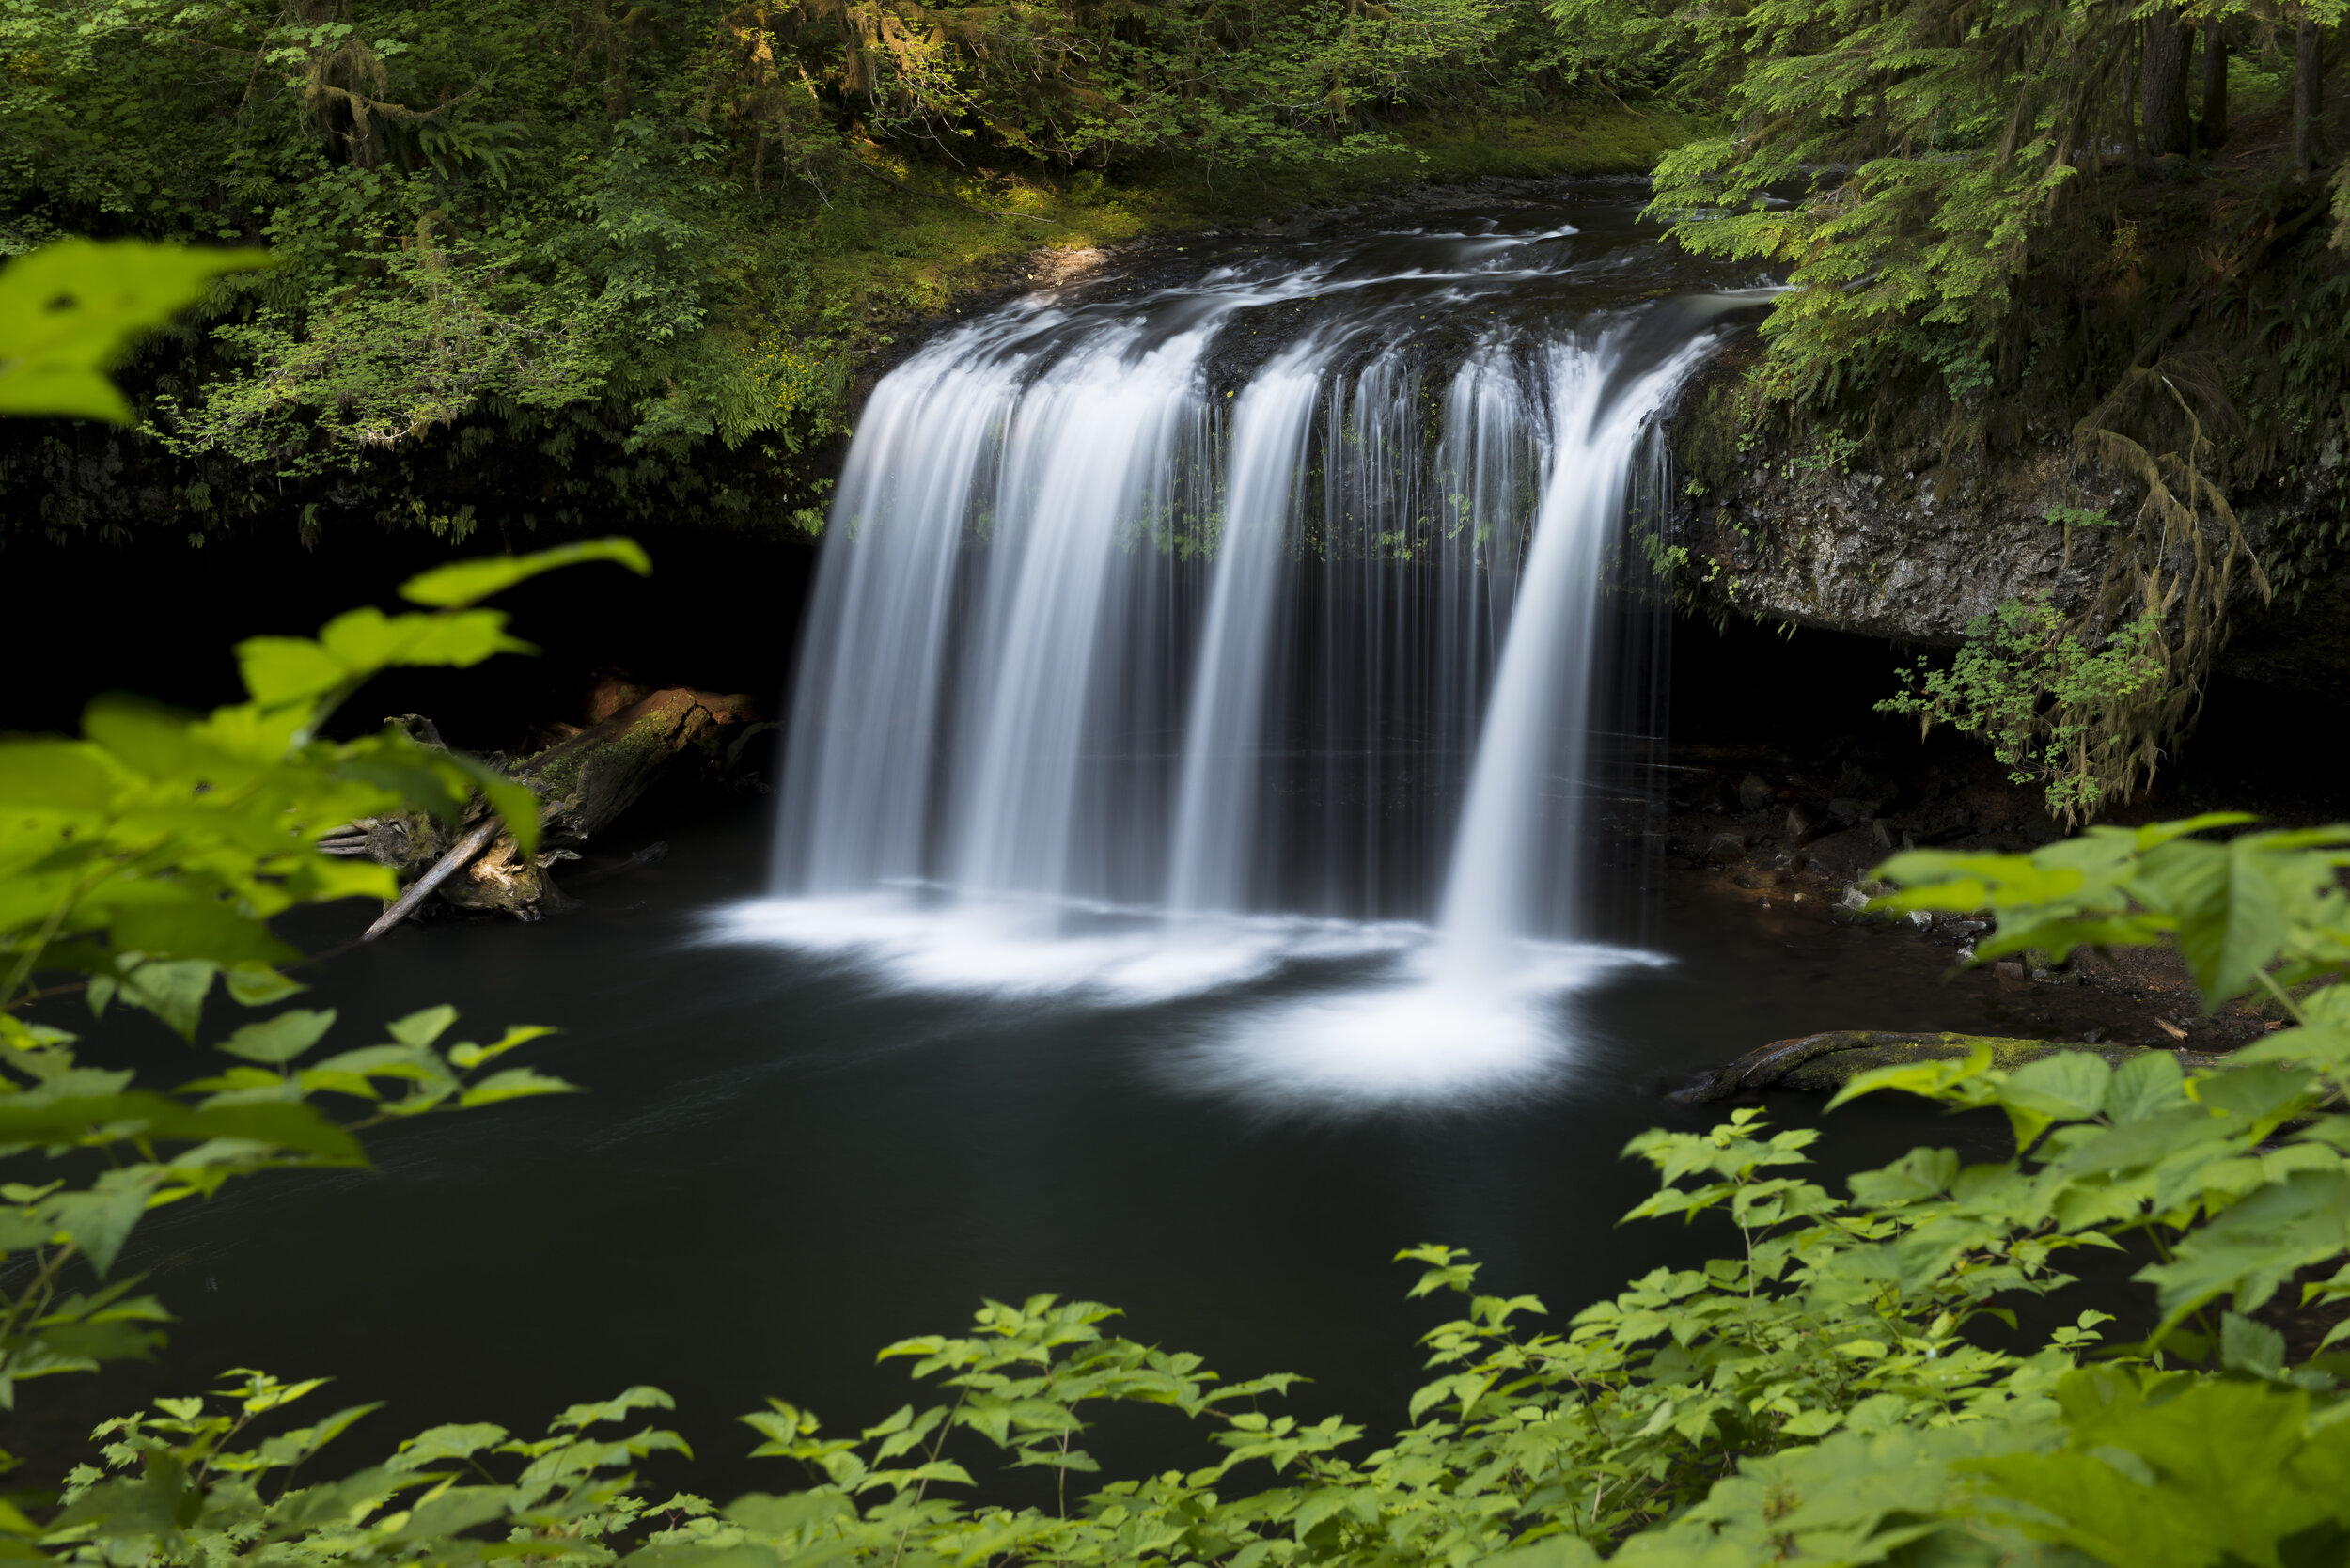
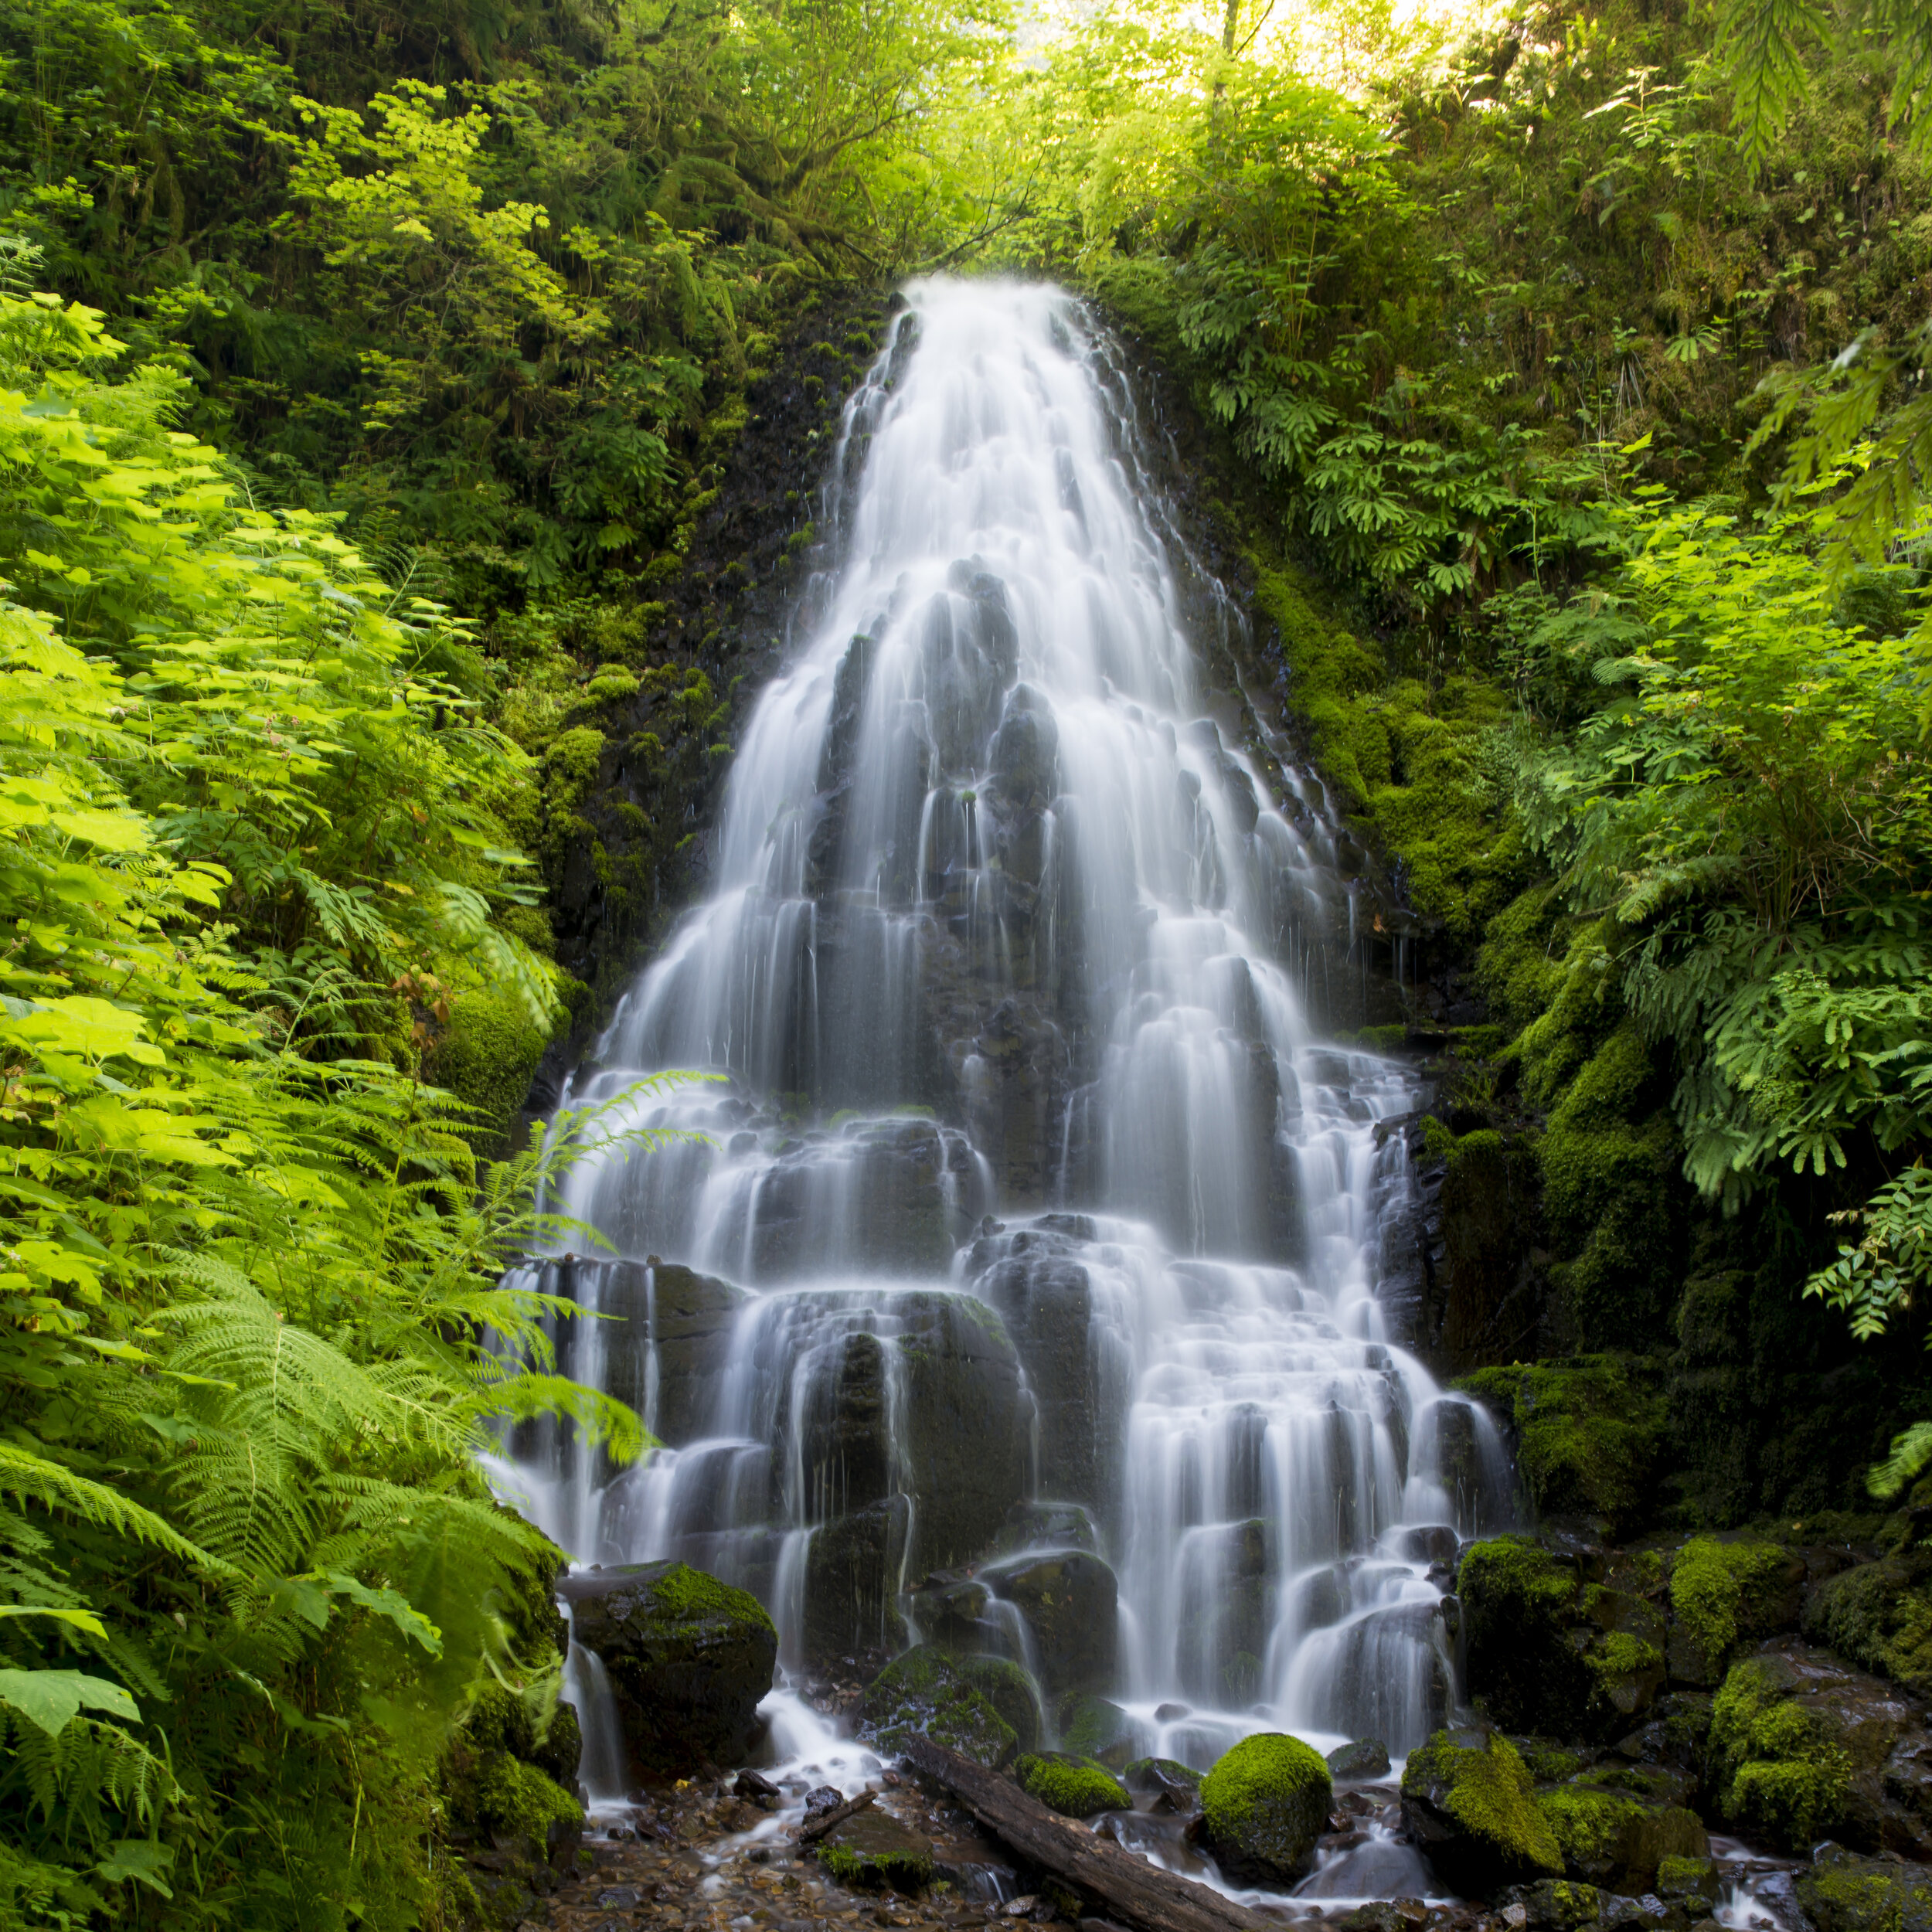
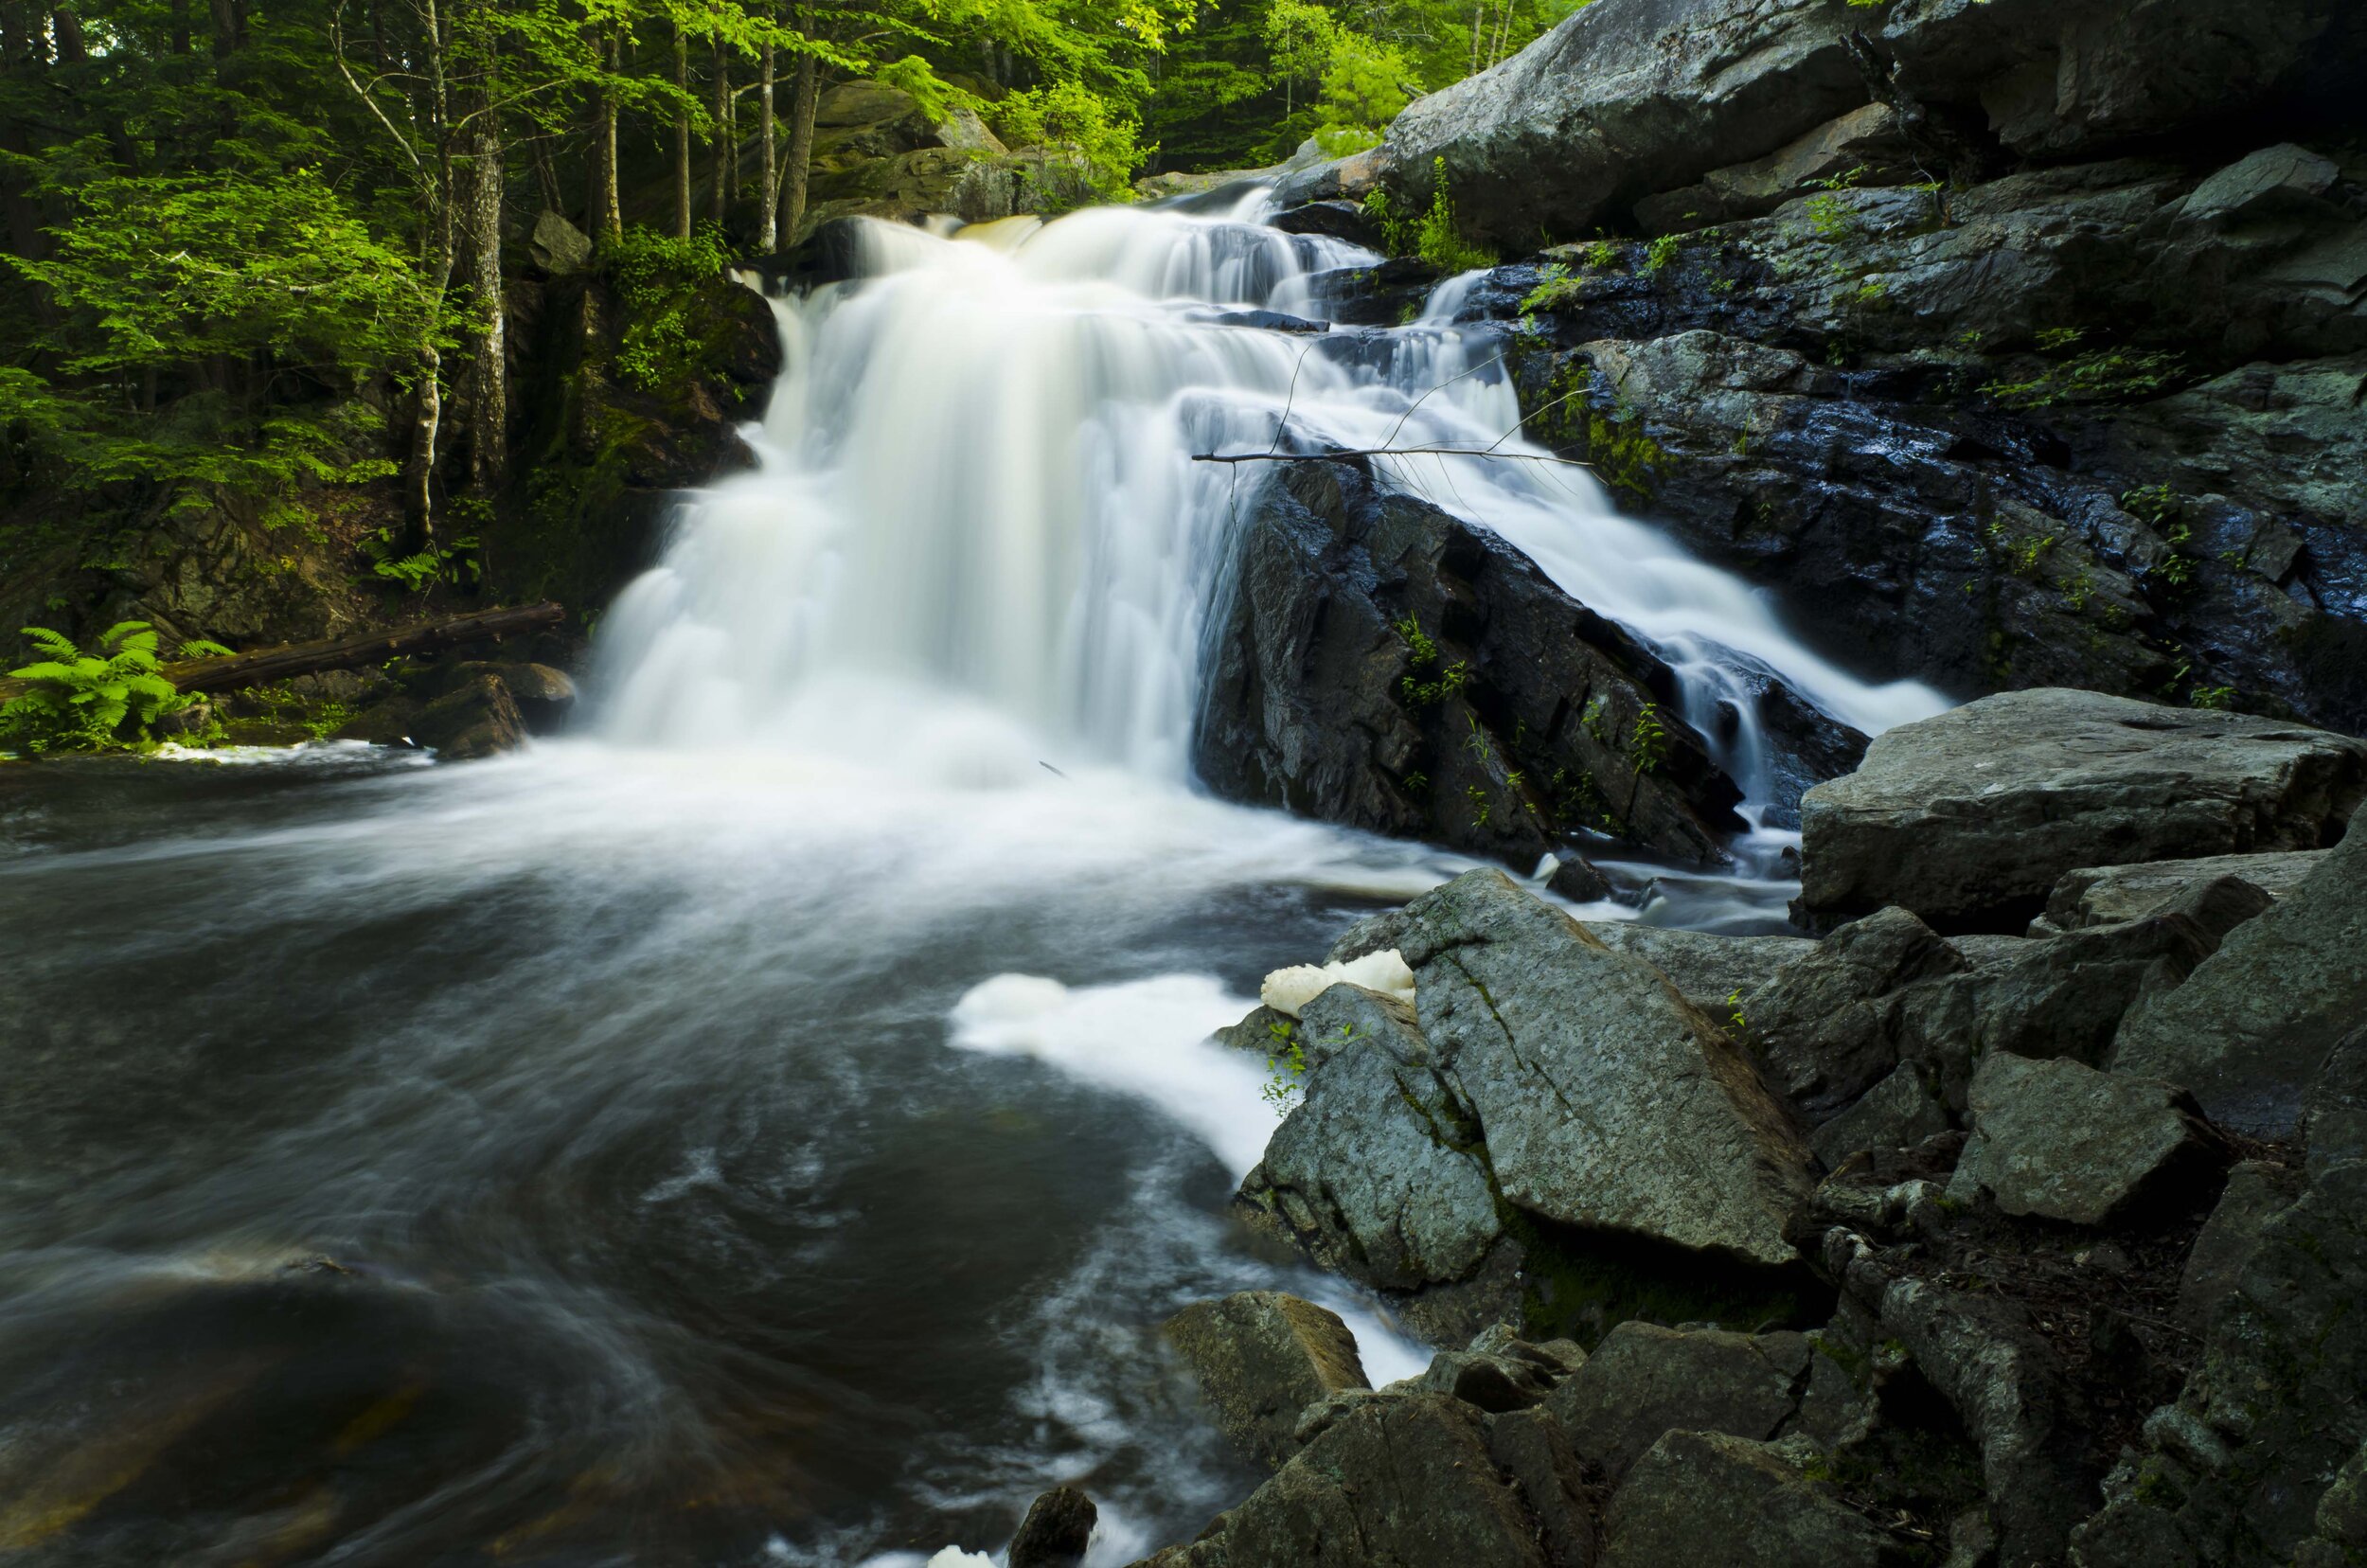
I have always been curious about waterfall photography. I still remember seeing a beautiful long exposure shot of a nearby waterfall and think that it was the most beautiful photo that I have ever seen. So when my dad gave me an old Pentax film camera, I couldn’t wait to shoot the small waterfall near my home. The only problem, I didn't have any film or enough money to process the film. So the wait lasted six more months before I managed to get everything in order.
I still remember heading there with my then best friend and impressing him by setting up the camera and clicking away, and it felt good. My thinking was simple, and I know the settings of the long exposure shot. I needed exposure to last a couple of seconds, and magic should happen. I remember the giddiness with which I went collect the processed image and the surprise when the image looked like a blank sheet of paper rather than the beautiful image of a waterfall. My disappointment was palpable, prompting the darkroom developer to come out and have a chat. He asked me what the subject and confessed to him what I had done. He patiently explained to me about the exposure triangle and how, by manipulating the exposure time manually and not compensating for it in any other way, changed the equilibrium of the triangle. I am forever in debt for that counsel. It put me on a path of learning, but life got busy, and photography took a backseat.
Then in my early twenty’s, I moved to Boston to pursue my master’s degree. Along with the intensive semester load and my TA, I had very little spare time. I didn’t think about photography until I started my first job. I was living close to New Hampshire, and there was a waterfall a few steps away from my apartment. Now armed with my past experiences, I thought I was ready. I hiked up to the waterfall and composed a shot on my brand new D5000. The result was a shaky mess of a photo and left me even more confused.
I spend quite a bit of time to resolve the issues I faced. My gorilla pod was not sturdy enough, so I had to be very careful with how I activated the shutter. I managed to overcome that with the self-timer functionality. I used a small aperture of f18 to compensate for my 2-second exposure and finally got an image that looked good on the camera LCD. I rushed back home and started post-processing. The photo didn’t look as good on the bigger screen, highlights were blown where light shafts peeked through the foliage, and the diffraction at f18 made the image very soft. It took me a while to understand why it was happening, but I kept on returning to the waterfall to perfect my technique.
Finally, after several tries, I managed to get a recipe for a successful waterfall shot. The ideal shutter speed is between 1-4 seconds and aperture between 5.6 to 11. I use the lowest iso available on the camera and an ND filter if necessary. A 2-stop ND Grad 150x100 filter is one of the most useful accessories that you can add to your camera gear. It took me way more time to make a good composition of a waterfall, though, but that’s a subject for whole another post.

