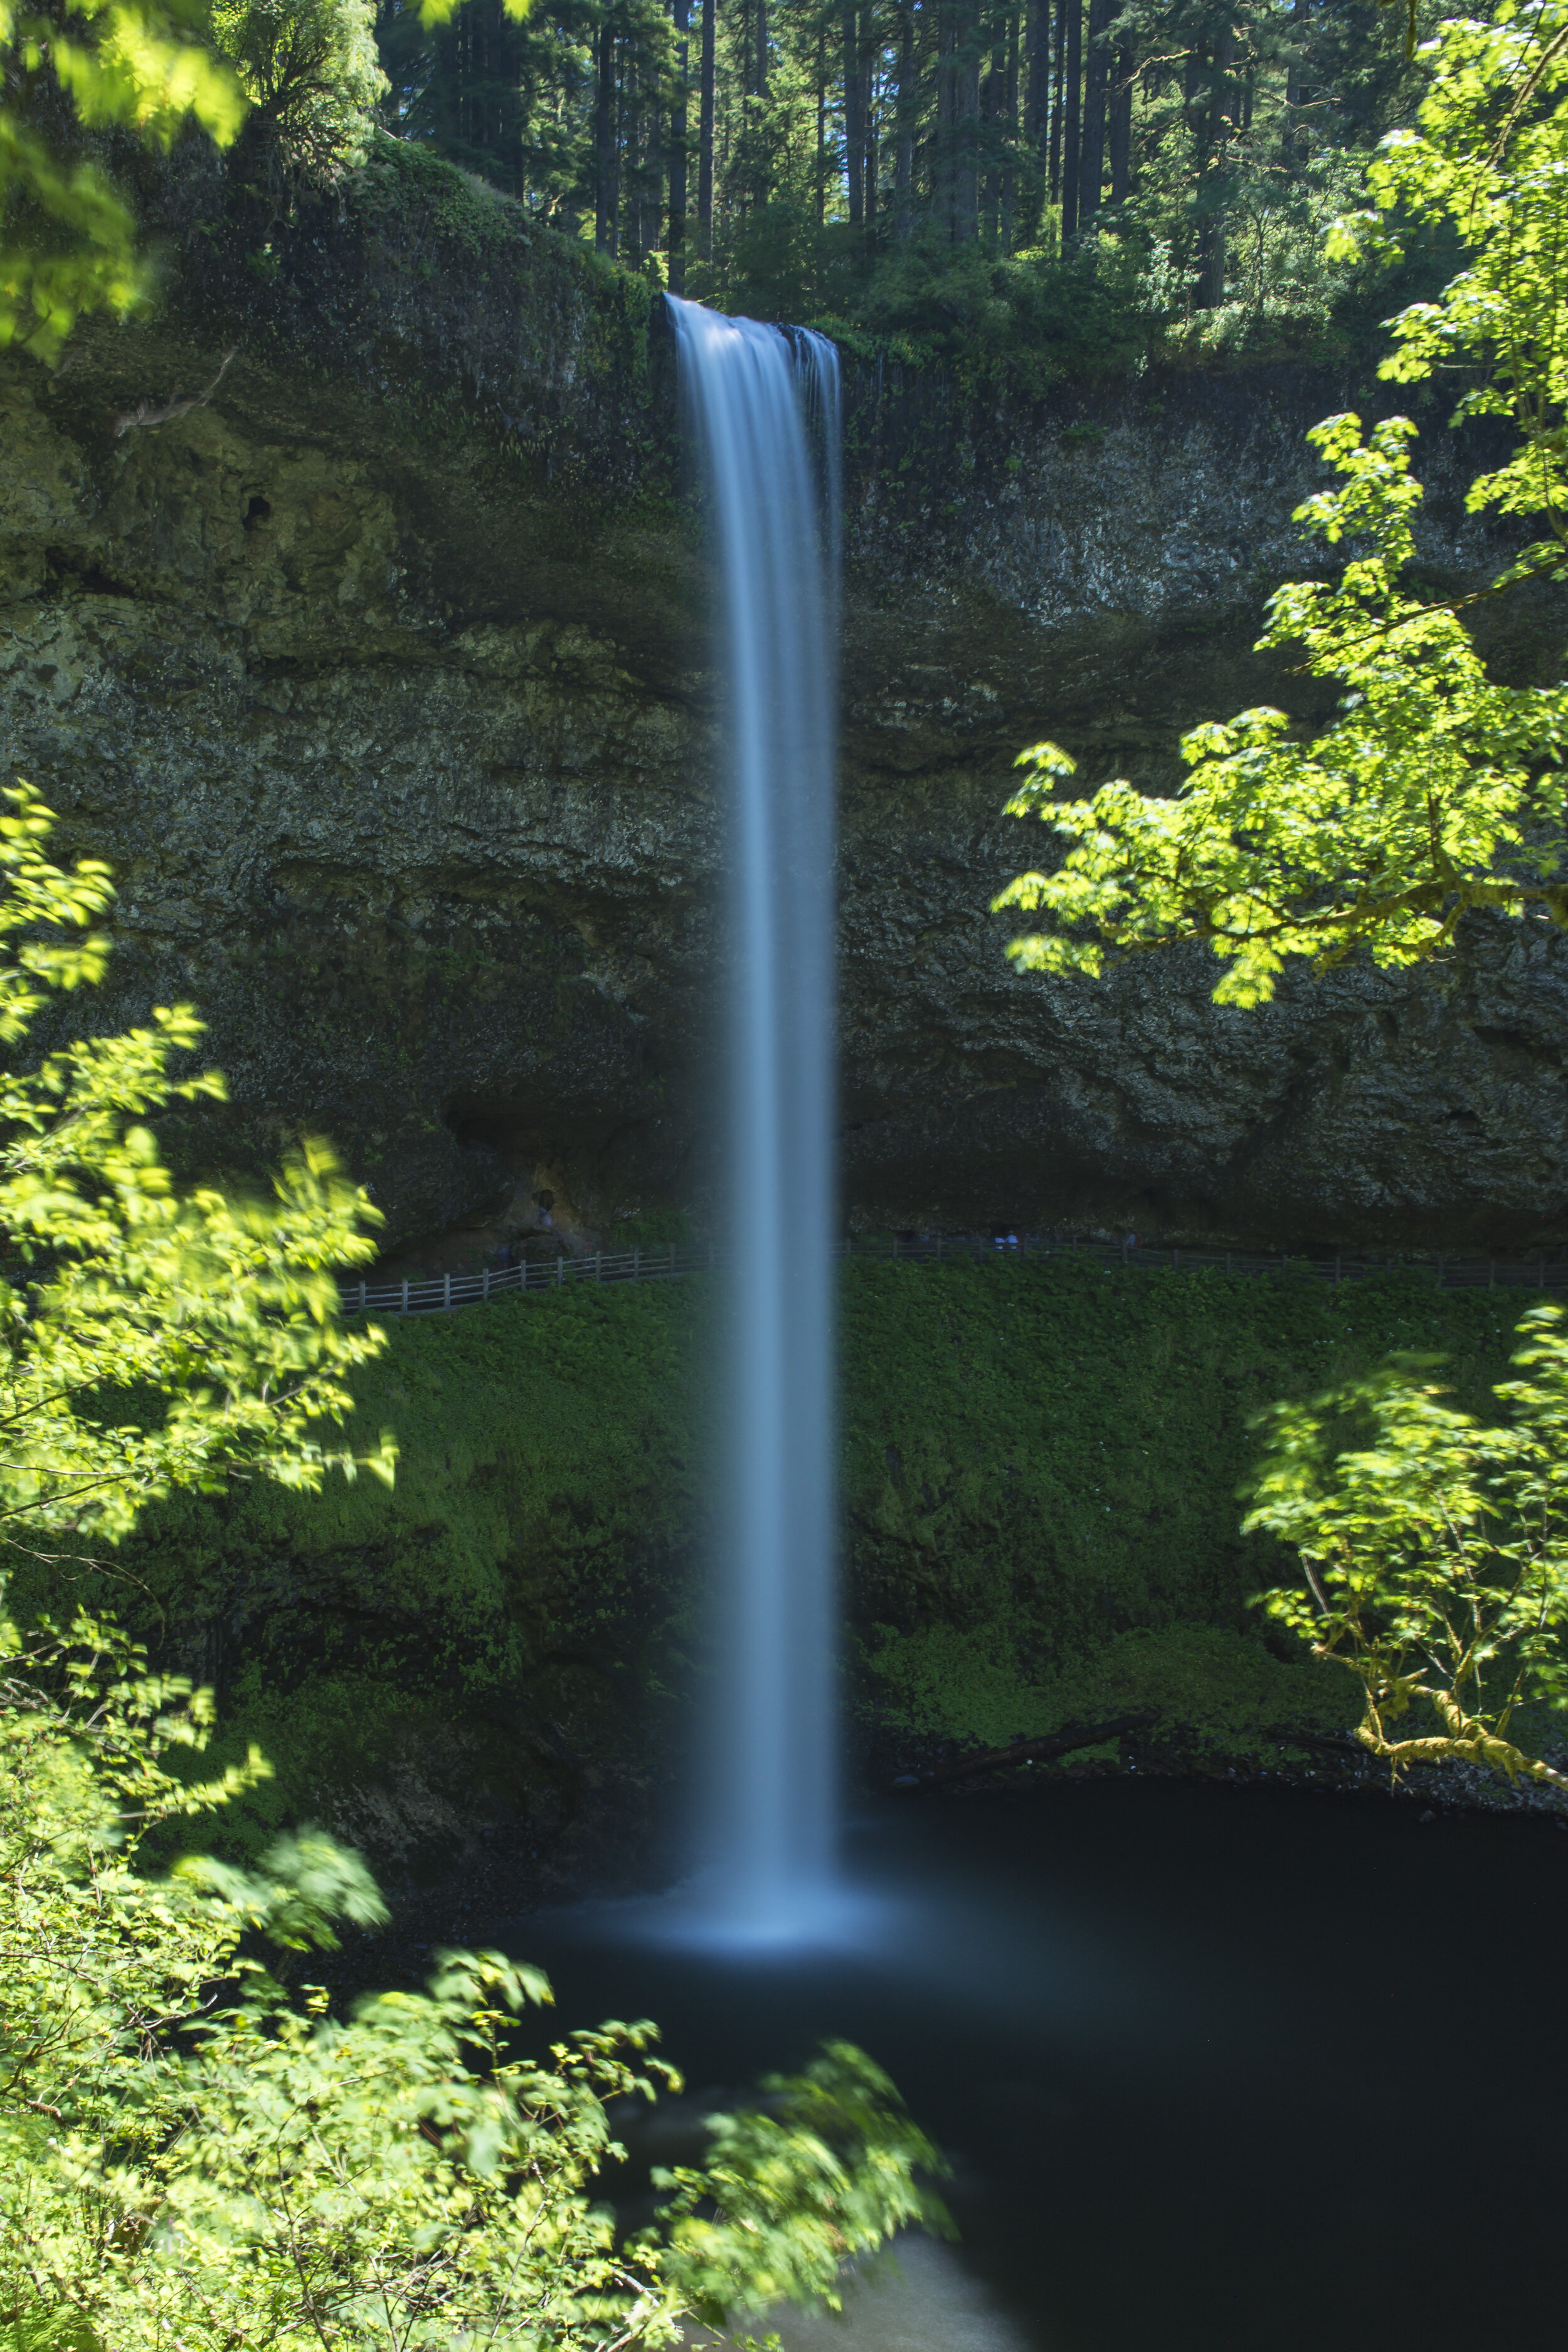
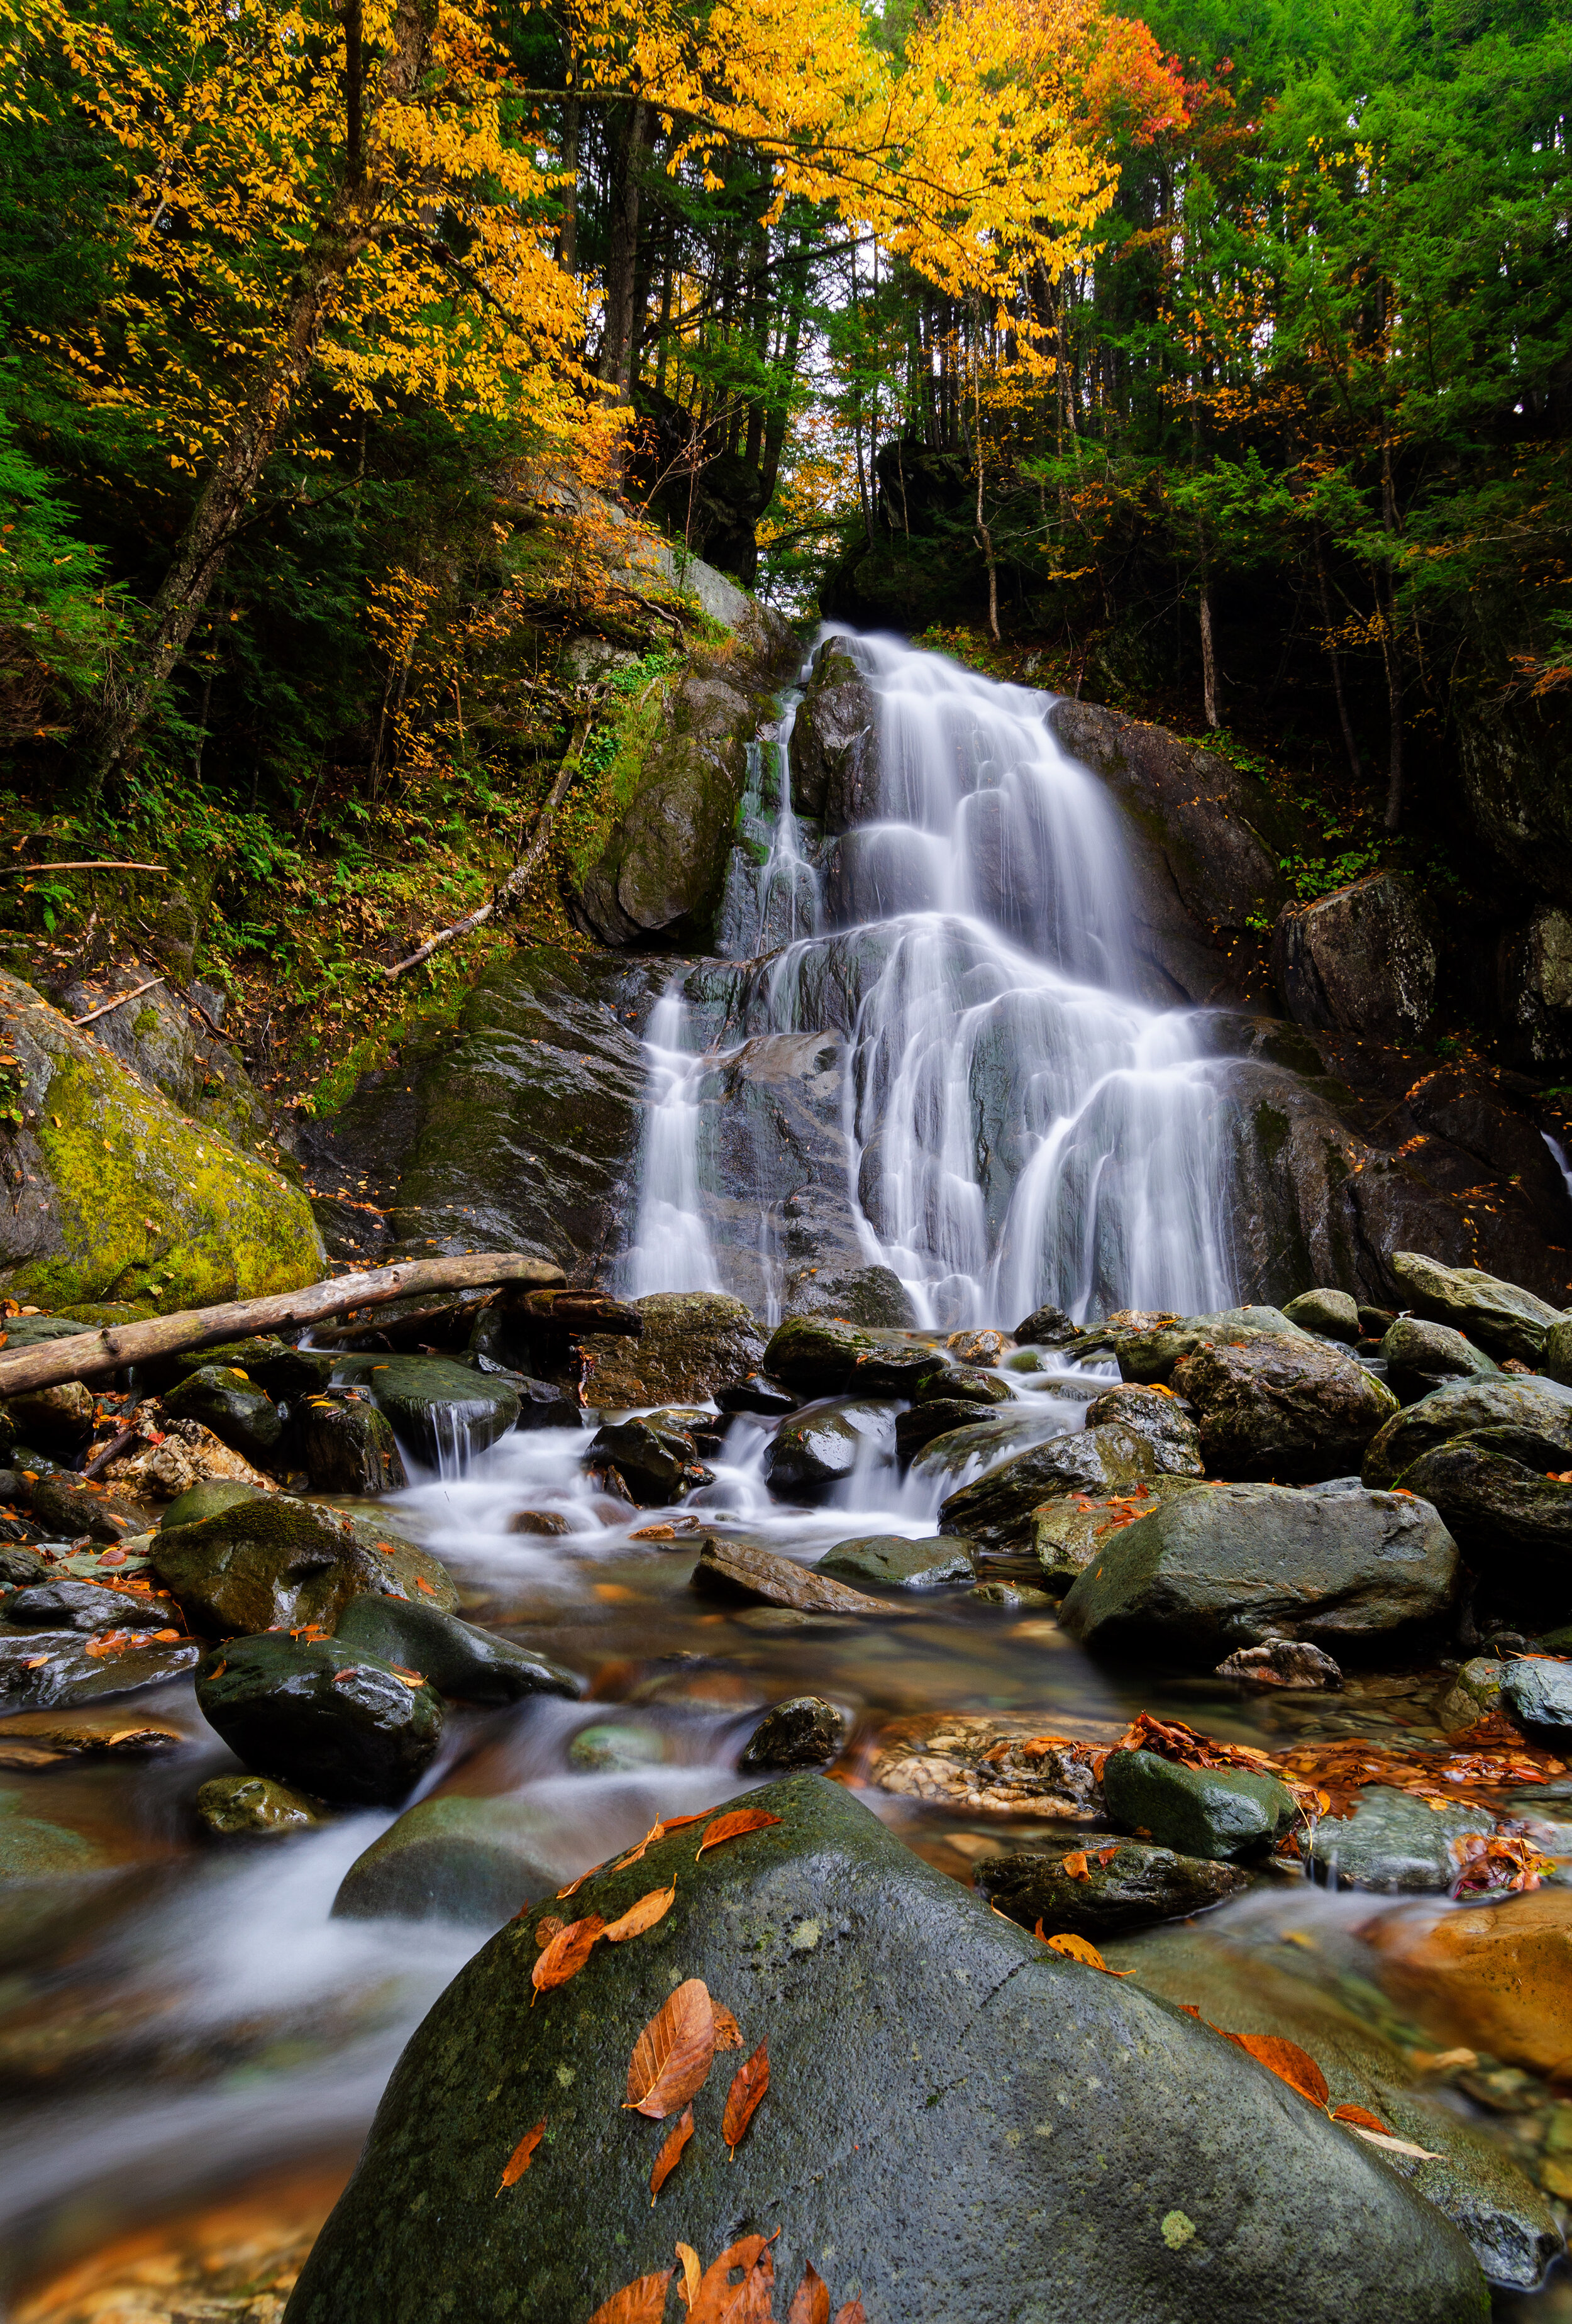
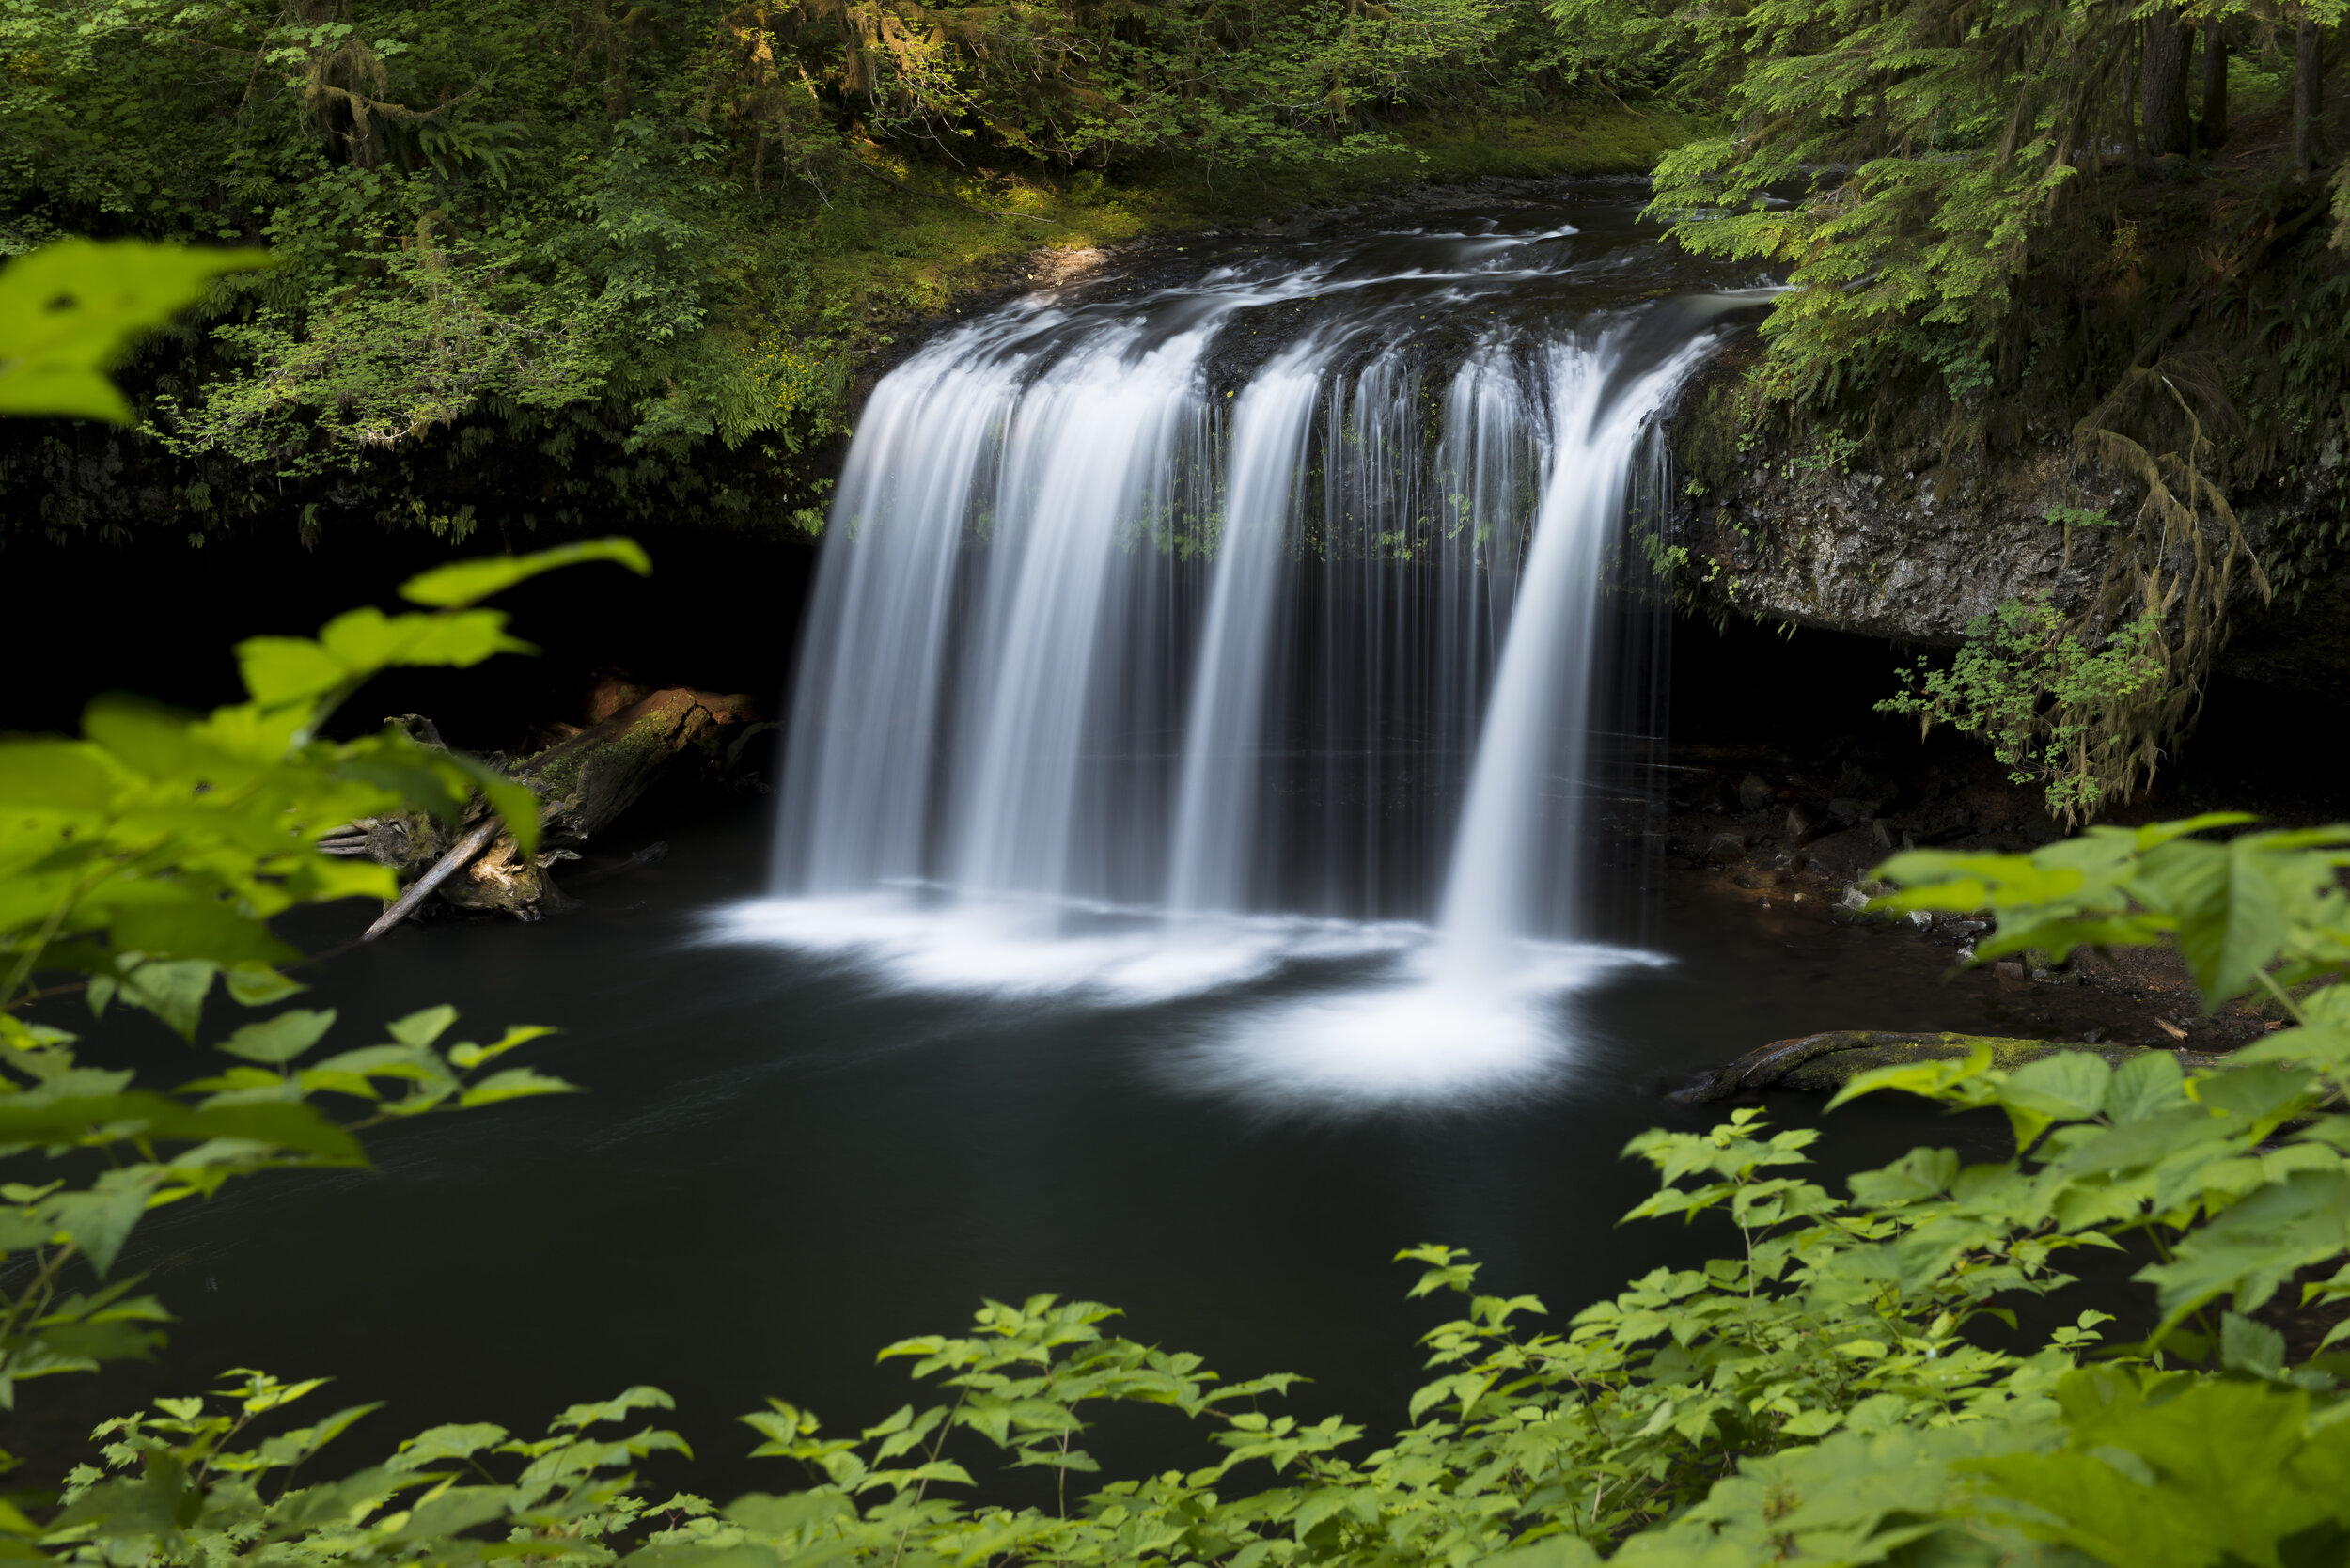
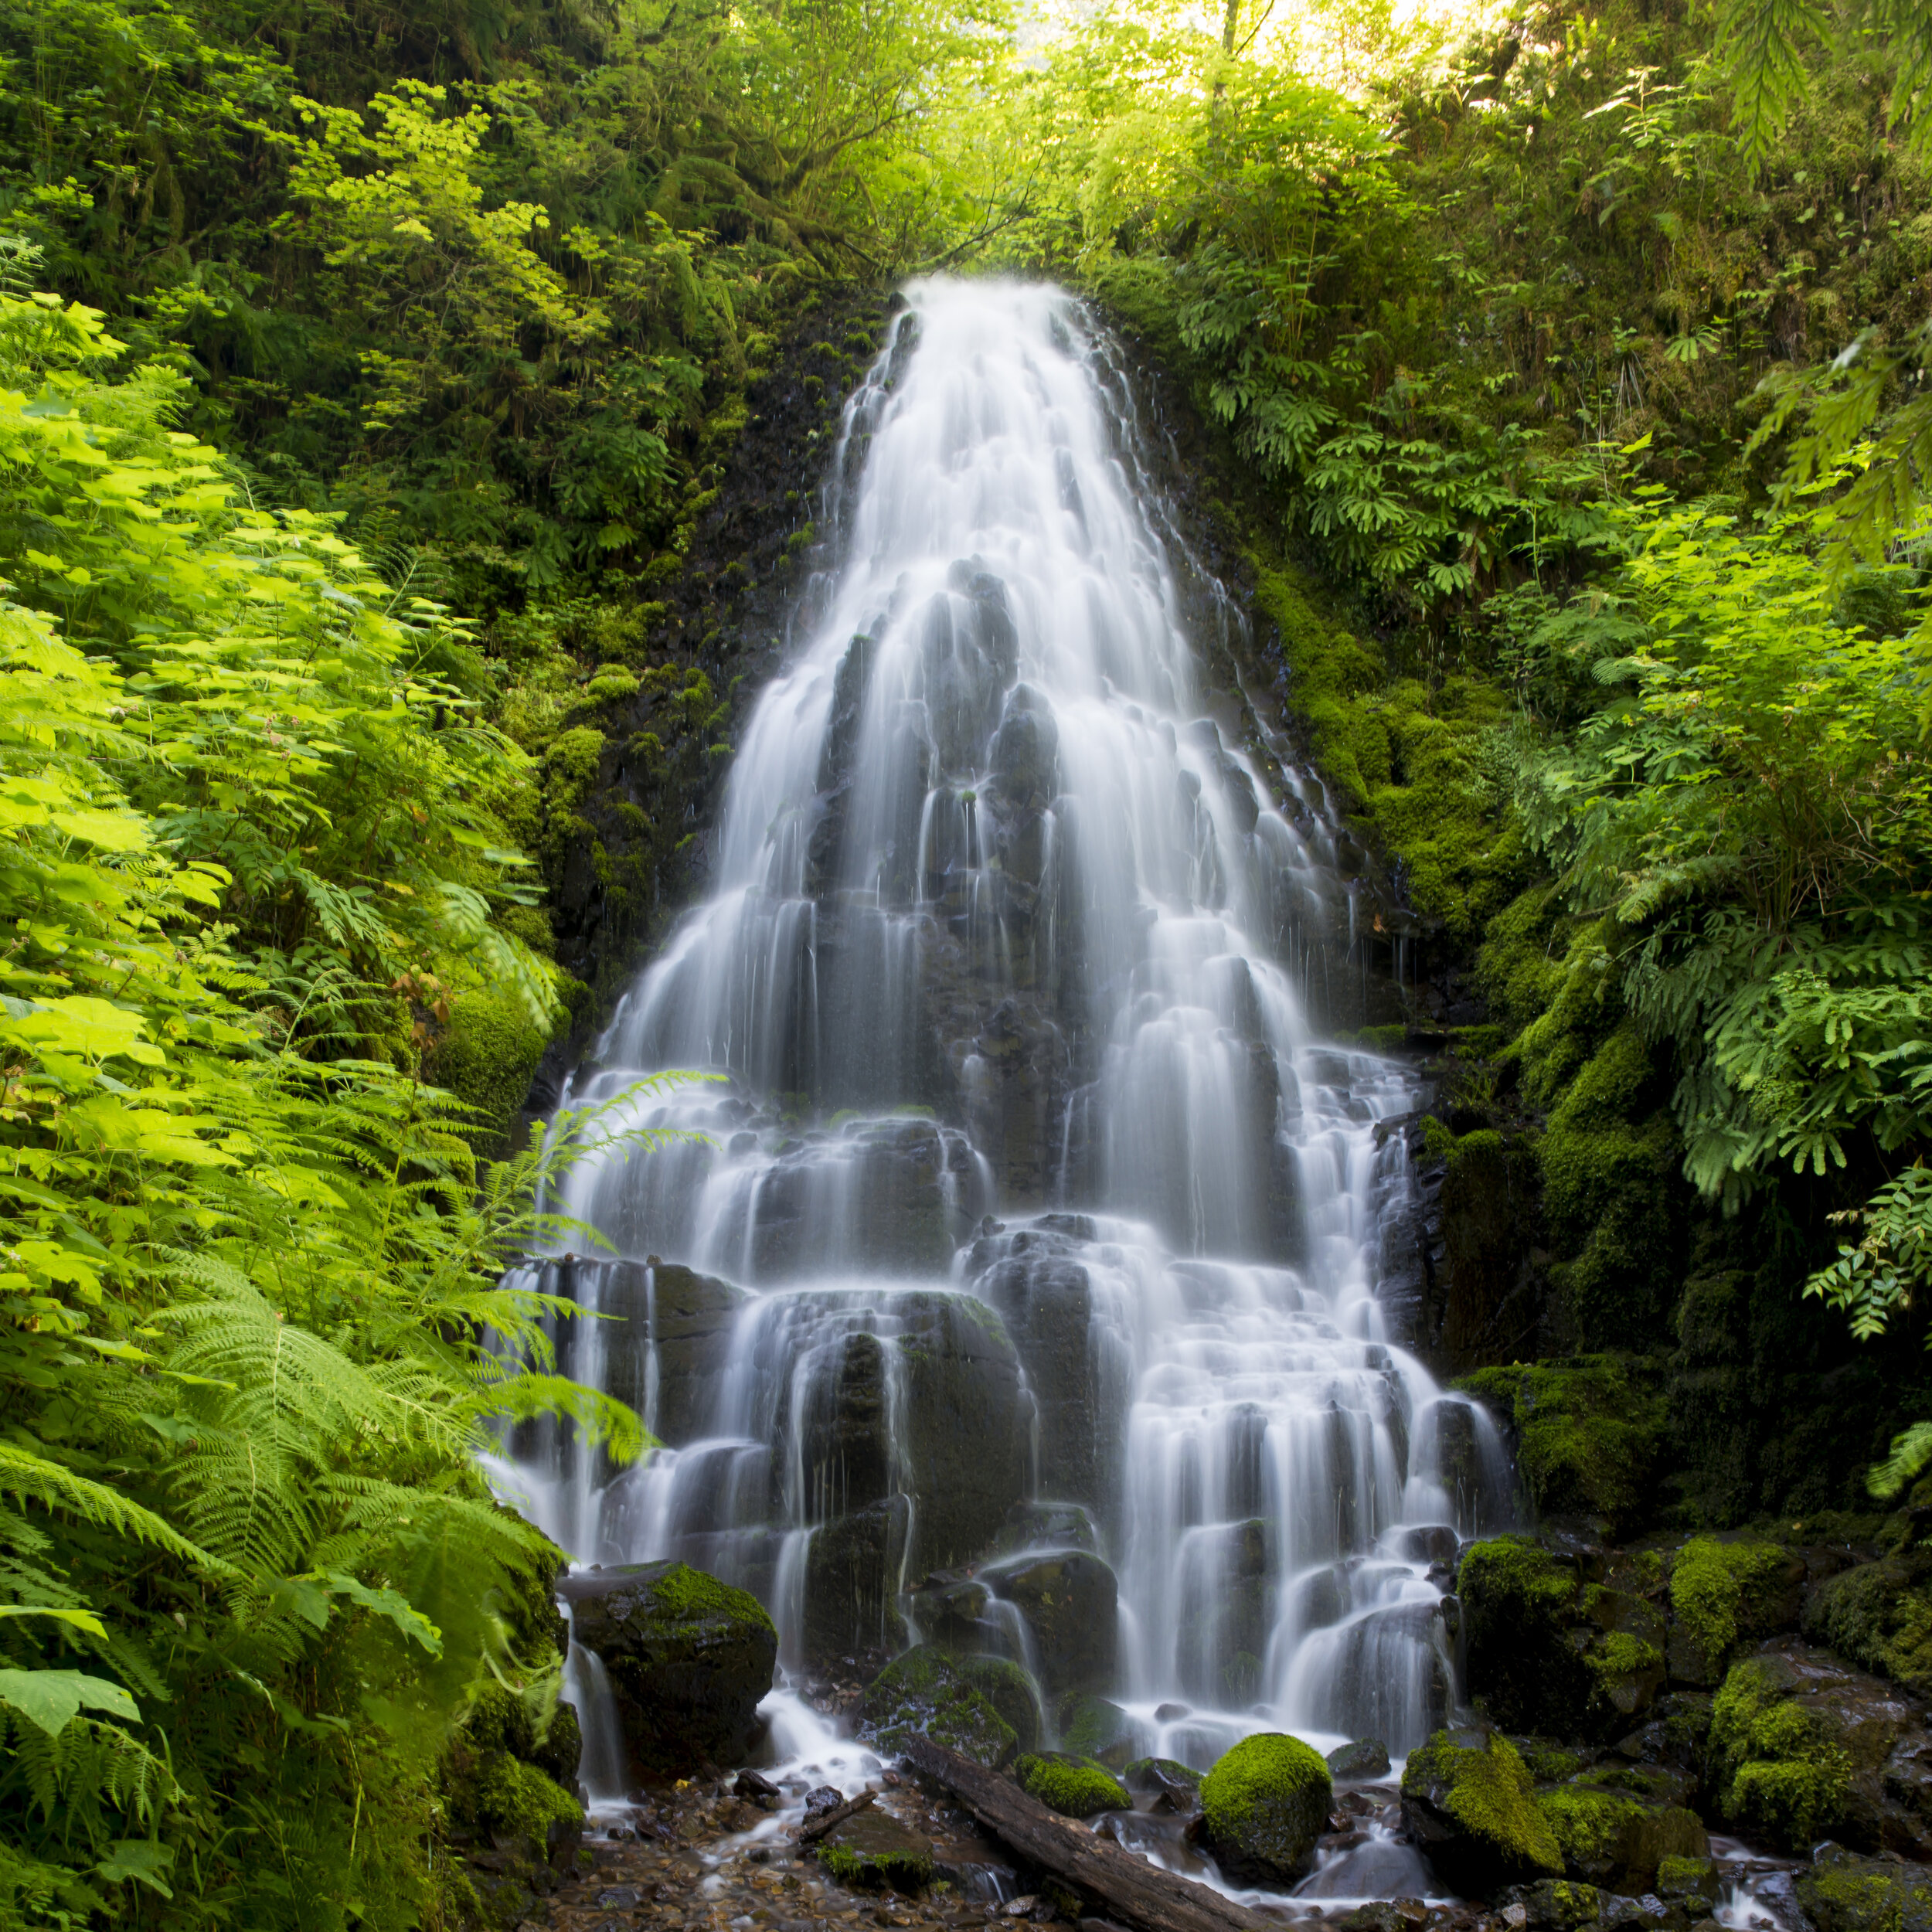
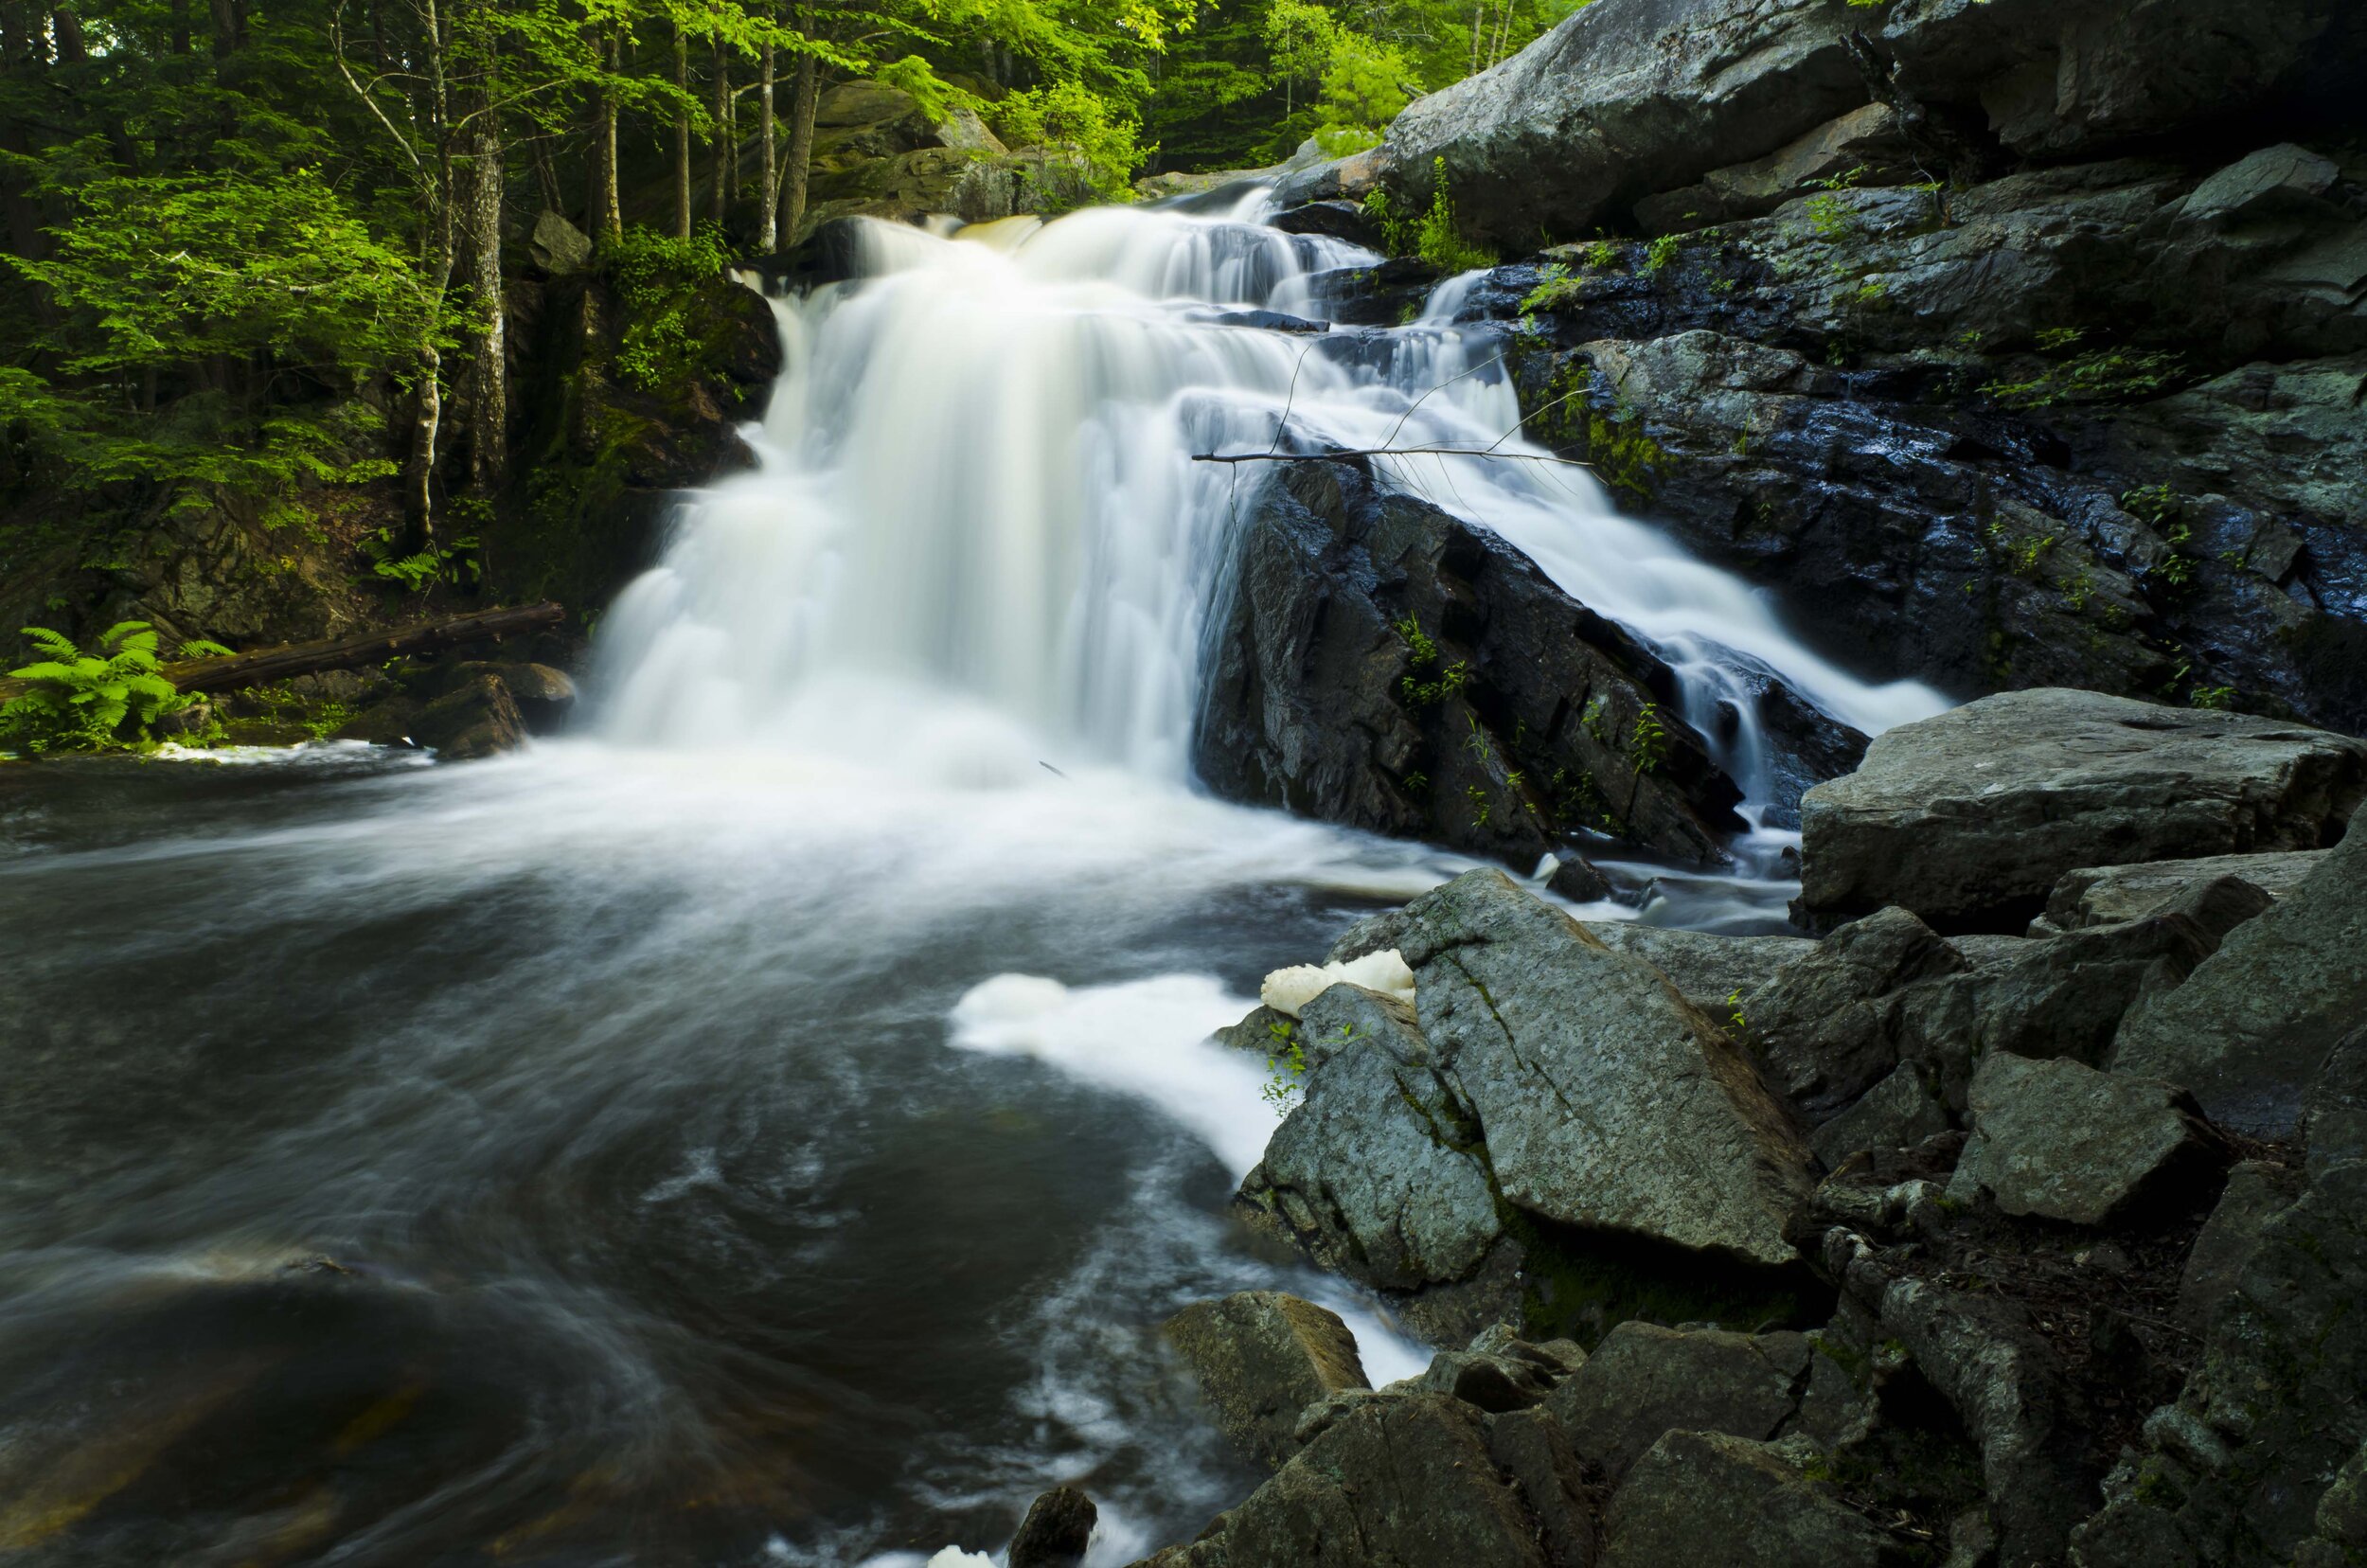
Travel photography can be challenging. You might be at your dream location but the conditions might be atrocious. A bit of planning and understanding the landscape helped me get one of my grail shots at Mc Way Falls.
Read MoreSunset at Monument Valley.
Mastering the Desert Landscape
The Desert is a punishing landscape subject. In this post, I’d like to share some tips that I learned from 7 years of photographing the American South-West.
Read MoreThe portrait composition and landscape photography
Portrait compositions in landscape photography is a tough ask. As a landscape photographer, you learn to love the golden hour, when your whole surrounding is getting bathed in warm golden light. It's difficult to eliminate elements purely for the sake of compositions. I especially struggle with it because I love vertical compositions, but my natural inclination is always to go for wider compositions at beautiful vistas. It is quite natural for me to get lost in a wide expansive scenic view and completely forget about the more detailed and nuanced landscape elements.
I used to get frustrated by the fact that I had very similar looking compositions and took it as a plan to change my shooting strategy. After a bit of introspection, I realized that I over plan my trips. We planned our trips to the hour, jamming in as many spots as we can visit. This way of planning usually means that we don’t have a lot of time at any given location. There were other reasons as well to make changes to our plan. We were getting old, and it was taking us a long time to recover from the hardships of the road. We started to enjoy our road trips less. So we needed a change in our planning strategy. I began to look at our trips as the first of many and allocated more time to explore the spots which made it to our list.
Taking the extra time made a tremendous change in our trips. We started to enjoy them more, and the quality of images improved drastically. Compositions became more deliberate, and all in all, felt more peaceful. The beautiful horseshoe bend near Page Arizona is the subject of the last picture in the post. It’s a large hairpin bend made in the sandstone terrain by the mighty Colorado River. There is about a half a mile hike to the viewpoint from the parking lot. Usually, we reach here just around the sunset, and then struggle to hike through the sandy trail to the viewpoint and get a spot among the throngs of photographers vying for the coveted spot by the canyon rim. But this time, we arrived way earlier, mainly to make sure my dad, who was with us, could hike to the canyon at a leisure pace. So, we had a couple of hours at the canyon, and by the time the sunset was in full swing, I was already done with my wide shots and had ample time to try my portrait compositions. I liked how the diagonal ridge on the rim complemented the vivid colors on the clouds.
My advice is to force yourself to compose your images in vertical composition. While it may appear as if you are leaving out valuable elements from the composition, what you are doing is eliminating the more distracting elements. It will help you tell your story better.
One of my first waterfall images ever, The composition is rather plain with blown highlights. Tucker Brook Falls, NH.
Learning waterfall photography
I have always been curious about waterfall photography. I still remember seeing a beautiful long exposure shot of a nearby waterfall and think that it was the most beautiful photo that I have ever seen. So when my dad gave me an old Pentax film camera, I couldn’t wait to shoot the small waterfall near my home. The only problem, I didn't have any film or enough money to process the film. So the wait lasted six more months before I managed to get everything in order.
I still remember heading there with my then best friend and impressing him by setting up the camera and clicking away, and it felt good. My thinking was simple, and I know the settings of the long exposure shot. I needed exposure to last a couple of seconds, and magic should happen. I remember the giddiness with which I went collect the processed image and the surprise when the image looked like a blank sheet of paper rather than the beautiful image of a waterfall. My disappointment was palpable, prompting the darkroom developer to come out and have a chat. He asked me what the subject and confessed to him what I had done. He patiently explained to me about the exposure triangle and how, by manipulating the exposure time manually and not compensating for it in any other way, changed the equilibrium of the triangle. I am forever in debt for that counsel. It put me on a path of learning, but life got busy, and photography took a backseat.
Then in my early twenty’s, I moved to Boston to pursue my master’s degree. Along with the intensive semester load and my TA, I had very little spare time. I didn’t think about photography until I started my first job. I was living close to New Hampshire, and there was a waterfall a few steps away from my apartment. Now armed with my past experiences, I thought I was ready. I hiked up to the waterfall and composed a shot on my brand new D5000. The result was a shaky mess of a photo and left me even more confused.
I spend quite a bit of time to resolve the issues I faced. My gorilla pod was not sturdy enough, so I had to be very careful with how I activated the shutter. I managed to overcome that with the self-timer functionality. I used a small aperture of f18 to compensate for my 2-second exposure and finally got an image that looked good on the camera LCD. I rushed back home and started post-processing. The photo didn’t look as good on the bigger screen, highlights were blown where light shafts peeked through the foliage, and the diffraction at f18 made the image very soft. It took me a while to understand why it was happening, but I kept on returning to the waterfall to perfect my technique.
Finally, after several tries, I managed to get a recipe for a successful waterfall shot. The ideal shutter speed is between 1-4 seconds and aperture between 5.6 to 11. I use the lowest iso available on the camera and an ND filter if necessary. A 2-stop ND Grad 150x100 filter is one of the most useful accessories that you can add to your camera gear. It took me way more time to make a good composition of a waterfall, though, but that’s a subject for whole another post.
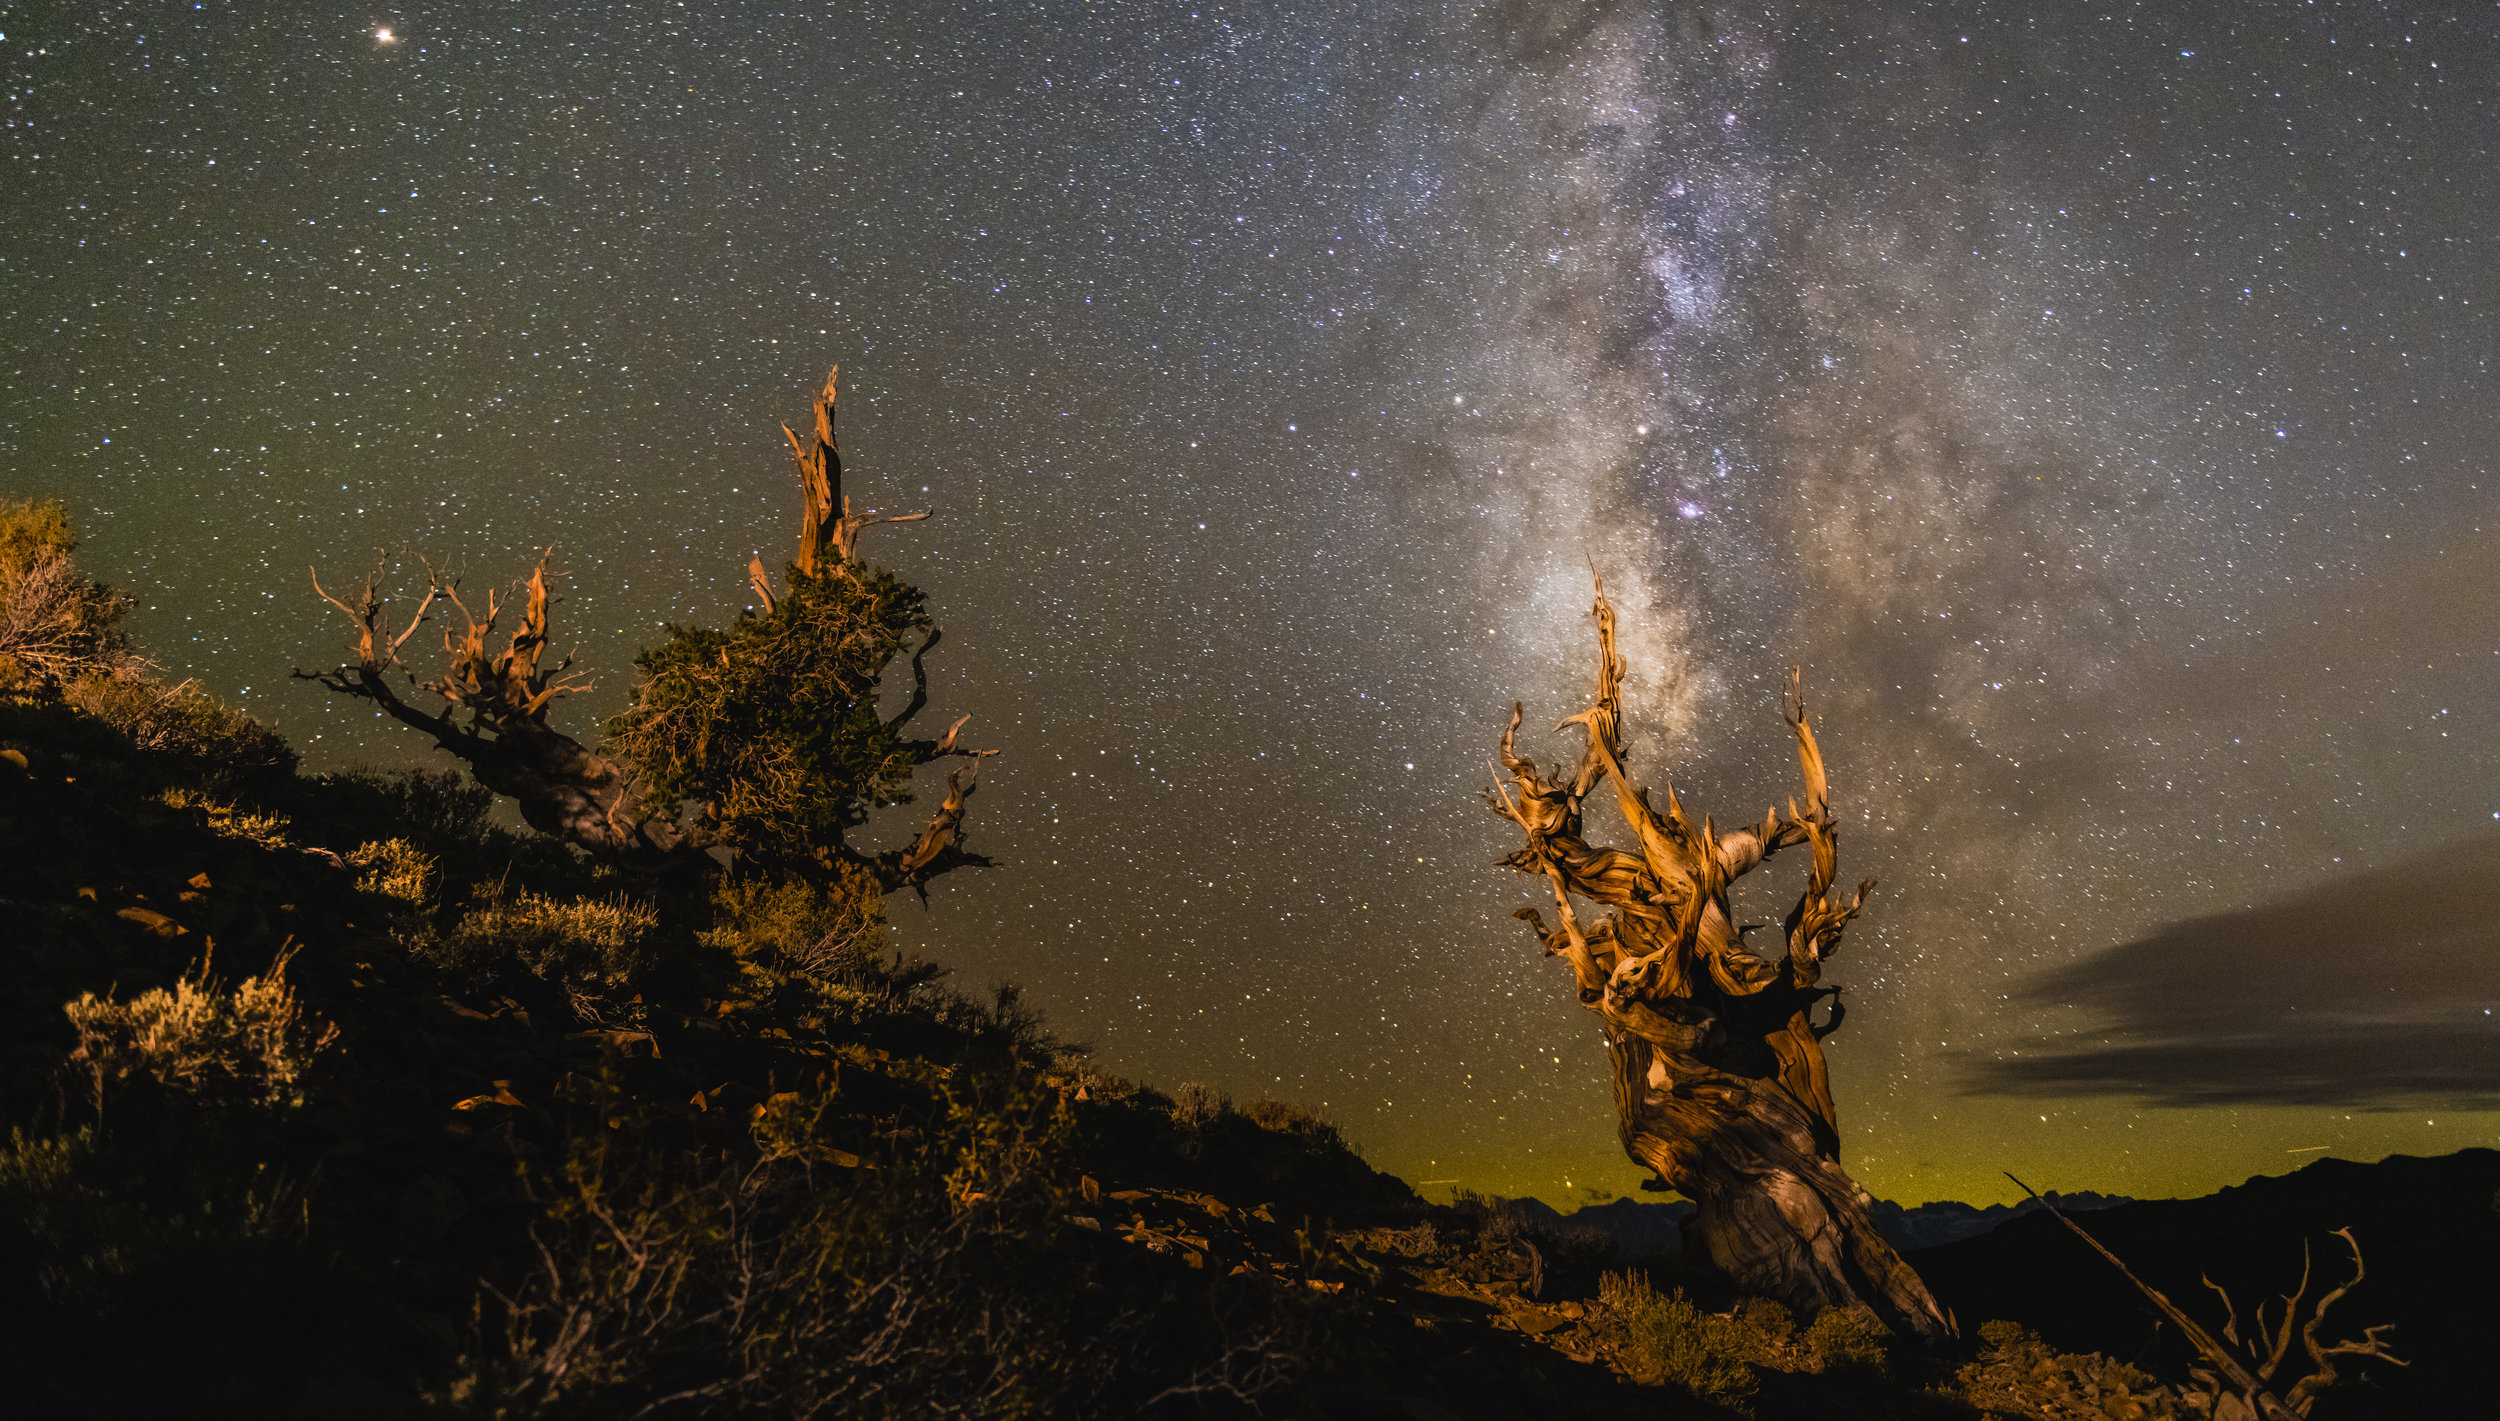
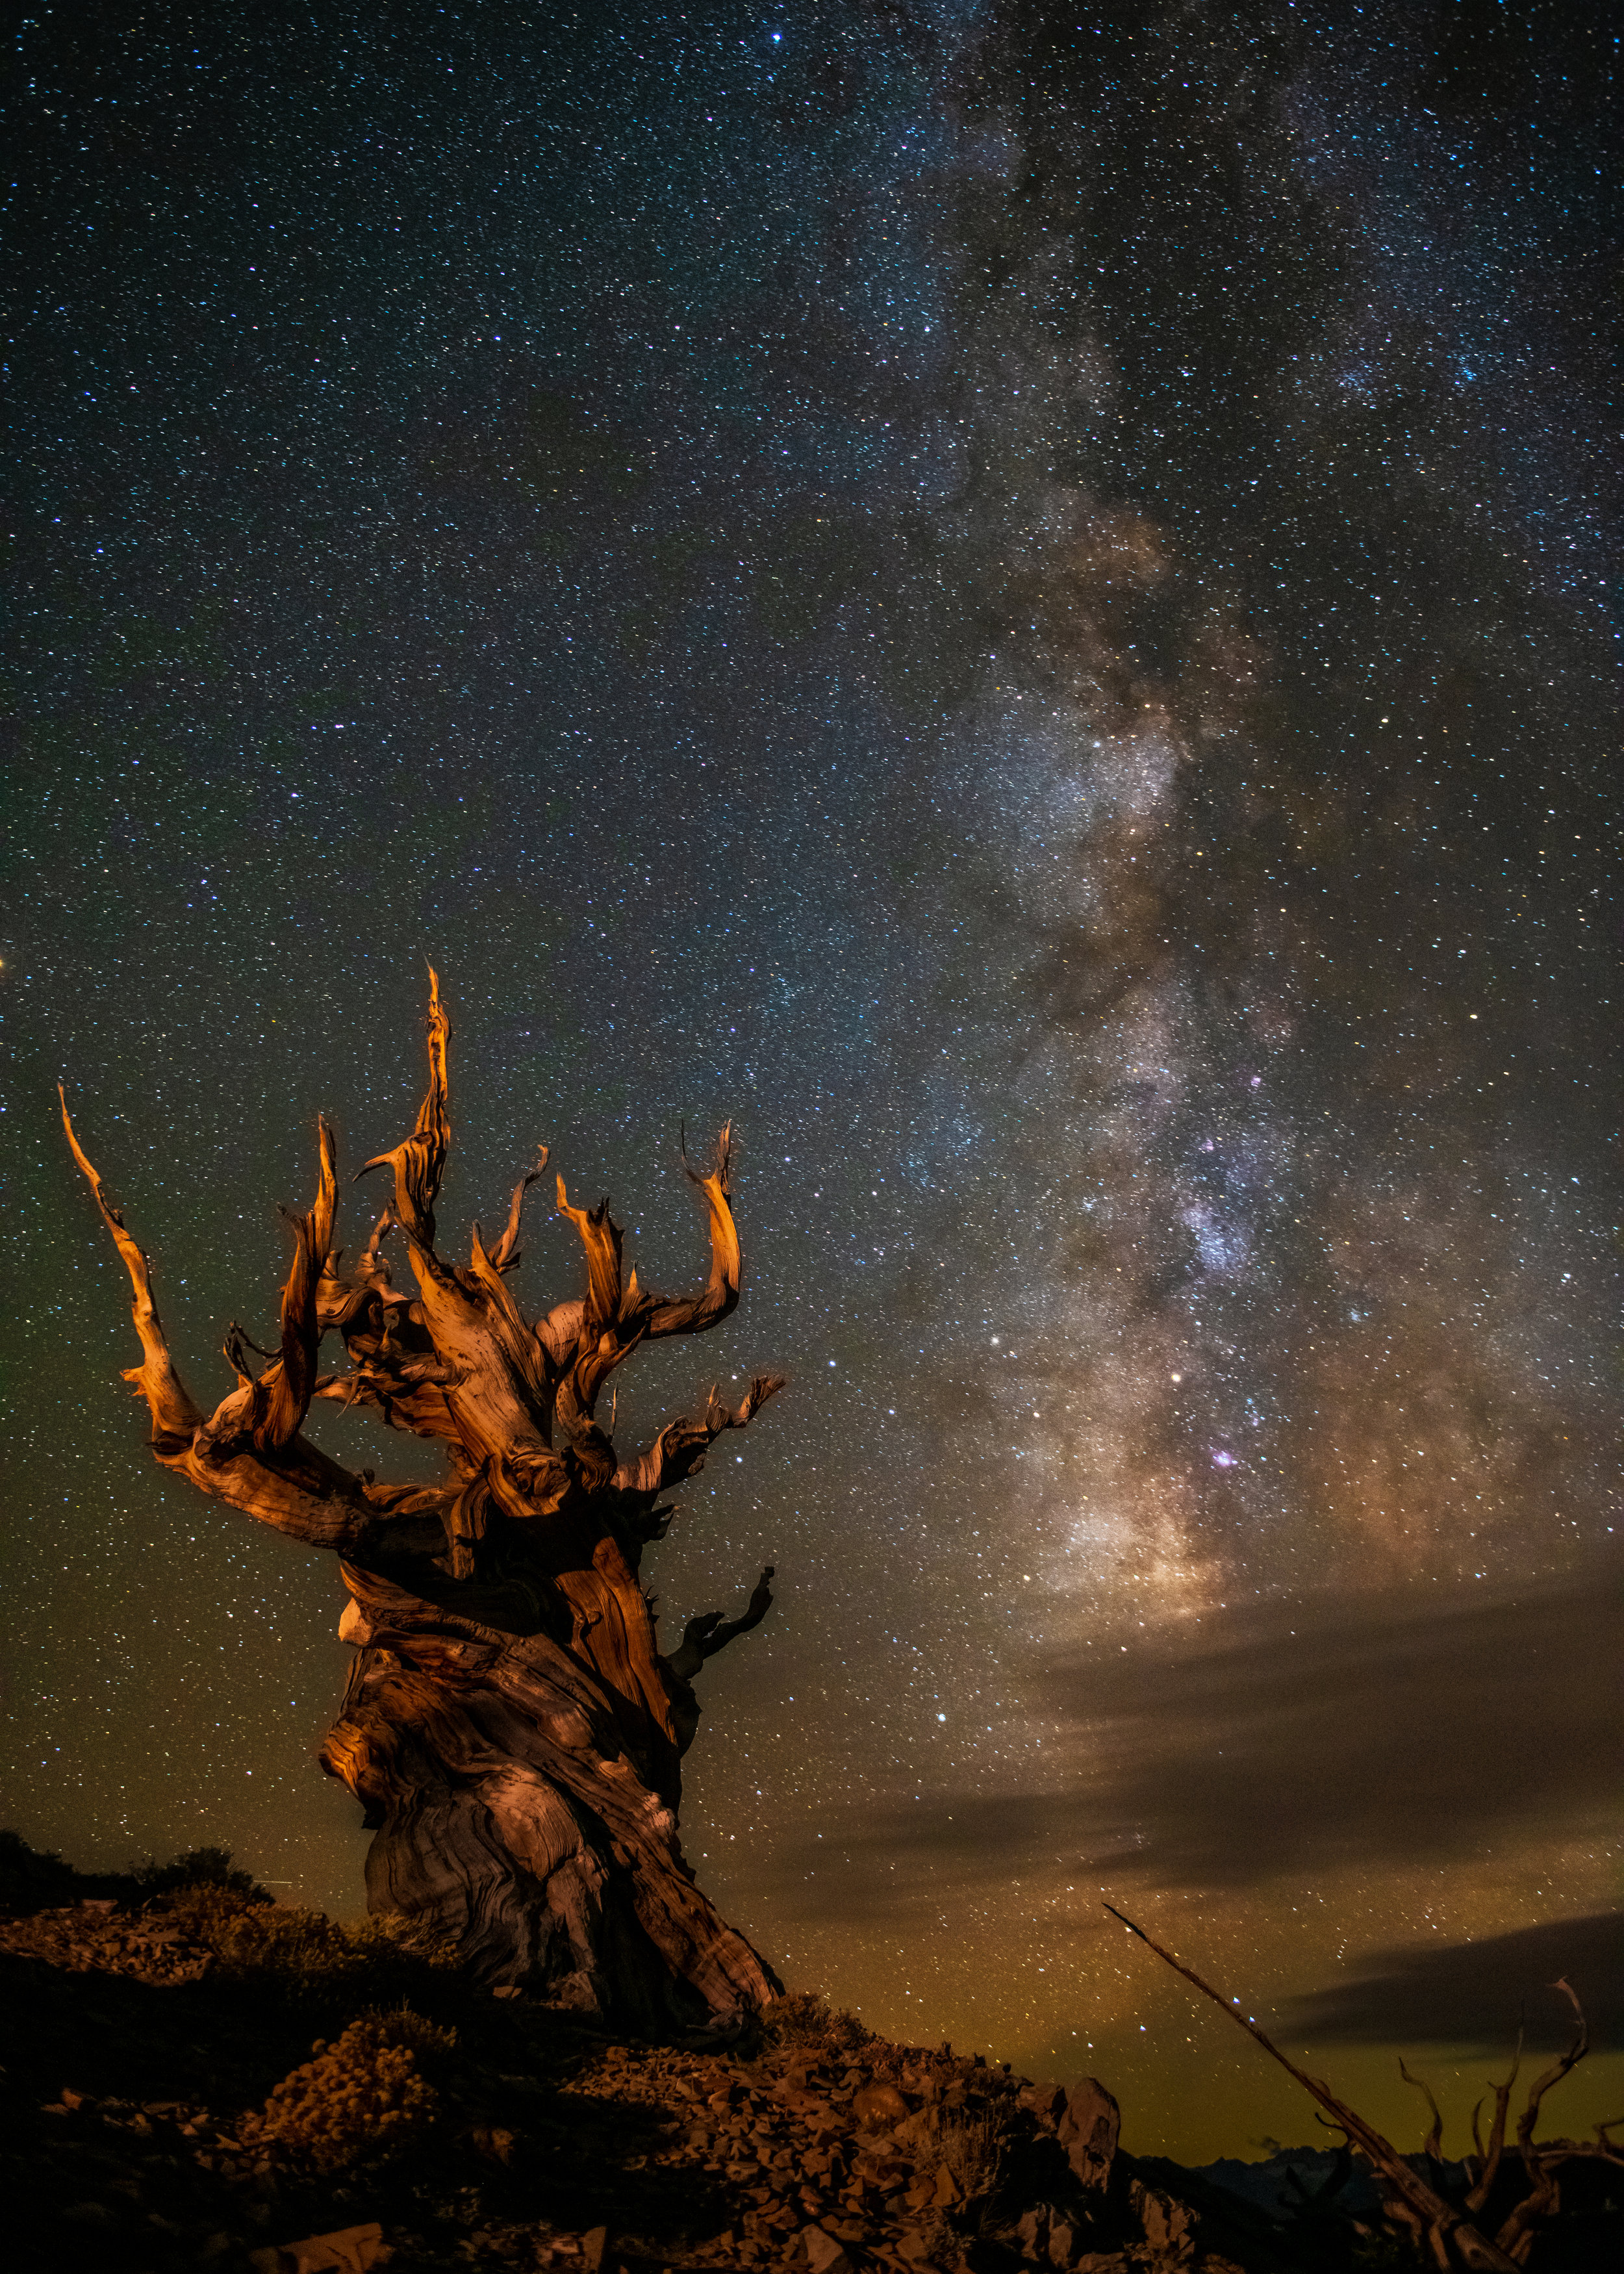
A pair of Brsitlecone Pines under starlight.
Chasing the night sky
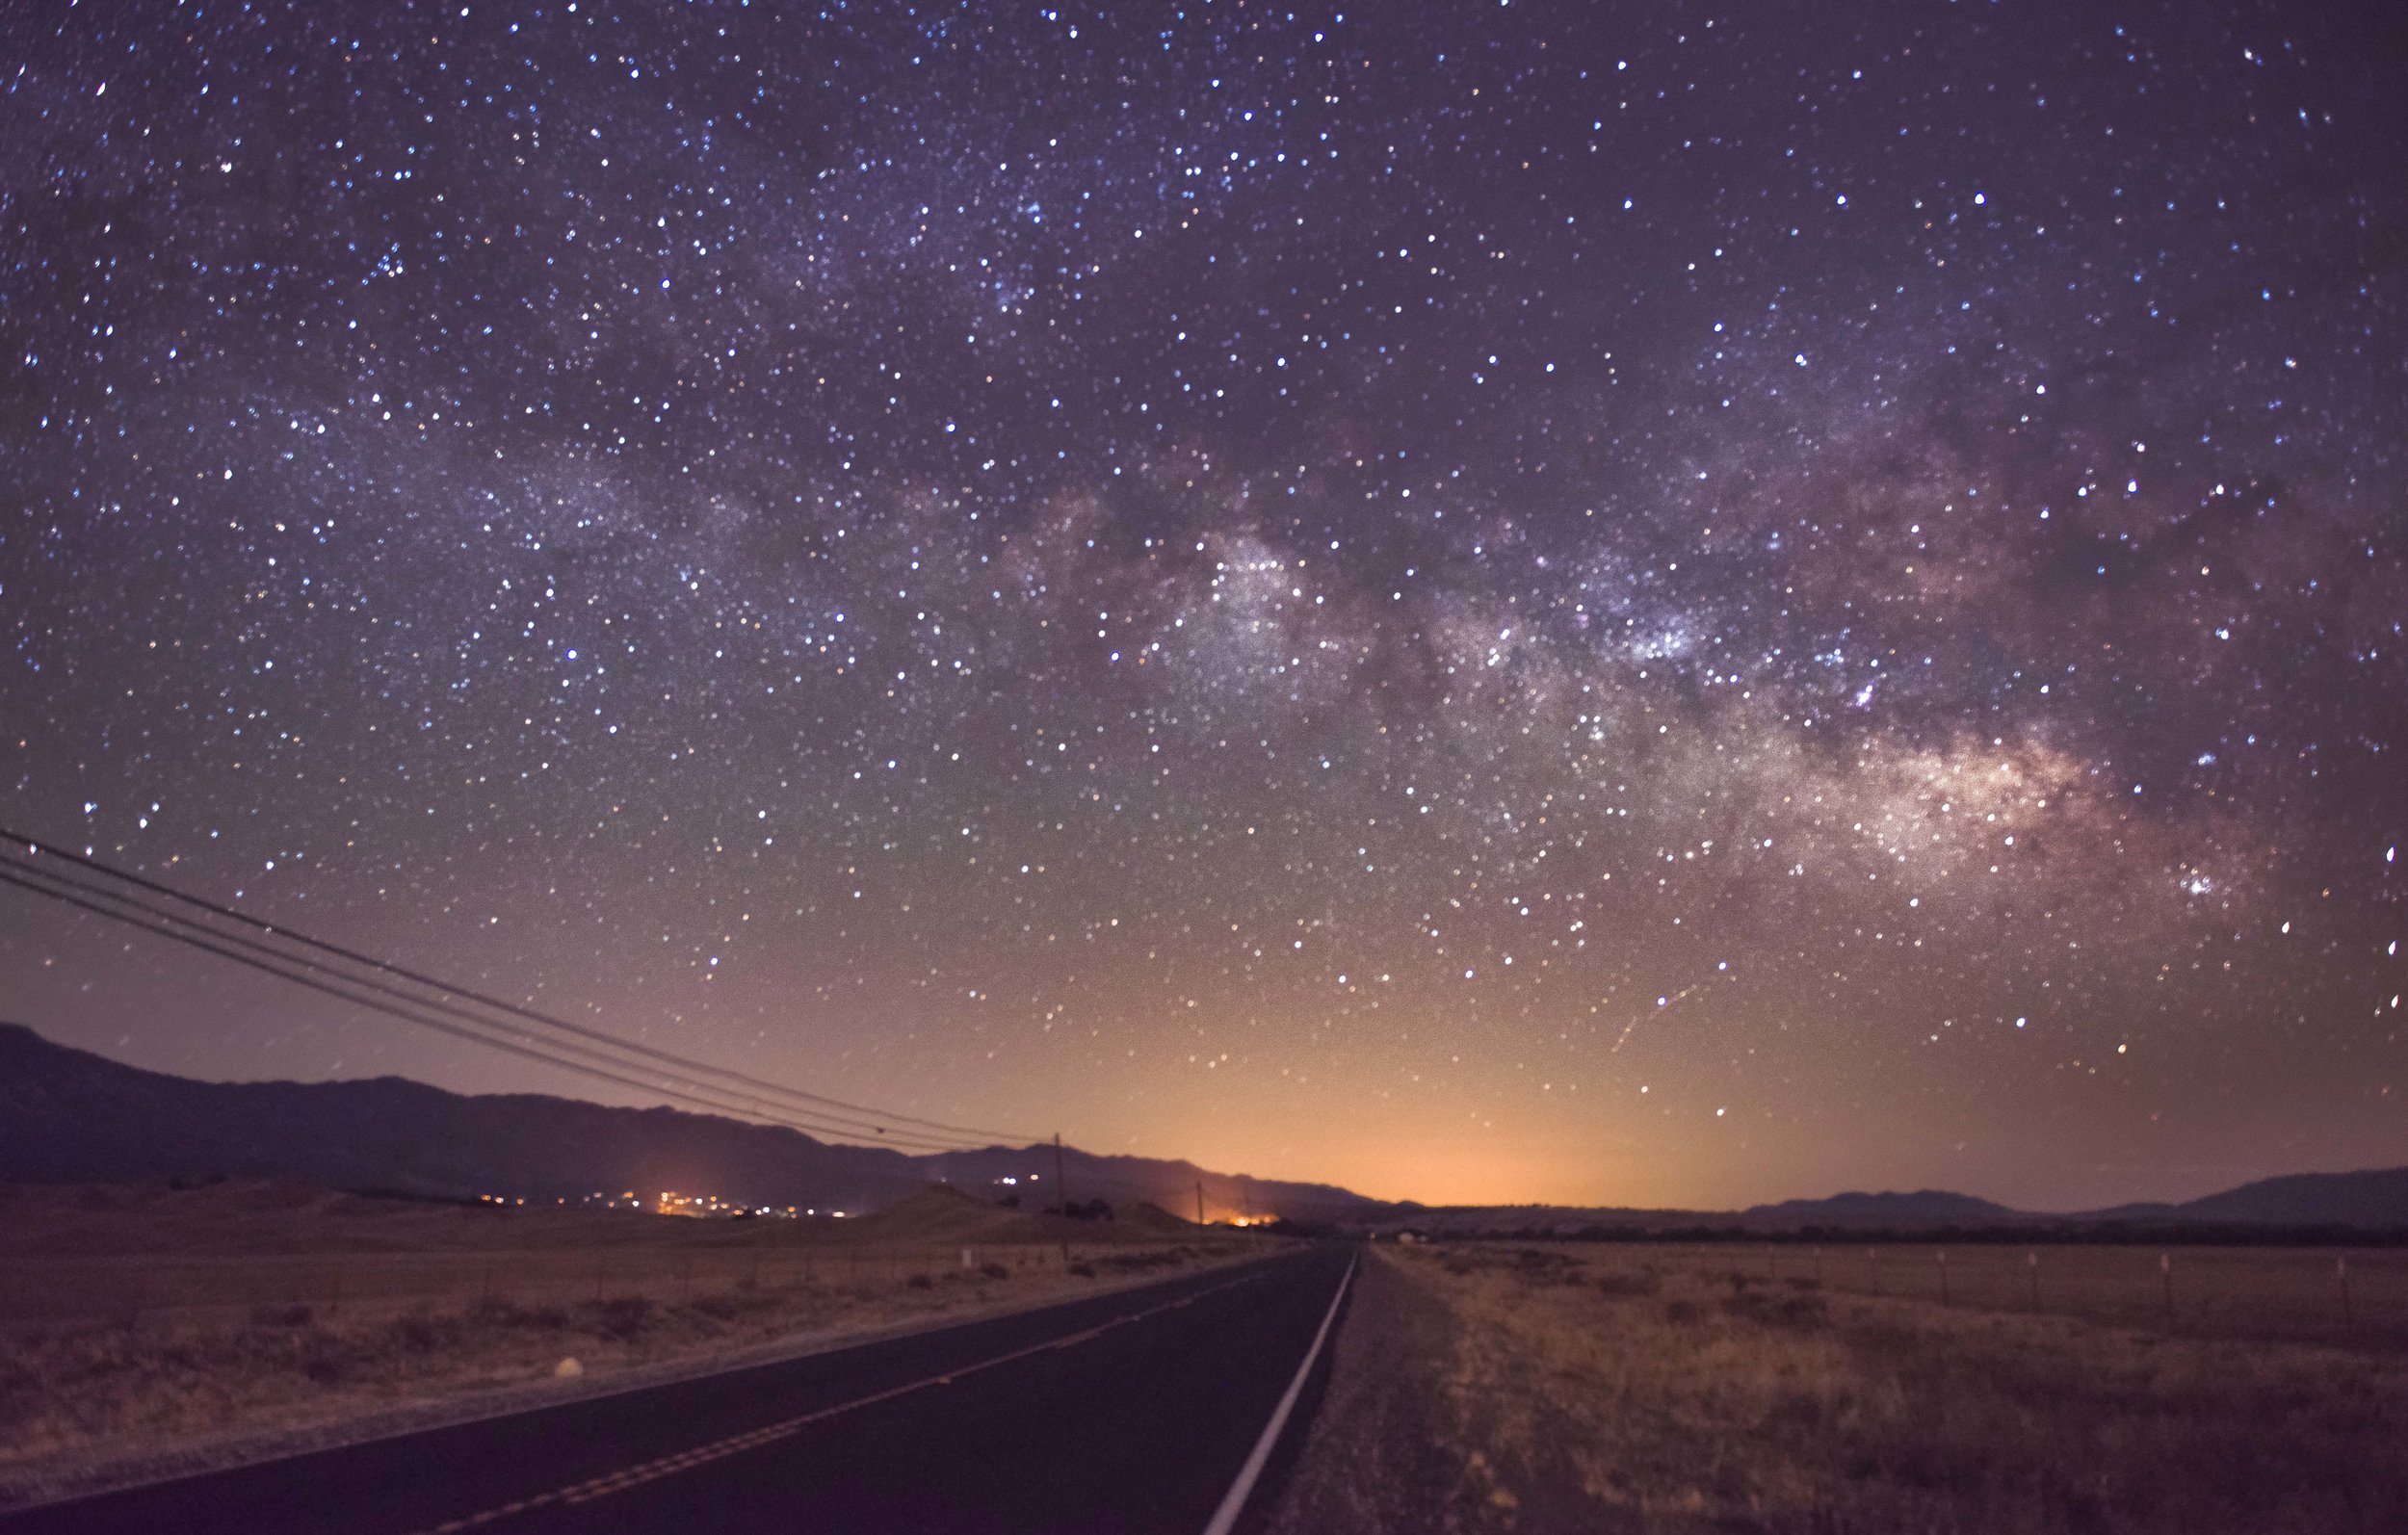
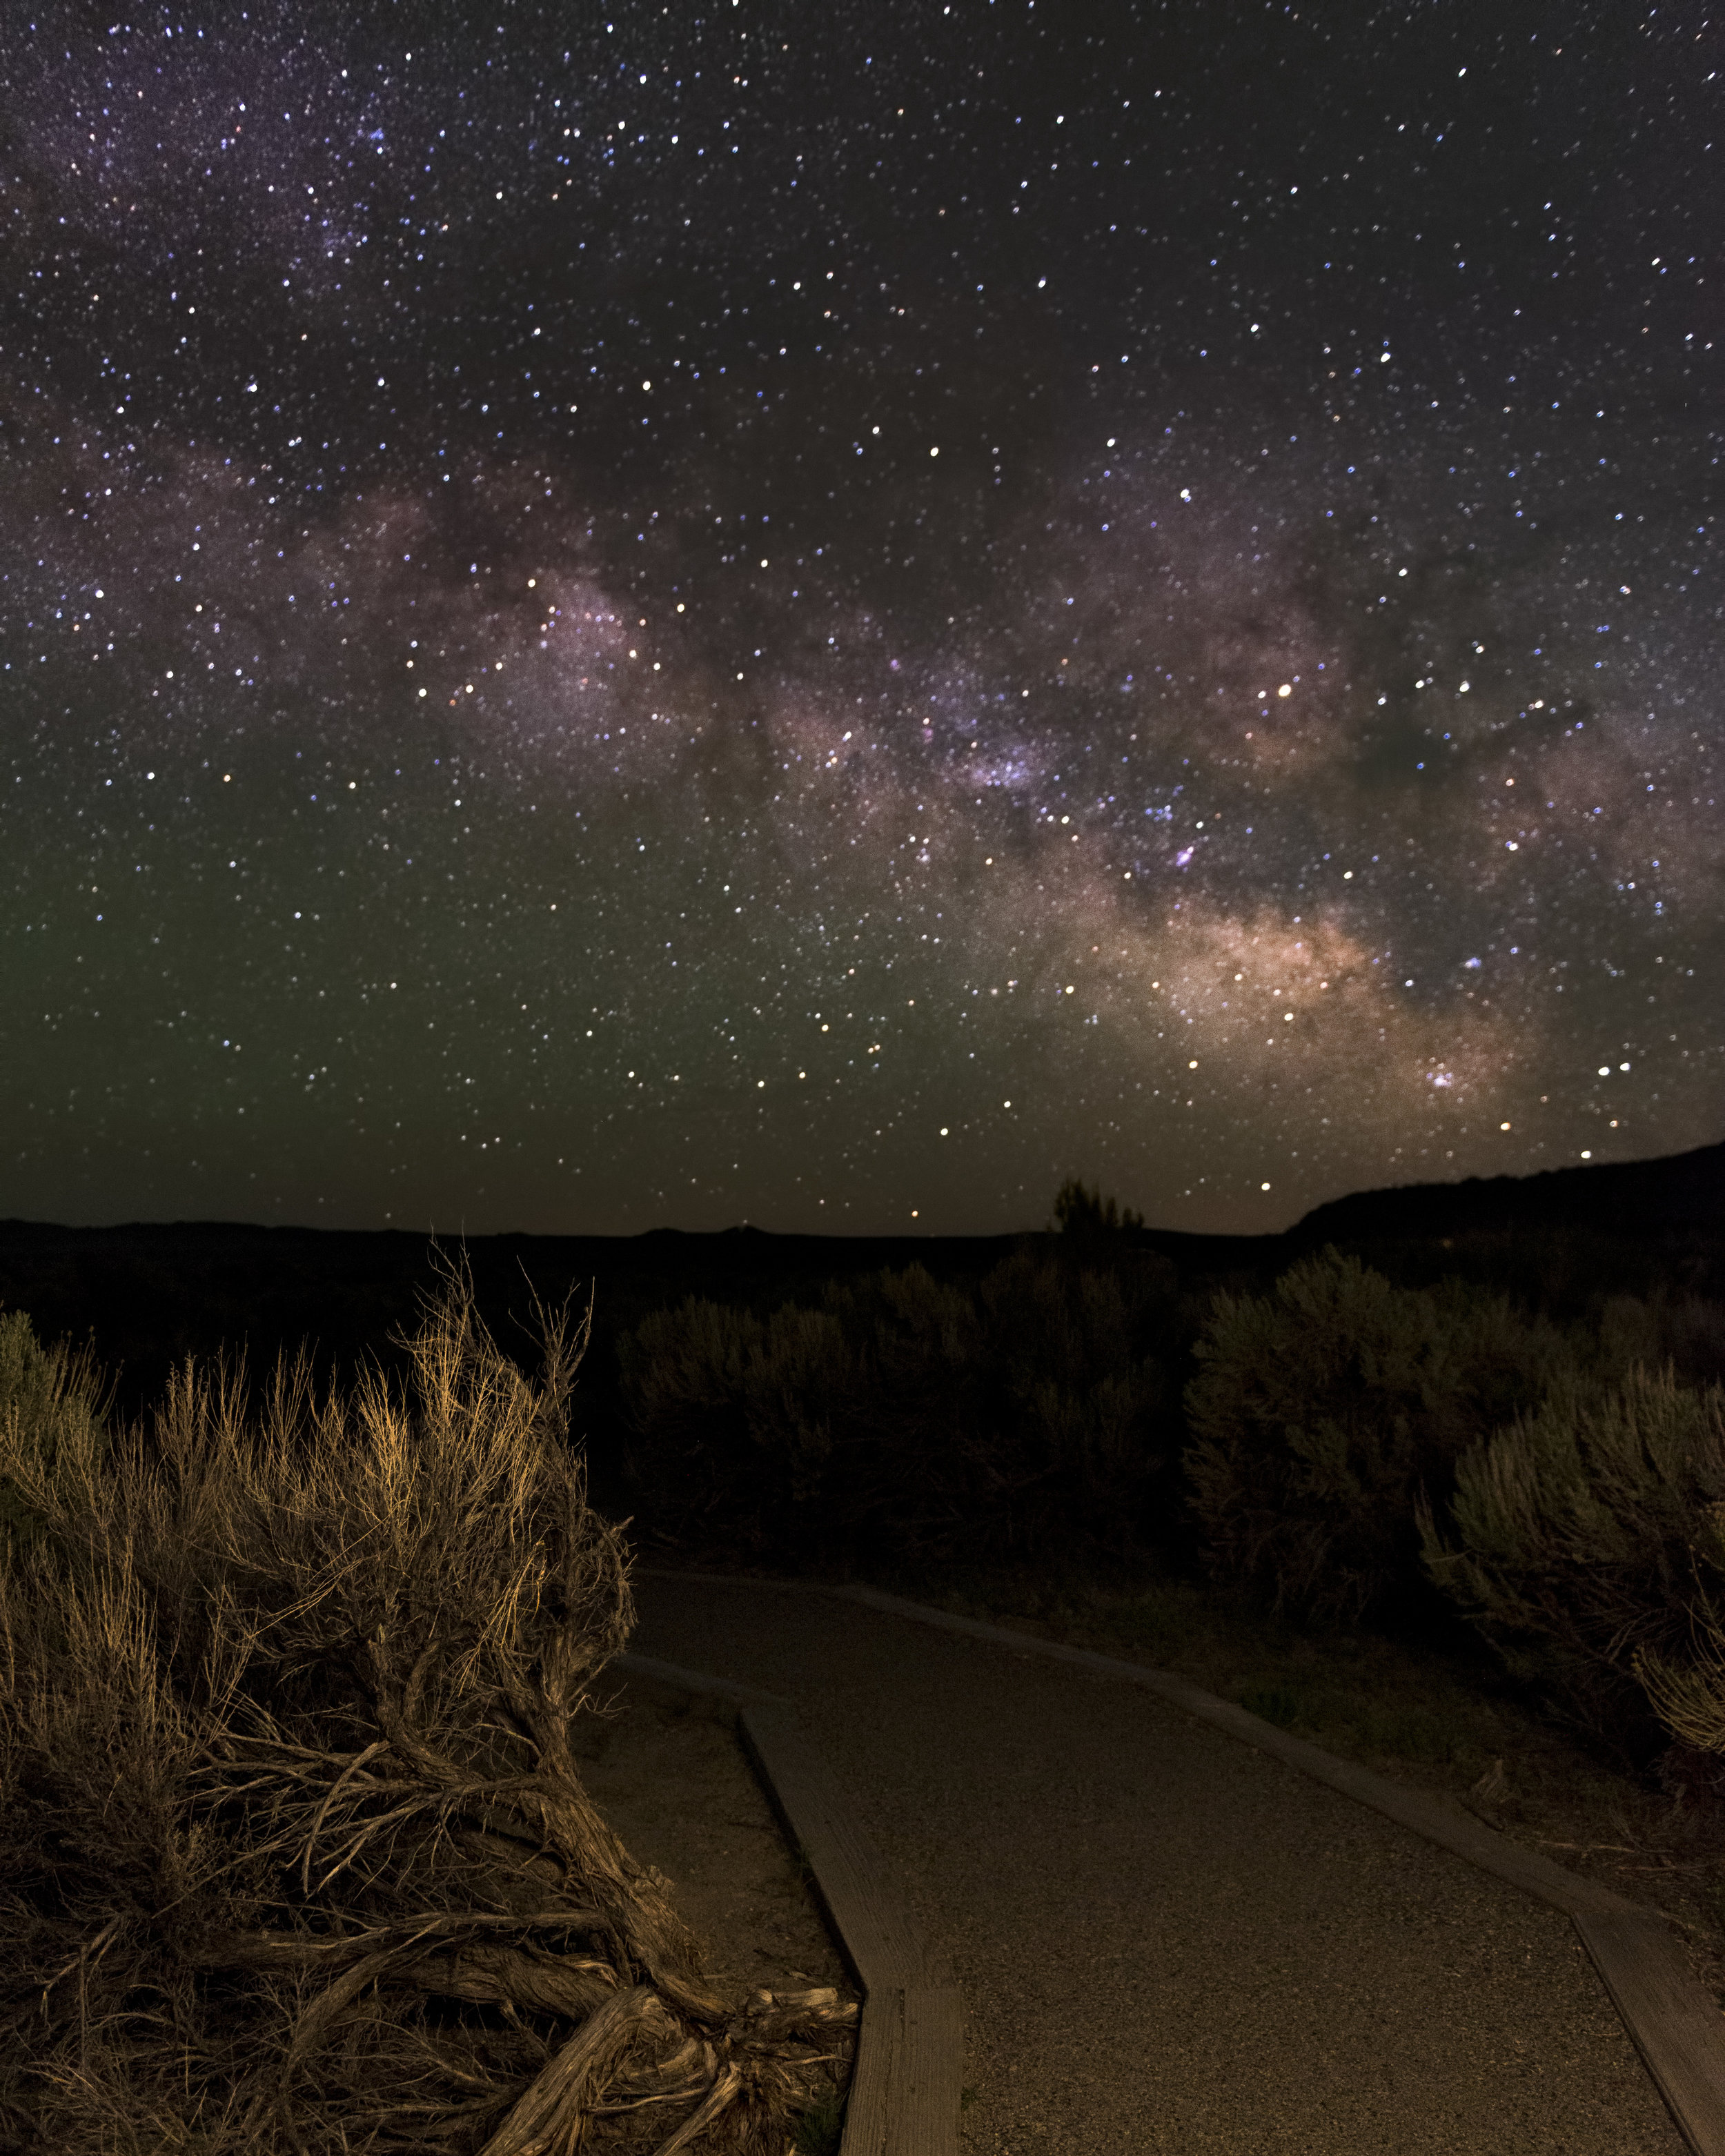
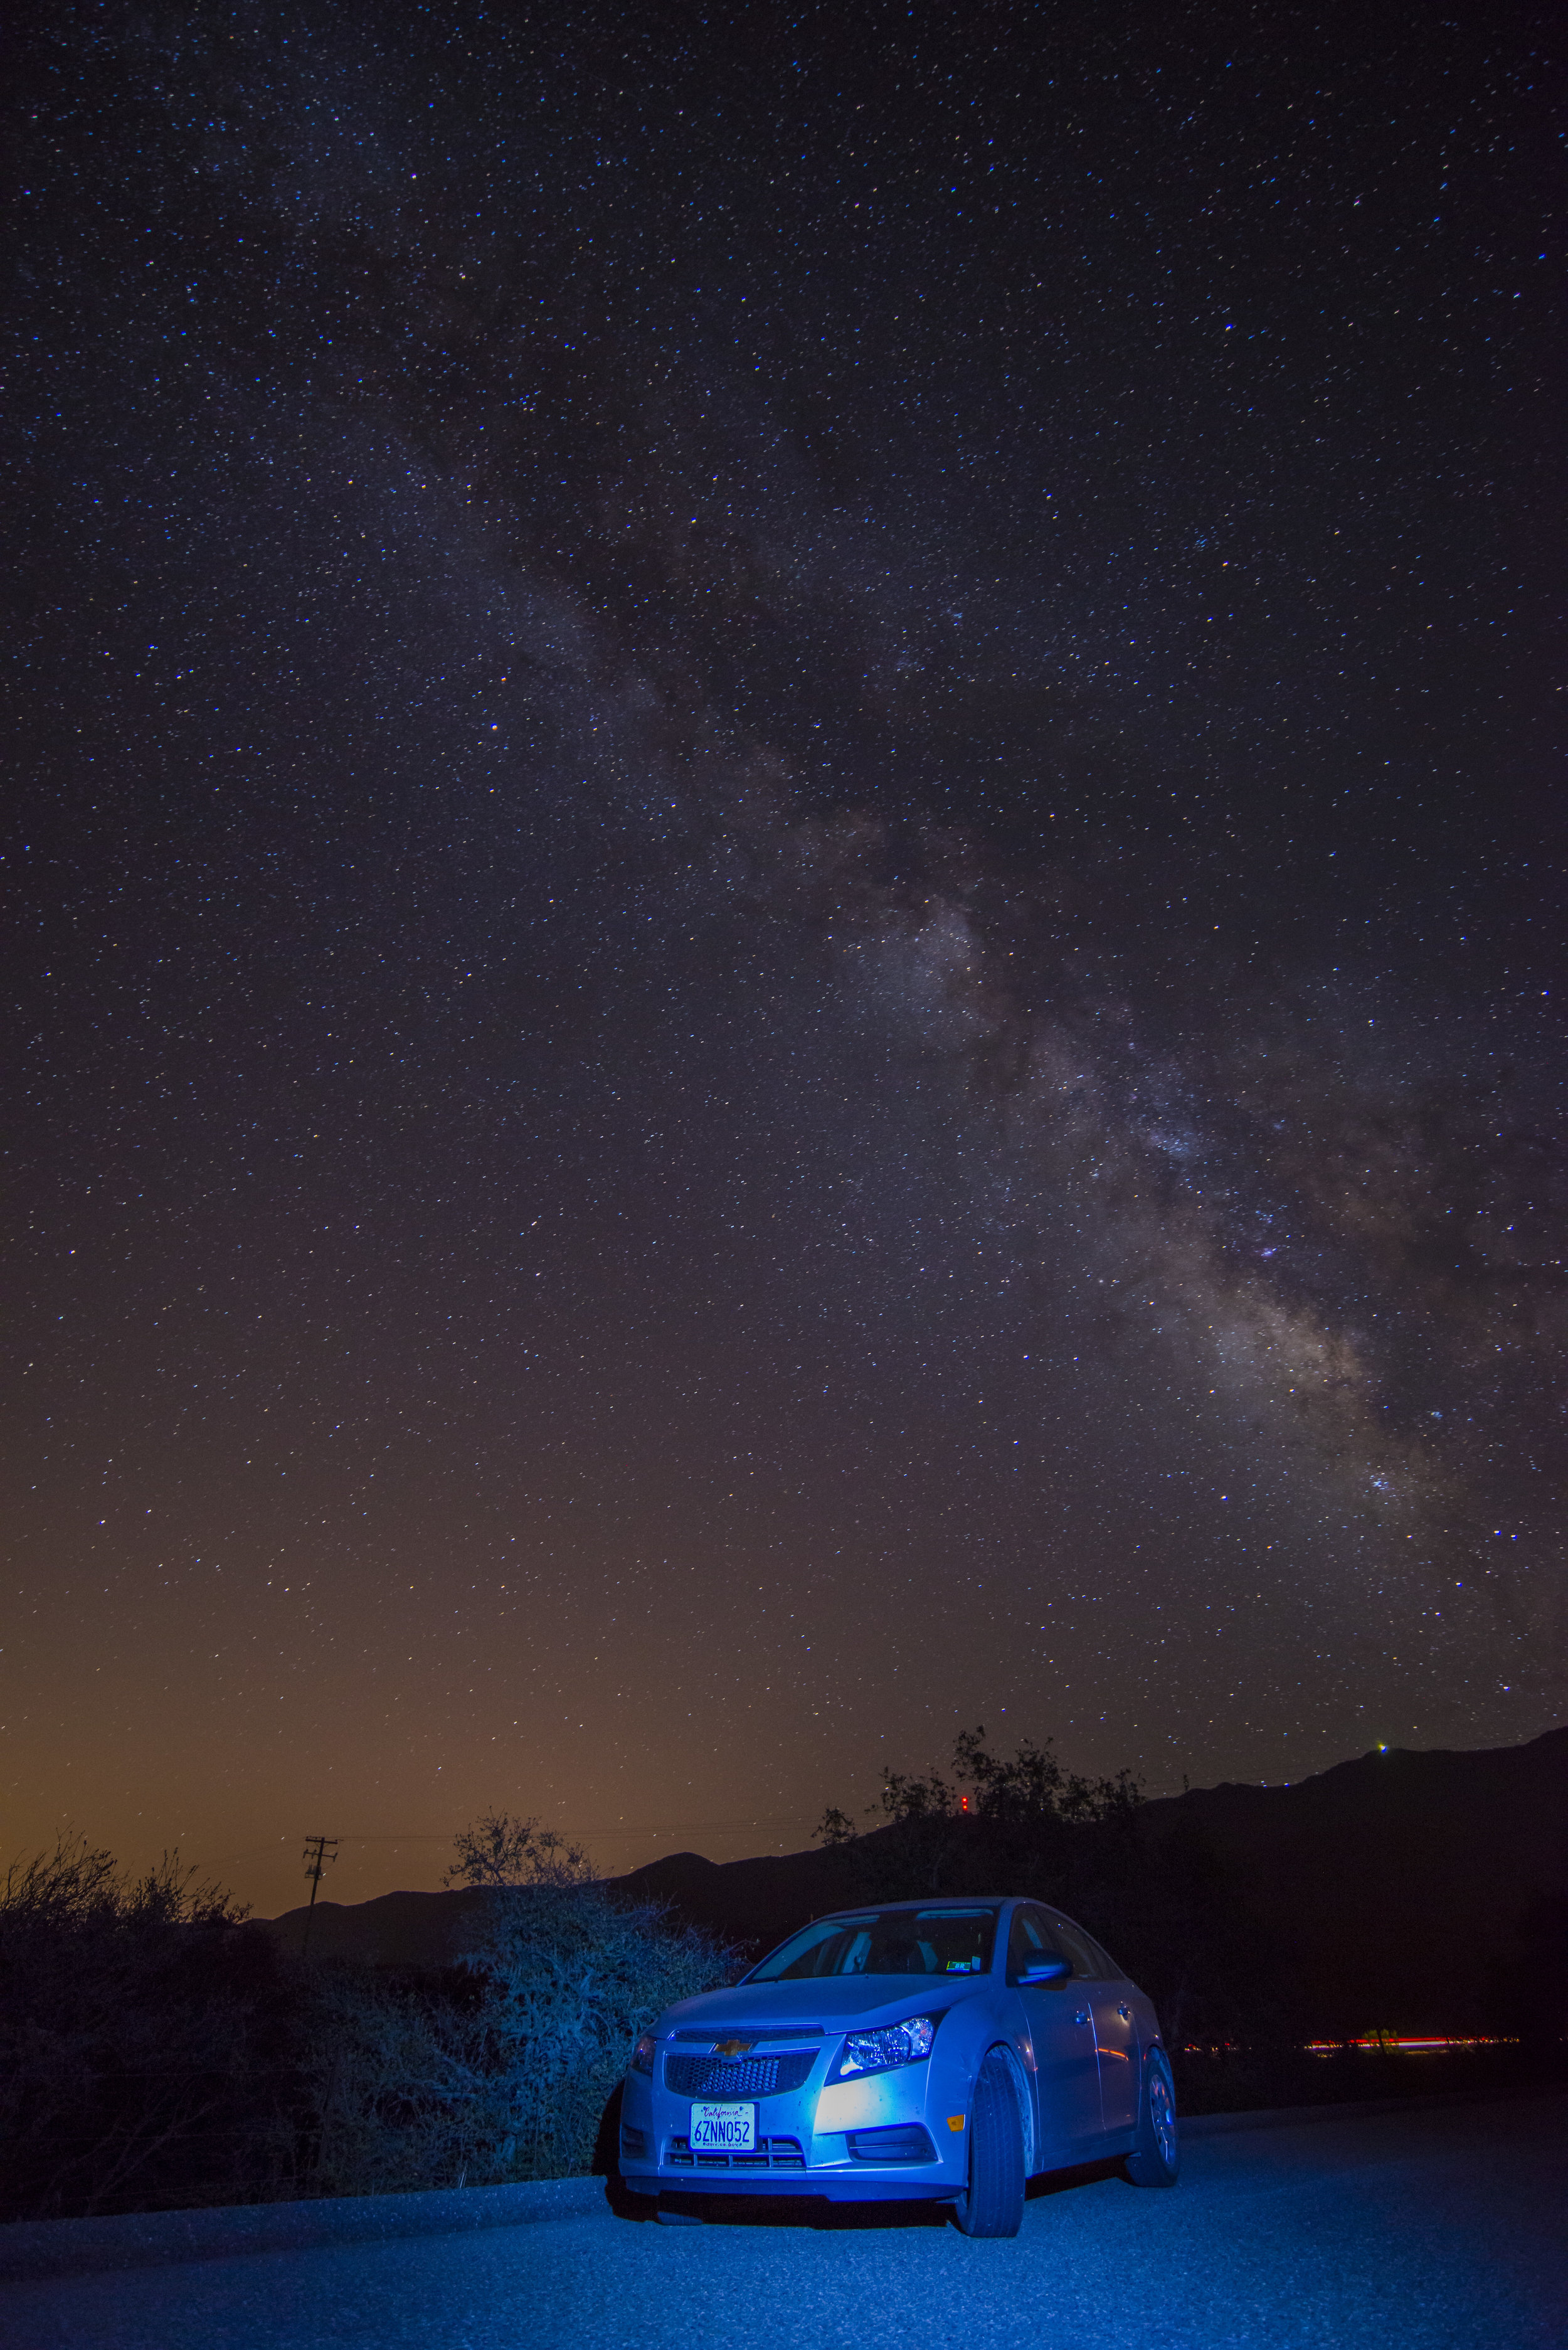
Watching the core of the milky way galaxy rise over the horizon on a night sky is truly an amazing experience. I watched it the first time as a kid with my grandfather and 30 years later its still a mighty impressive sight. So naturally, when I got into photography, I tried to perfect a technique for Astro-landscapes photographs. The concept was simple enough, find a good landscape view, and wait for a moonless night, set the camera to capture faint light and voila!
The first time we tried it was at Zabriskie Point, and the results were so bad, I didn’t even bother processing the image. I tried a couple of times at various locations but soon found some faults in my approach. I was planning my night time shots as an afterthought, often at locations after a sunset, which meant that I often had an irritated wife who couldn’t wait to get back to the civilization for some food and warmth. The second problem was my lack of preparation, and I often had no composition or focusing techniques in mind making it hard to get a decent shot in the completely dark environment. But the main challenge was to light the foreground of the composition. There almost no ambient light available and all the lighting that I have tried resulted in very artificial-looking landscape scenes. After repeated failures, I decided to adjust my approach and started researching some techniques in the hope that I could practice them at home before venturing out again.
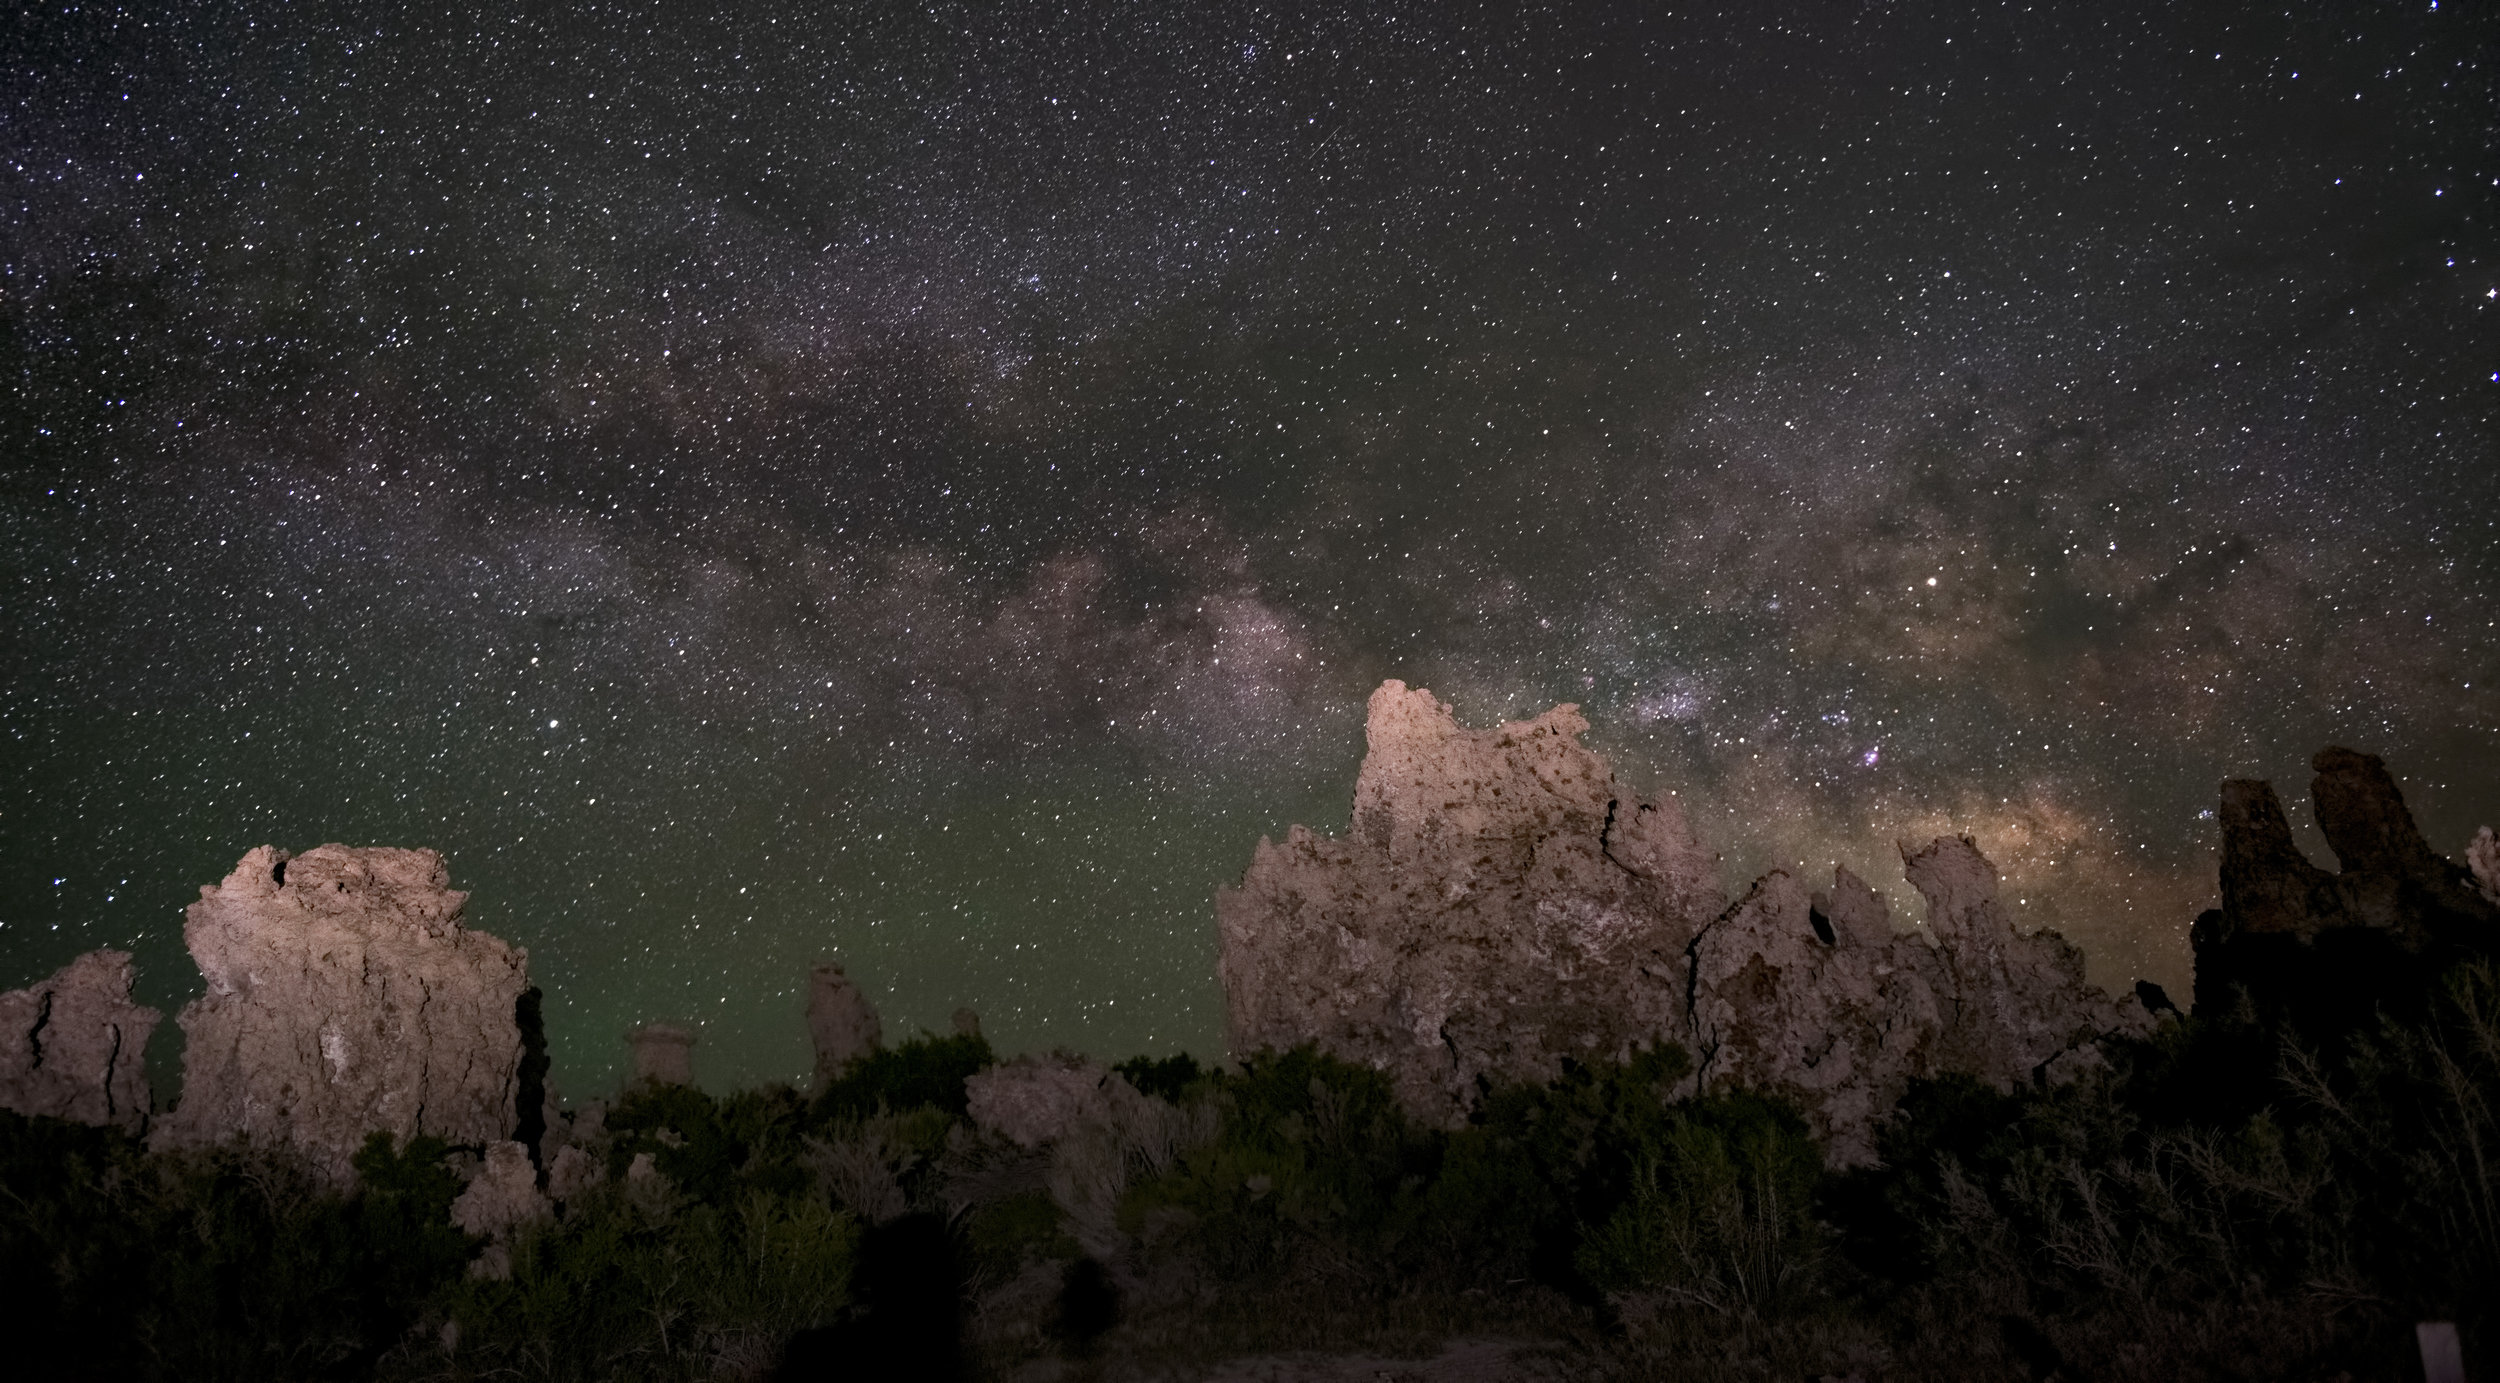
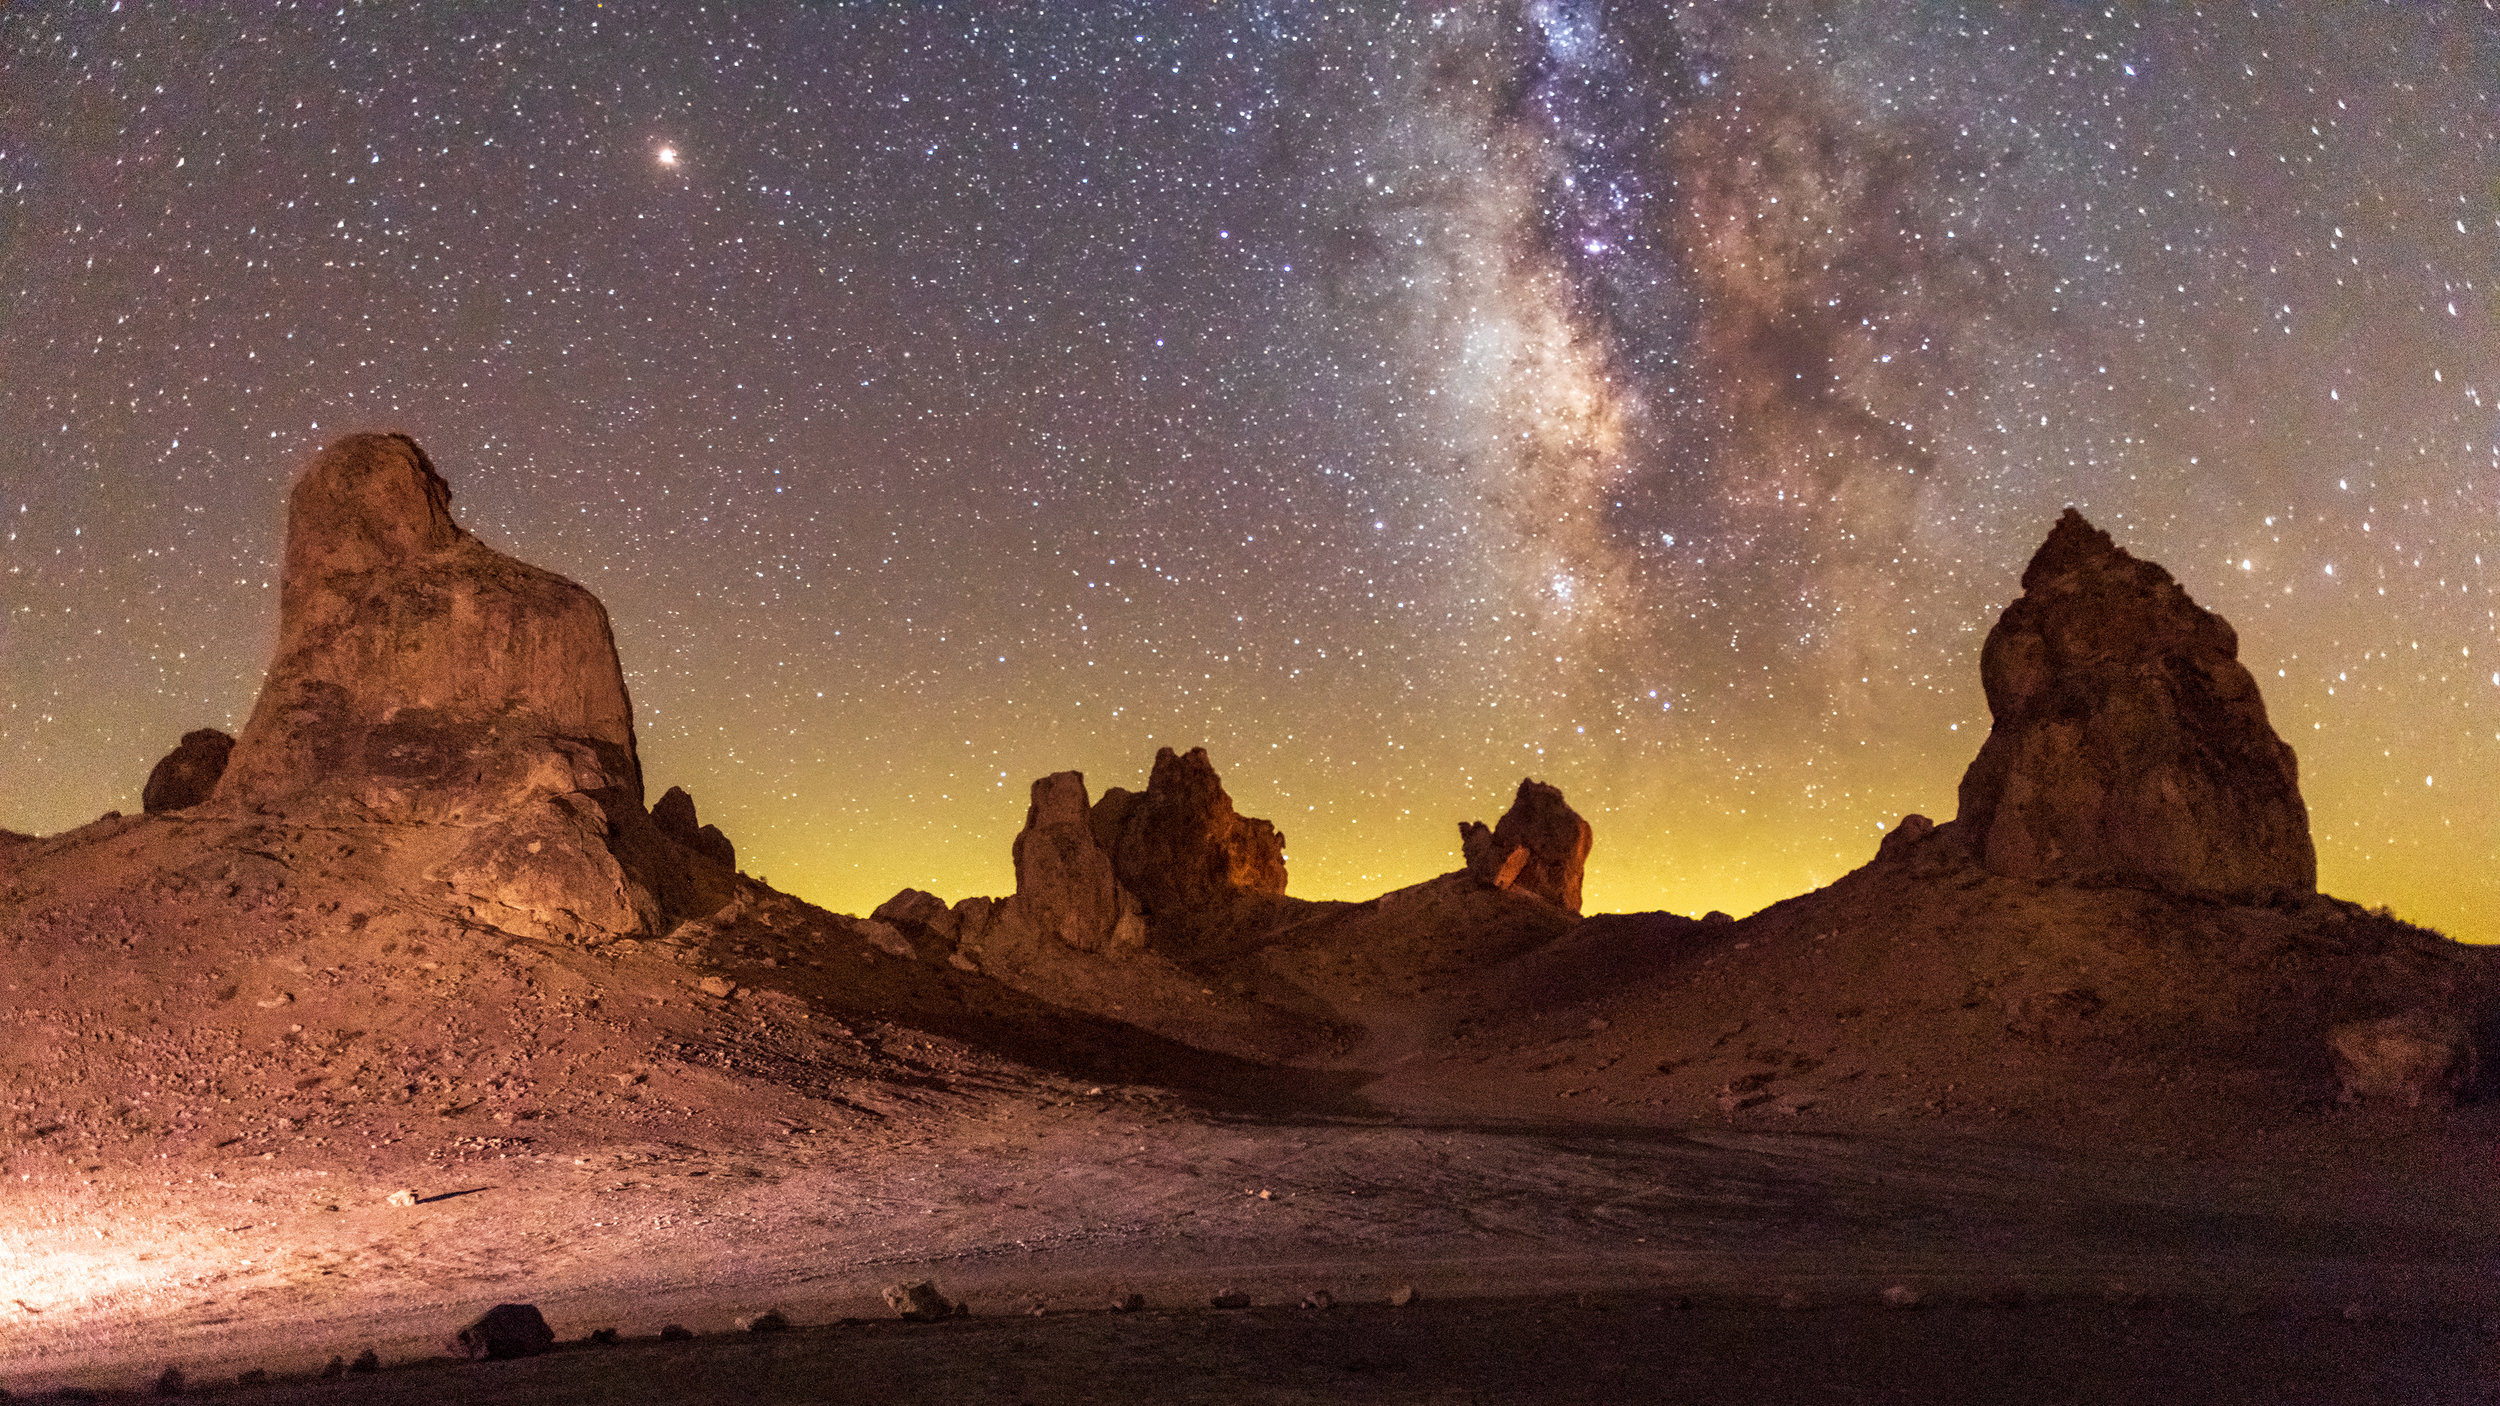
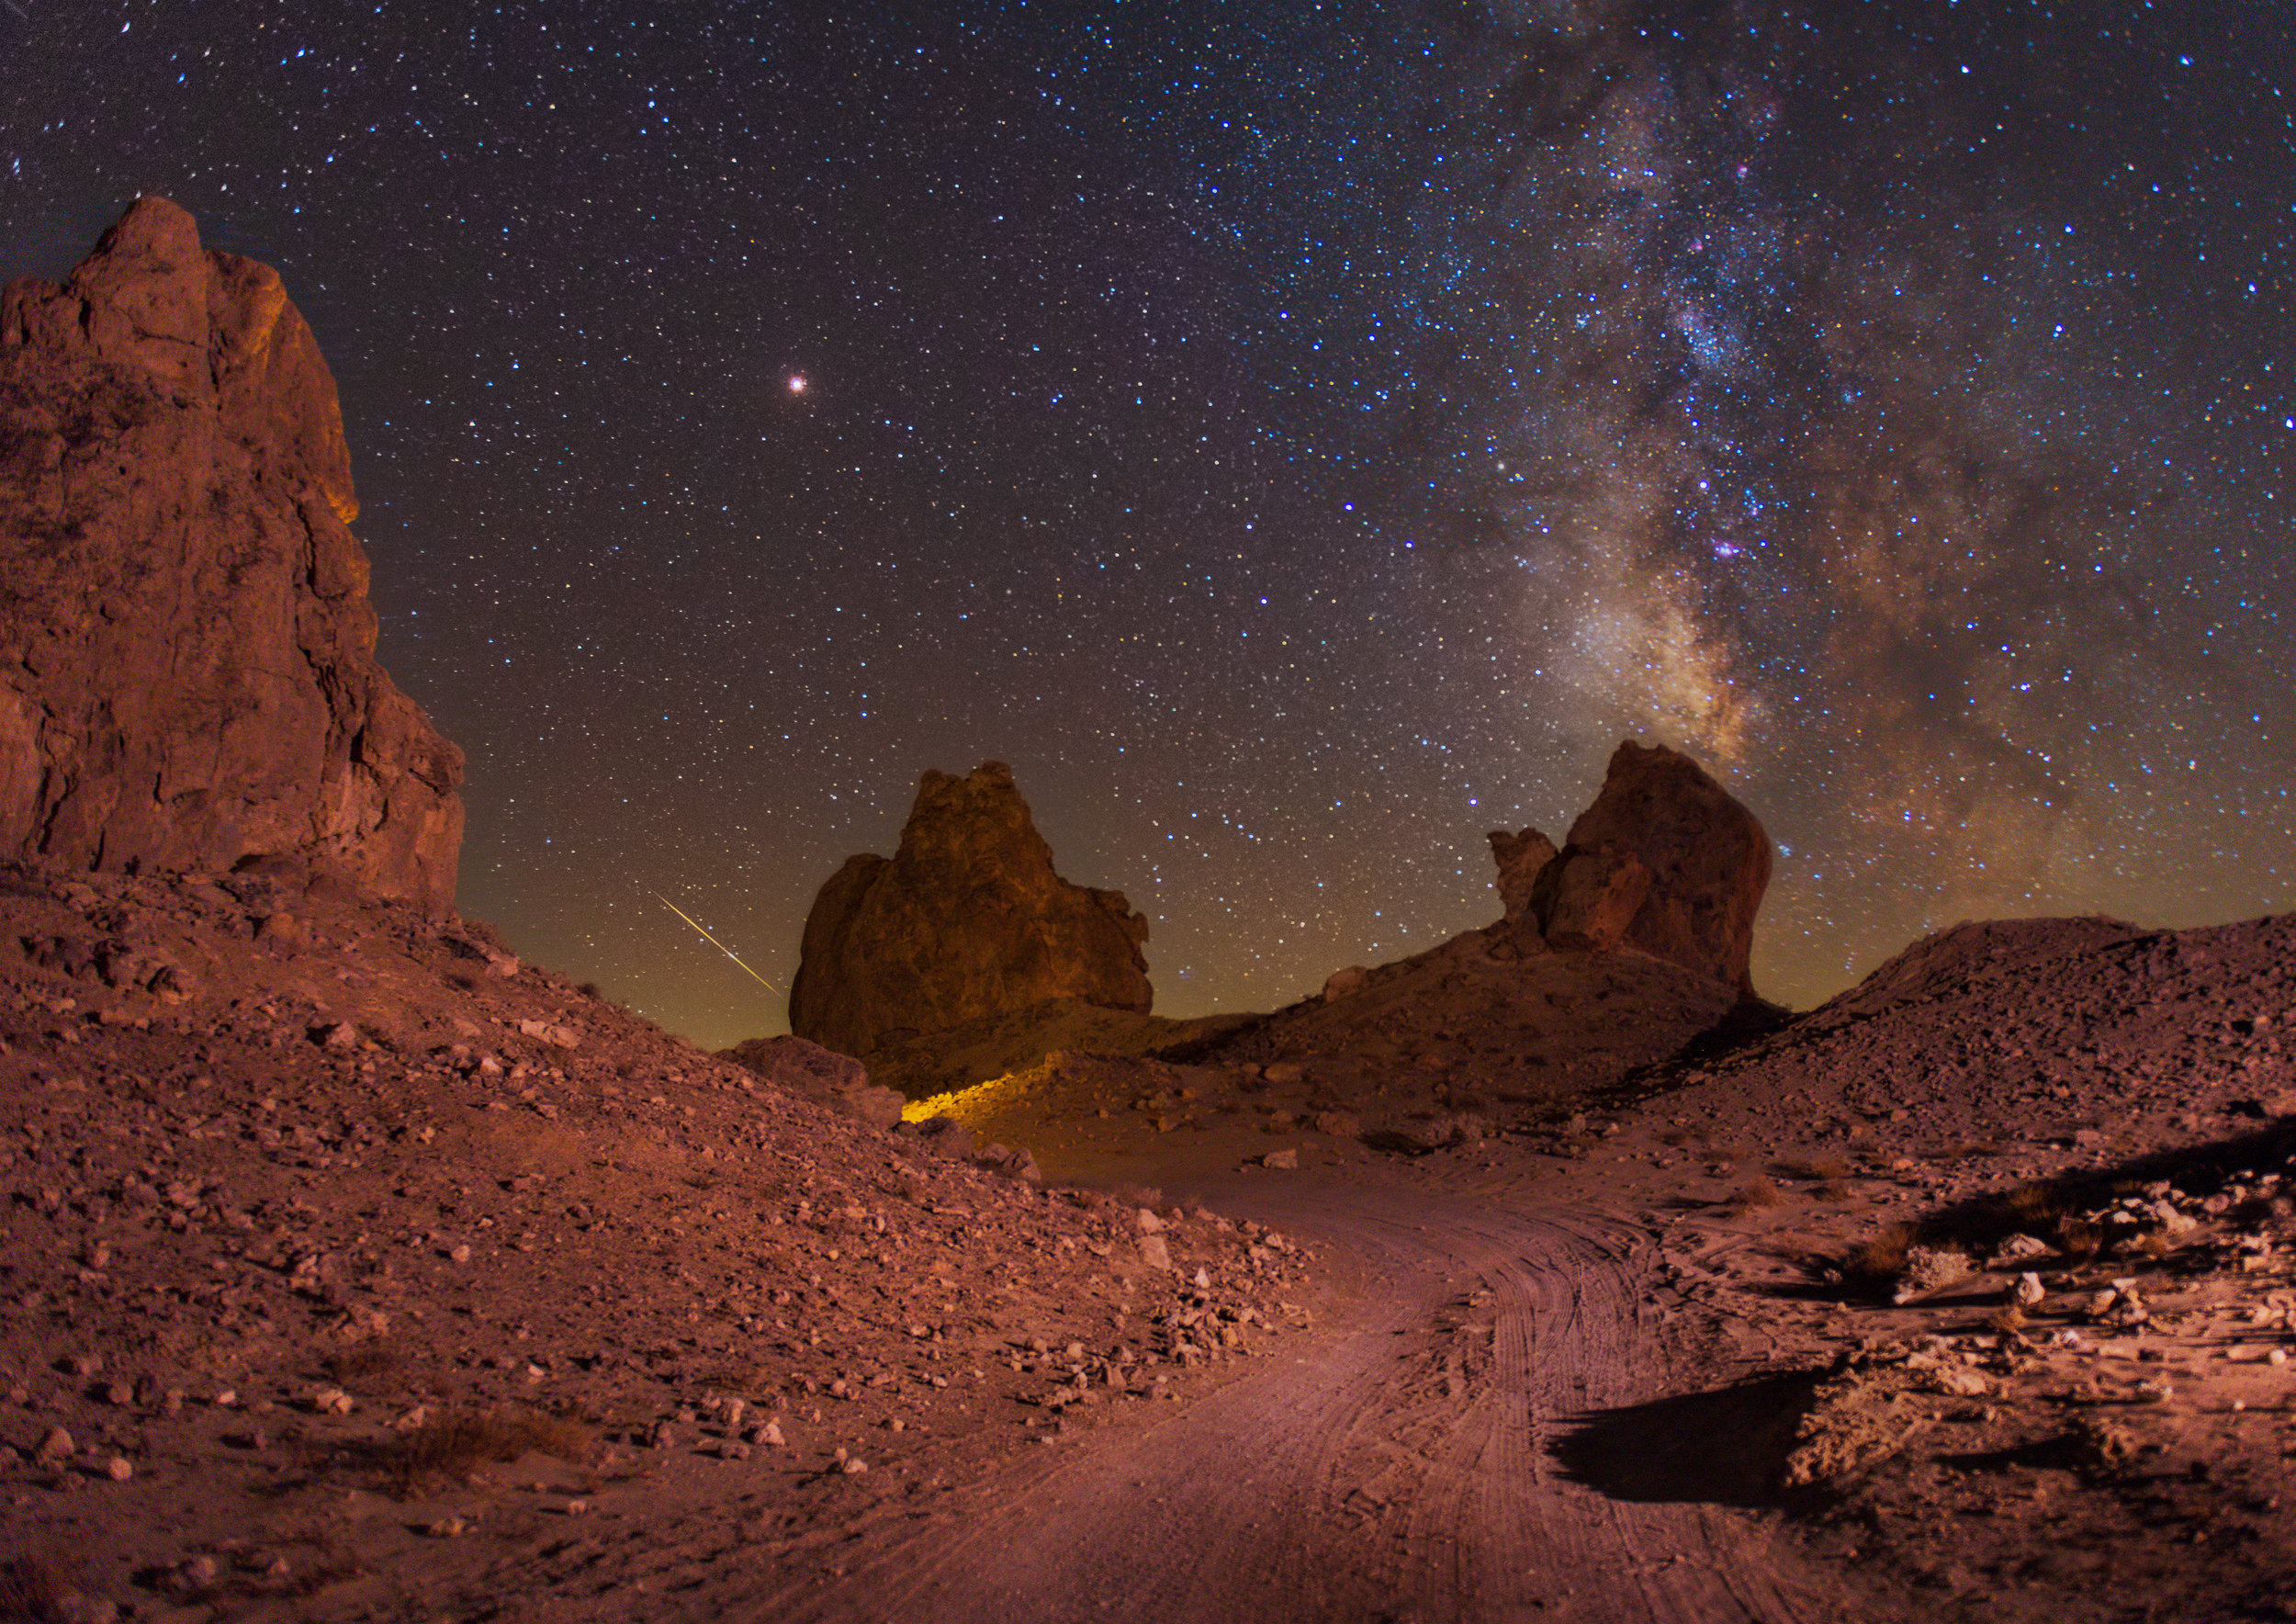
So, it was a revelation when I came across low-level lighting in Royce Bair’s incredible book called Milky Way Nightscapes. Low-level lighting involves lighting a small to medium landscape foreground interests with a very low power lighting source. It took me a while to get a couple of lighting sources that could get their strength to a very low number. But Once I had the light source, we waited for the new moon night to venture out to the stunning Trona Pinnacles formations in the middle of the California desert a few hours north of Los Angeles. These unusual geological features are part of the California Desert National Conservation Area. The unusual landscape consists of more than 500 tufa spires (porous rock formed as a deposit when springs interact with other bodies of water), some as high as 140 feet (43 m), rising from the bed of the Searles Lake (dry) basin. The pinnacles vary in size and shape from short and squat to tall and thin and are composed primarily of calcium carbonate (tufa). They now sit isolated and slowly crumbling away near the south end of the valley, surrounded by many square miles of flat, dried mud and with stark mountain ranges at either side (Source: Wikipedia). One of the outstanding features about the pinnacles is that the sky here gets close to total darkness at night, meaning you get a stunning view of the milky way and the galactic core from this spot.
We got to our spot well before sunset, and I managed to find a nice area where the composition looked good, and I confirmed the path of Milky way’s galactic core with the photo pills app on my phone. We waited over an hour for the light o completely die down and the stars to reveal themselves. This time I was much prouder of my shots, but the lighting still looked a bit off. And the frustrating part about night photography is that there is no realistic way to compare your results until you are in front of a computer. So, in many ways, it's a lot like shooting with film.
I patiently waited for the next new moon and headed out to my favorite photo hunting ground, the Eastern Sierras. Now, this is a shot that I had in mind for four years. I noted this Bristlecone pine on our first trip to the grove on the slopes of the white mountains near Bishop, CA. This tree is the most picturesque on the trail. What makes it interesting is its precarious perch on a crumbling rock slope and the dramatic gnarly branches that stretch out to the sky. This time I was a bit better prepared, I had a strategy to reduce the strength of my light sources, and it was the inverse square law of lighting. Just move the light source further away from the scene.
But this time there was another problem, I was not the only photographer who thought about this shot, there were other there as well. And in my experience, lighting a scene while other photographers are trying to take a milky way shot is not a good idea. So, I tried a different approach, after waiting for about an hour while everyone took their shot, I tried a novel approach. I asked them politely. And it worked, I explained about low-level lighting, and everyone got excited to try the new technique. I placed the lights quite far away, and even after the first shot, I knew that I nailed the shot. Even on the tiny back screen, the light looked perfect. It took a while, but finally, I had my perfect milky way shot.
A visit to the zoo
As a child, I loved visiting the zoo near my town. While I am conflicted about housing animals far away from their natural habitat, I think it’s essential to make the population aware of the wonderful natural diversity present on this planet and its forest. Being an LA resident for the past 6-7 years, we often visit the fantastic San Diego Zoo, and one of the most heart-warming event during our visit is when we see animal listed as Least Concern on the conservation status bar.
This little fellow is a common dwarf mongoose who is native to Africa. The common dwarf mongoose is primarily found in dry grassland, open forests, and bush land, up to 2,000m in altitude. It is especially common in areas with many termite mounds, their favorite sleeping place. The species avoids dense forests and deserts. The common dwarf mongoose can also be found in the surroundings of settlements and can become quite tame.
While I was walking around the area, I noticed this mongoose trying to engage with the kids around and trying desperately to play with them. There was a bit of a light shaft that was landing on the enclosure, and I knew that it was just a matter of time before he will have a perfect pose for me. So I set my camera for the bright shaft of light and waited, it took a couple of tries but it worked, and I got this very cool pose.
Fall Road Trip - Ridgway, CO
After a whirlwind 2016, me and my wife were both ready to take a well-deserved break by the time Fall of 2016 rolled around. We decided to head to the colorful state of Colorado for our annual road trip. The plan was simple, hit of the fall foliage hot spots and get a whole bunch of amazing photographs and create a lot of memories in the process.
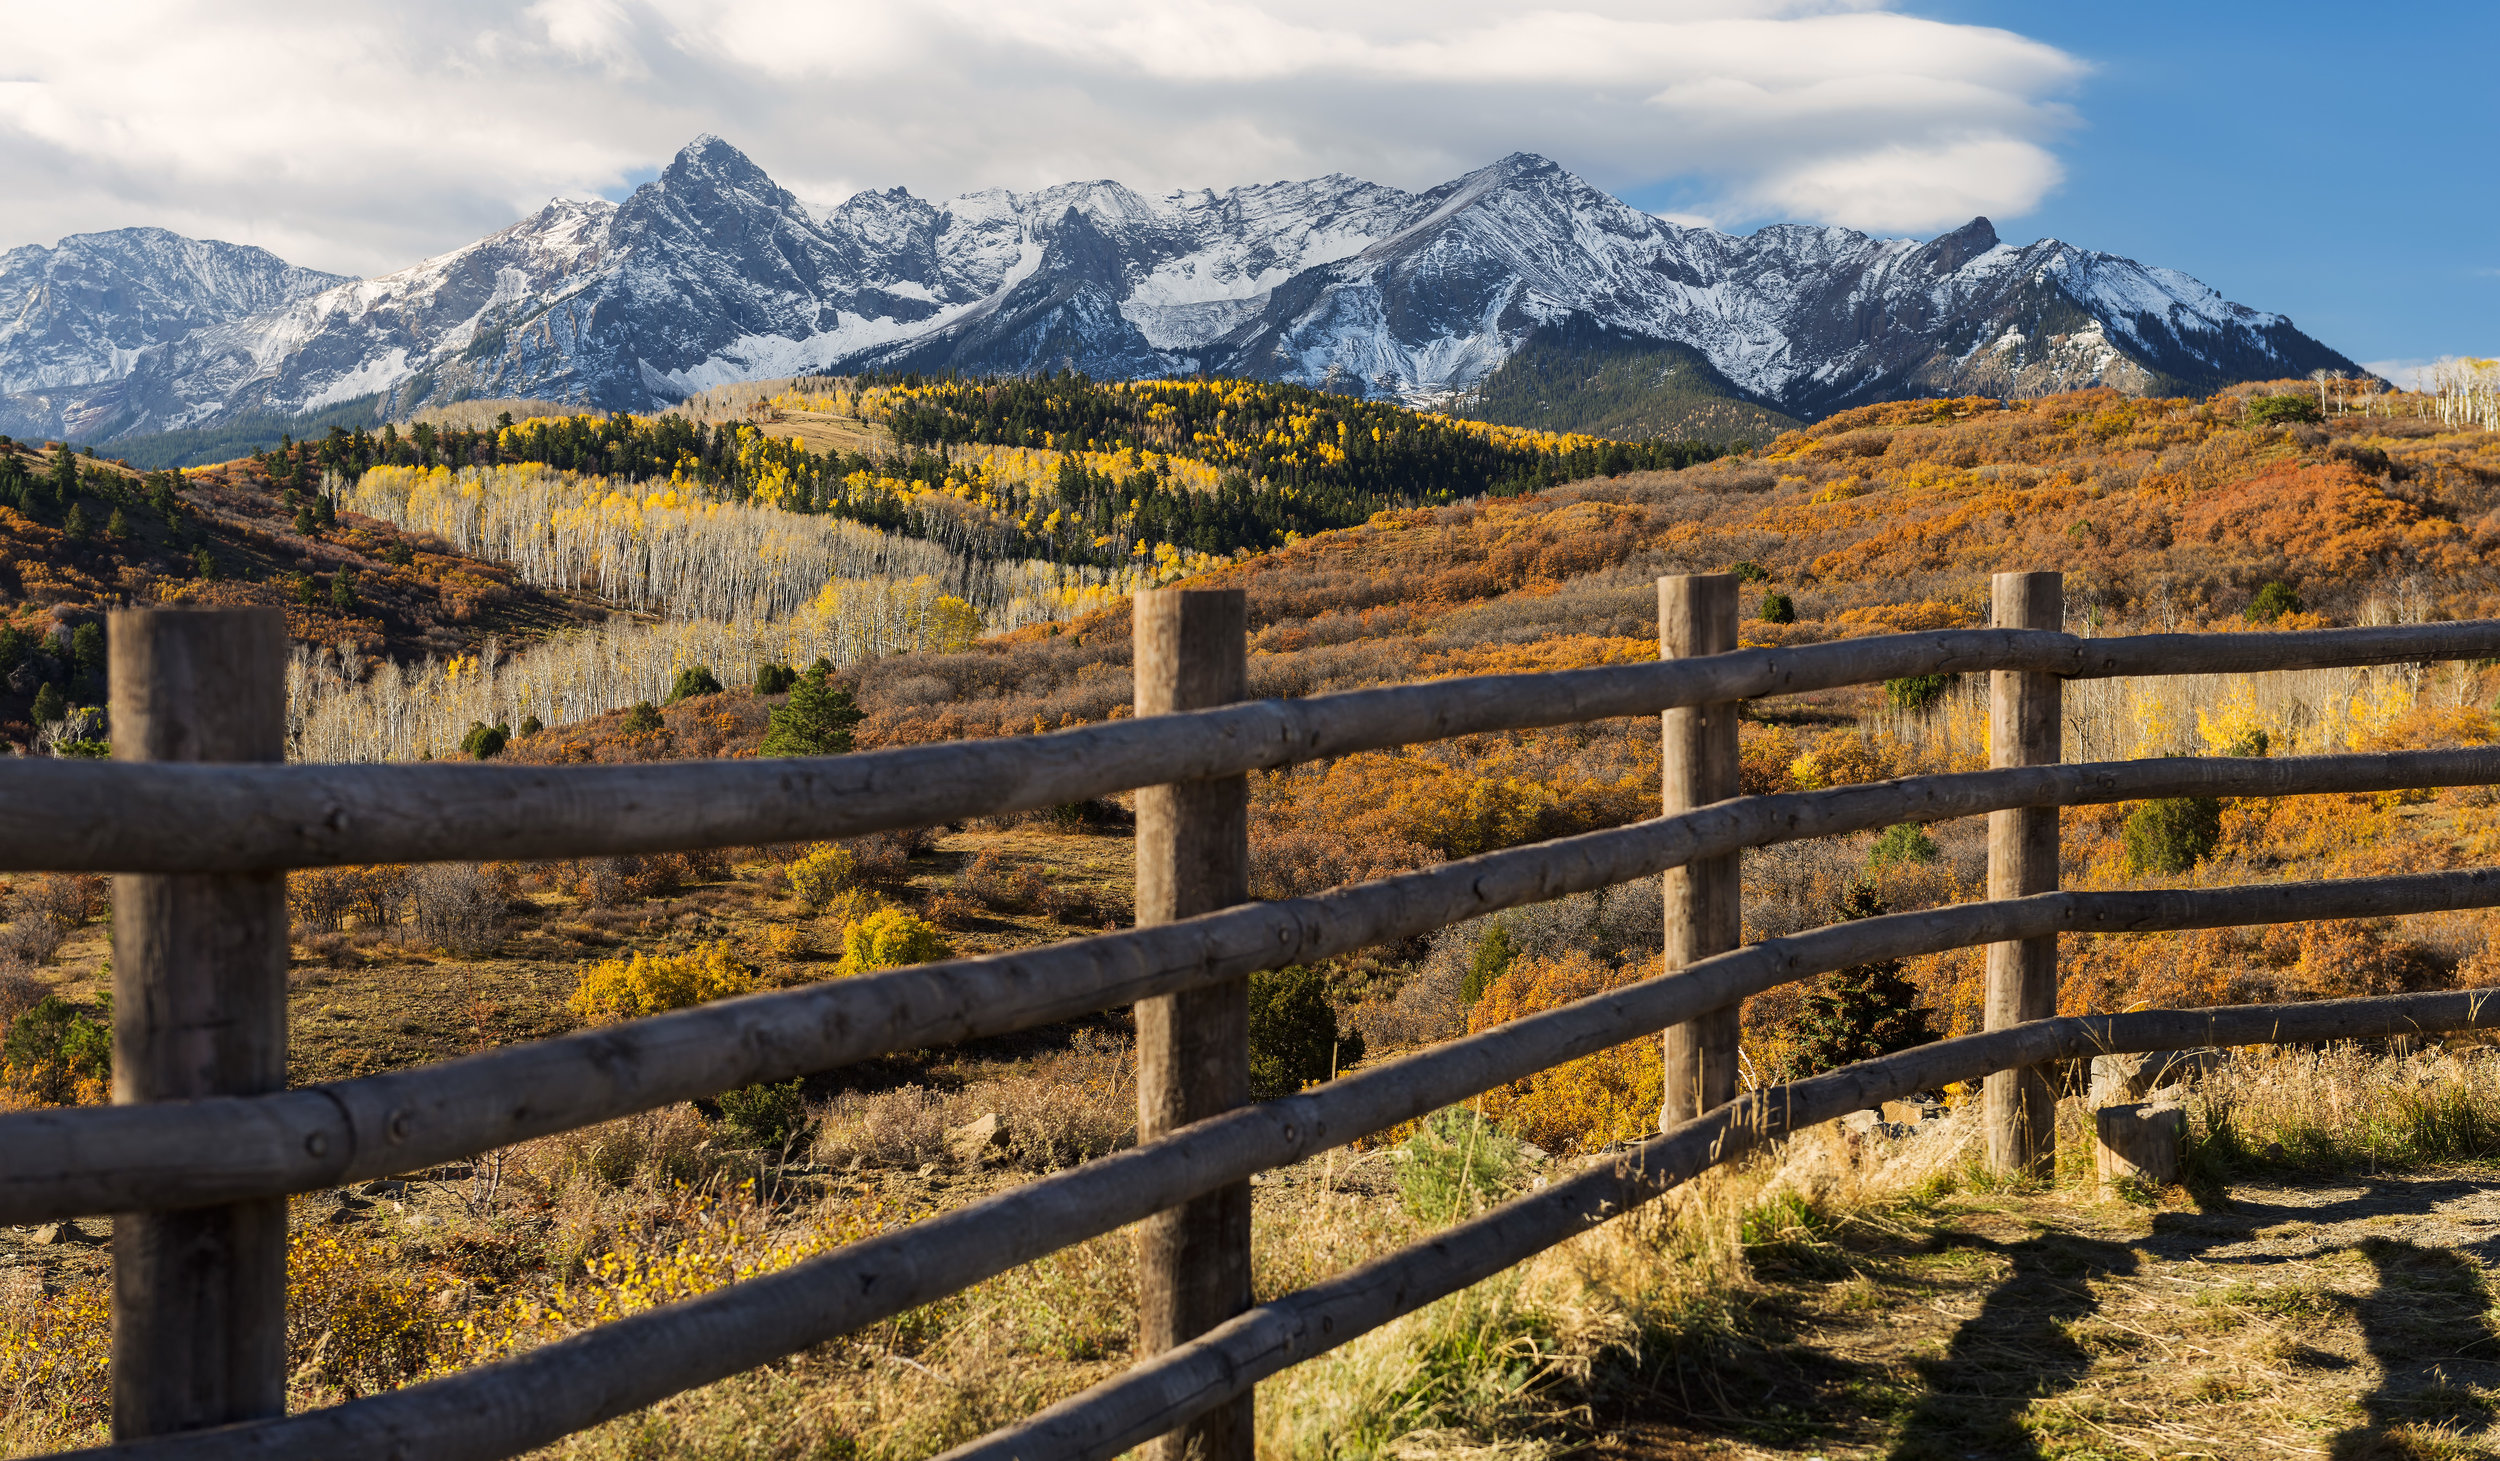
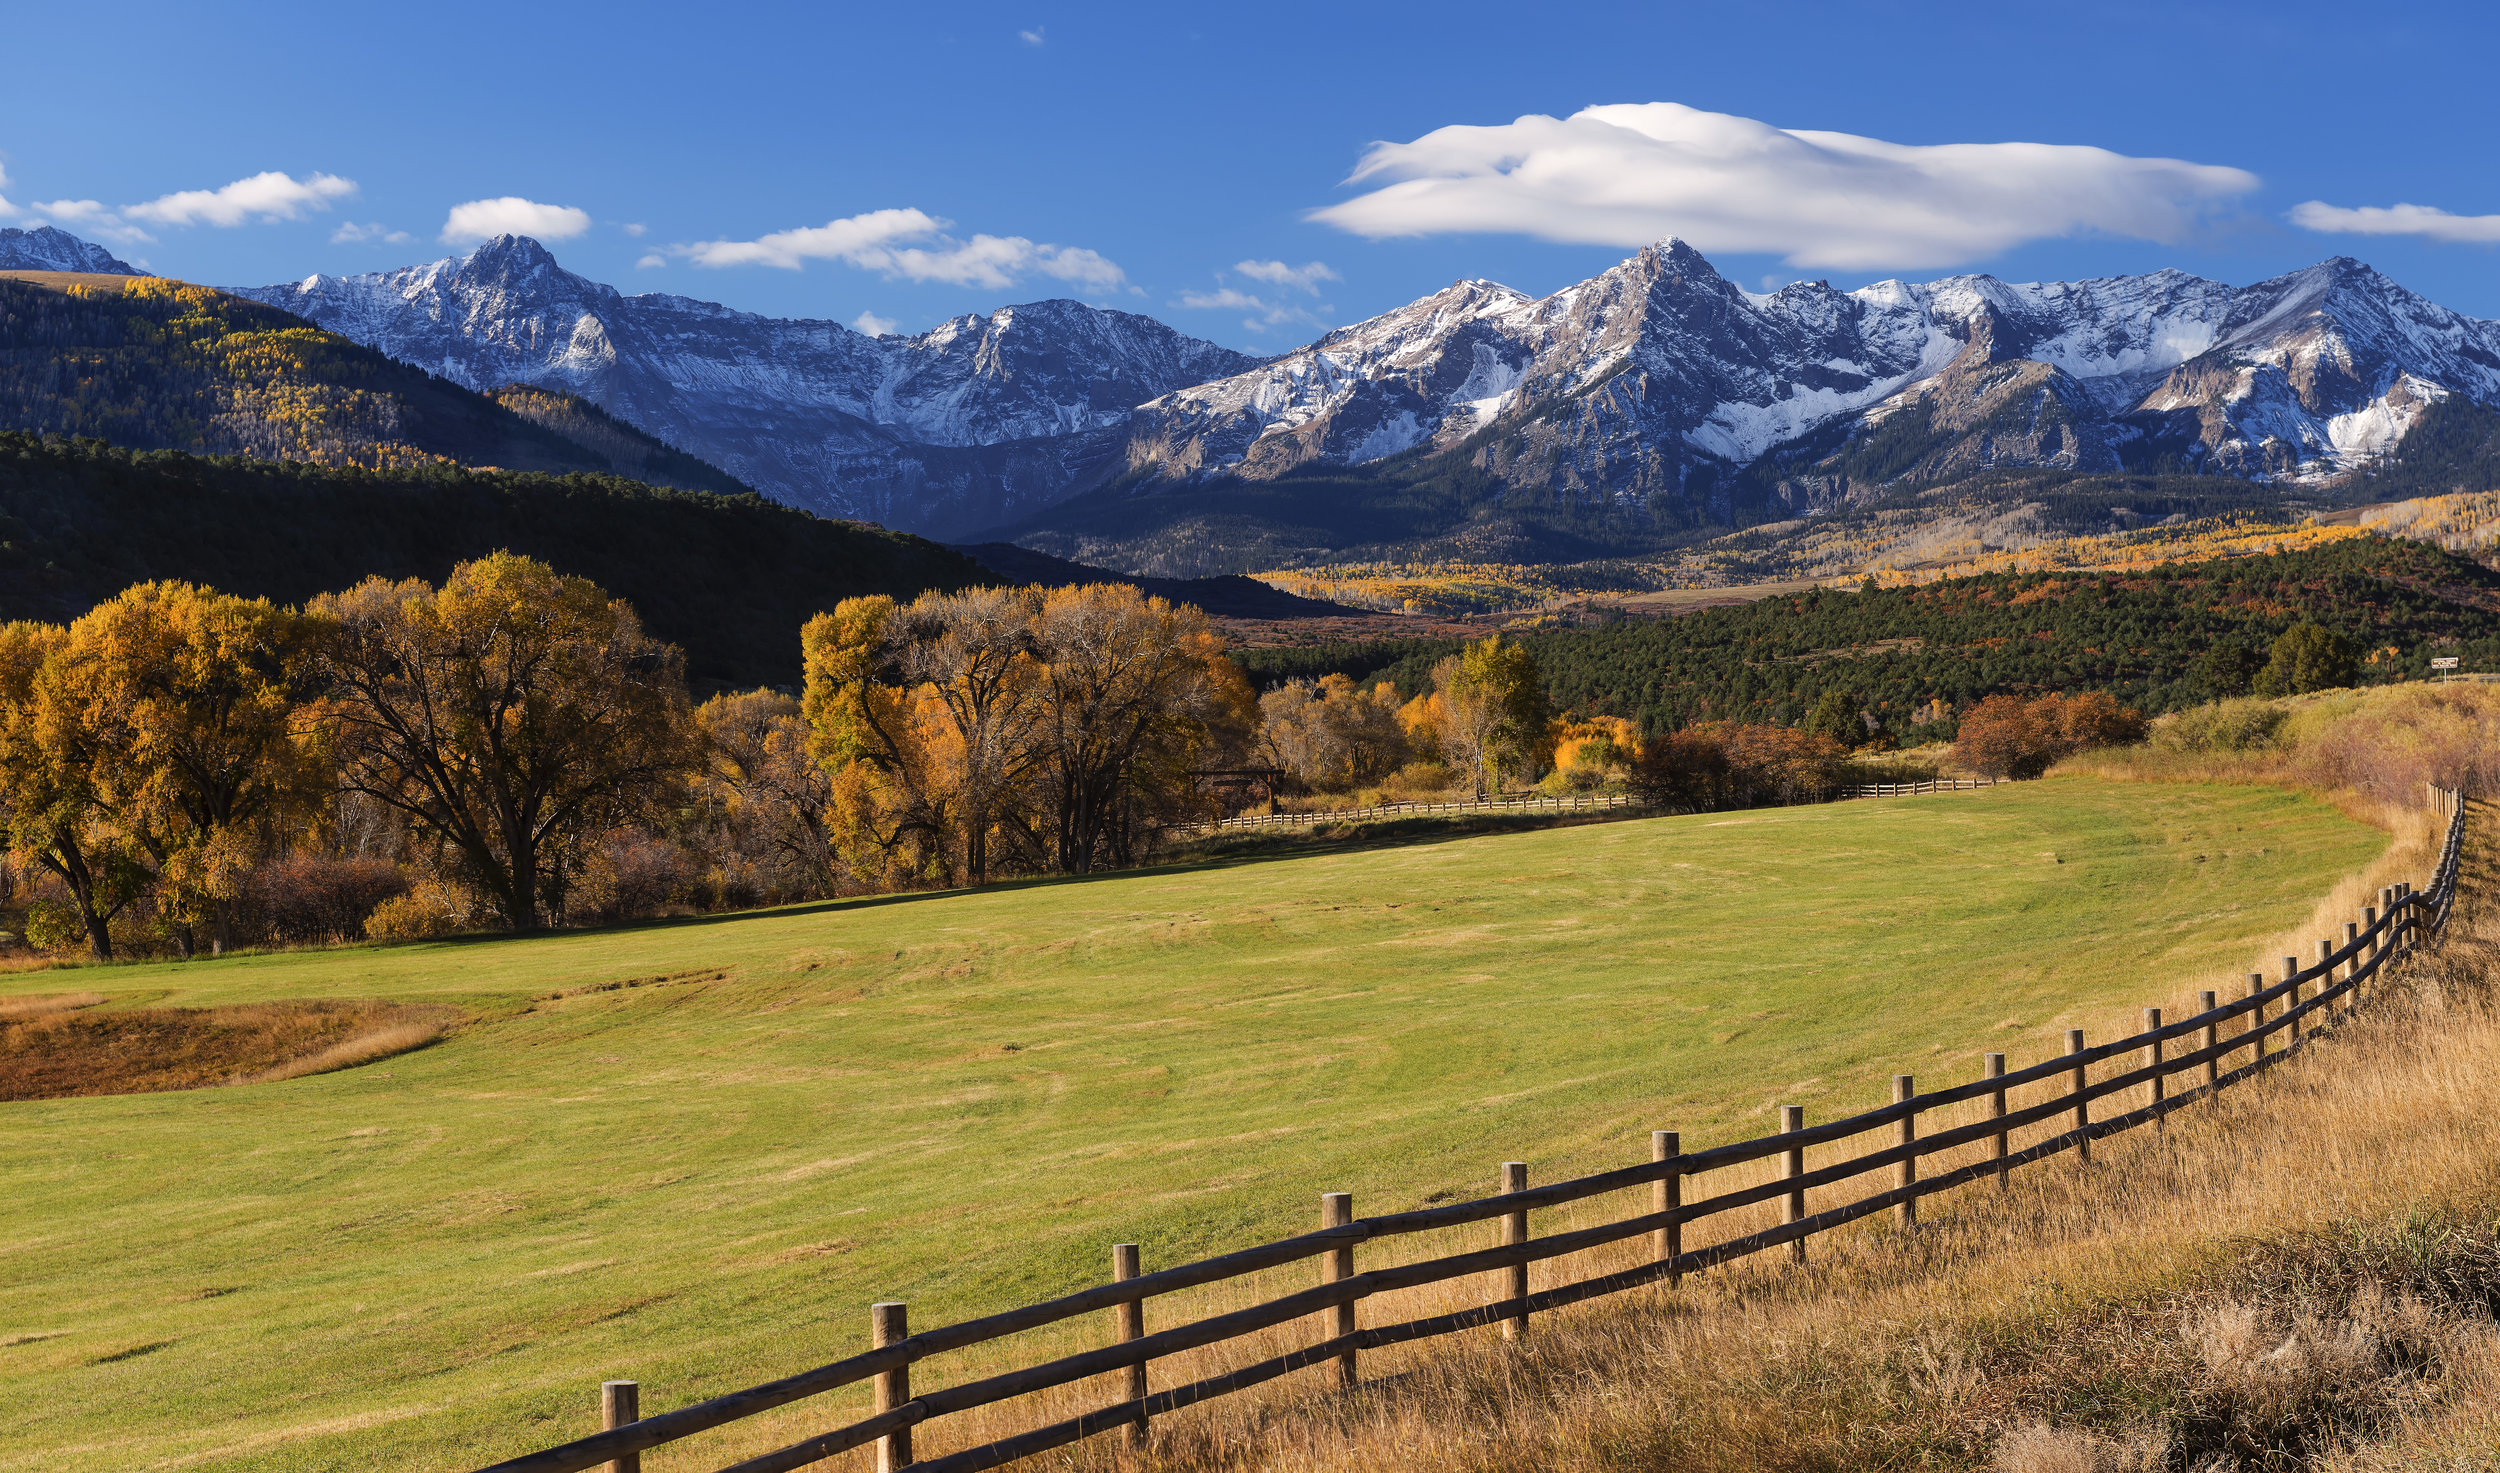
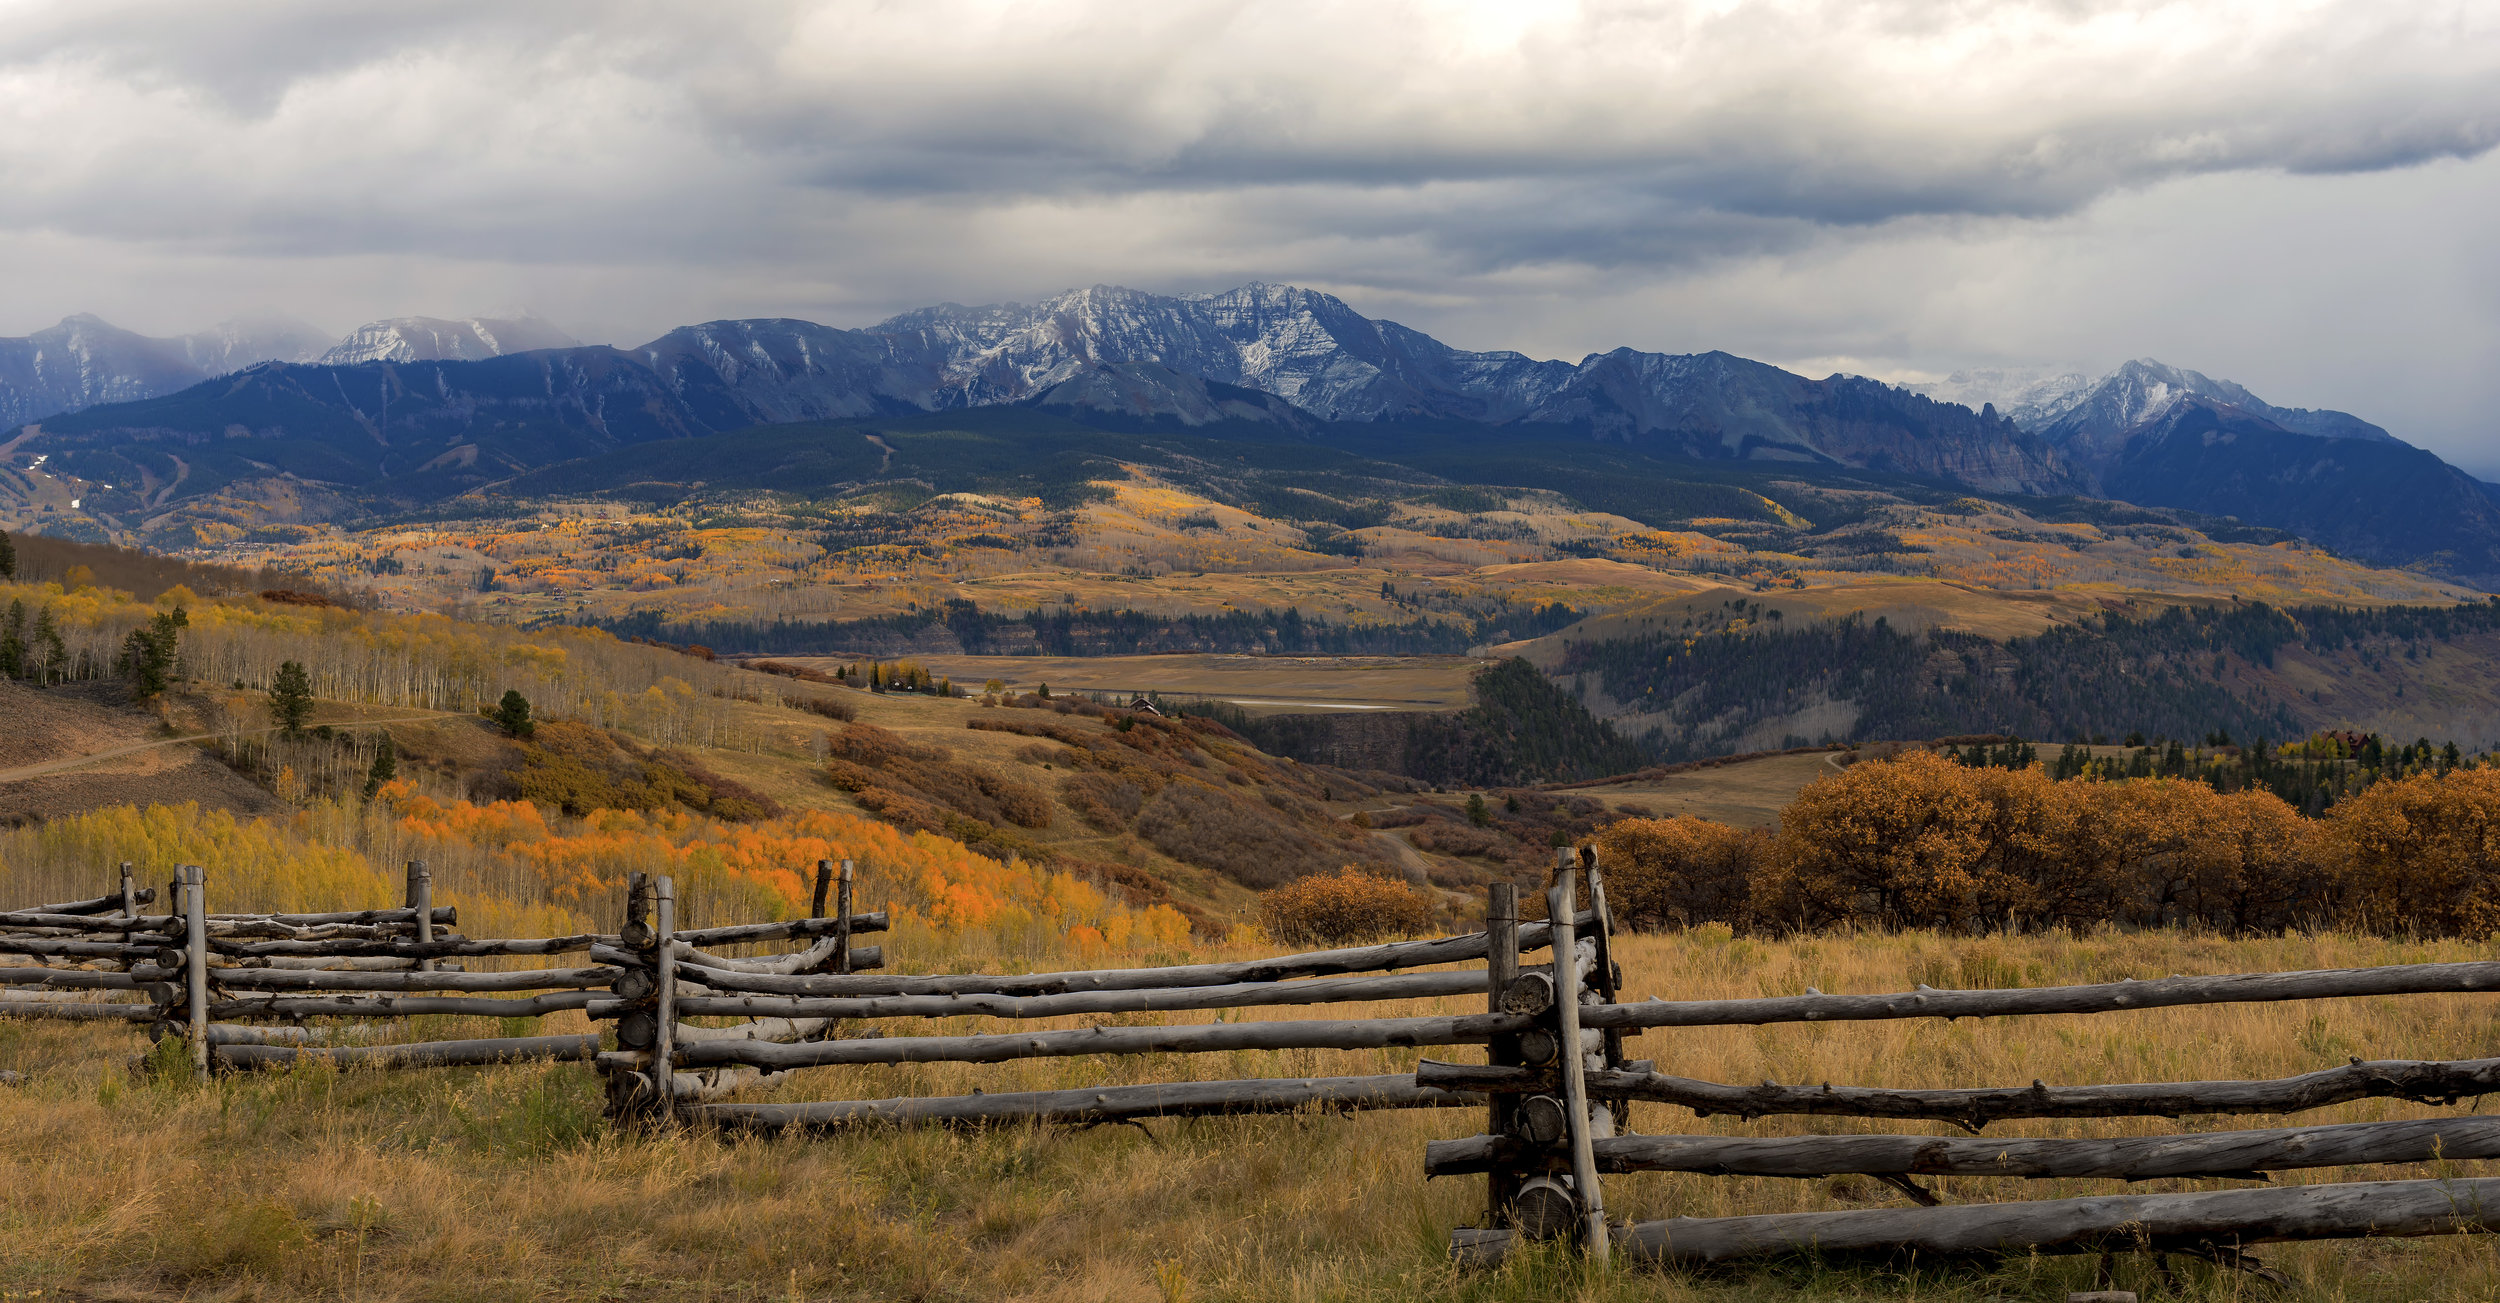
Rustic fence and aspen grove are plenty on the country roads all around Ridgway.
I actually purchased two books to get a feel of the geographical location of all the fall color hot spots and the planner in me was having a great time getting all the locations marked on google maps. I can't recommend highly enough, both John Fielder's guide to Colorado and Jason Hatfield's Colorado's fall colors. Both provided me with invaluable info about fall hot spots for the entire state of Colorado. Once we selected the locations we wanted to include in the trip I realized that most of the locations are centered around two towns, Aspen which came as no big surprise due to its popularity and the little known town of Ridgway.
Ridgway was a true hidden gem of a town with rustic country roads leading all the way deep into the majestic San Juan mountains with golden aspen groves everywhere. We explored County Roads 5, 7, 8, 9 and the majestic Last Dollar Road and tested our little Subaru to its limits but came back with some stunning shots.


